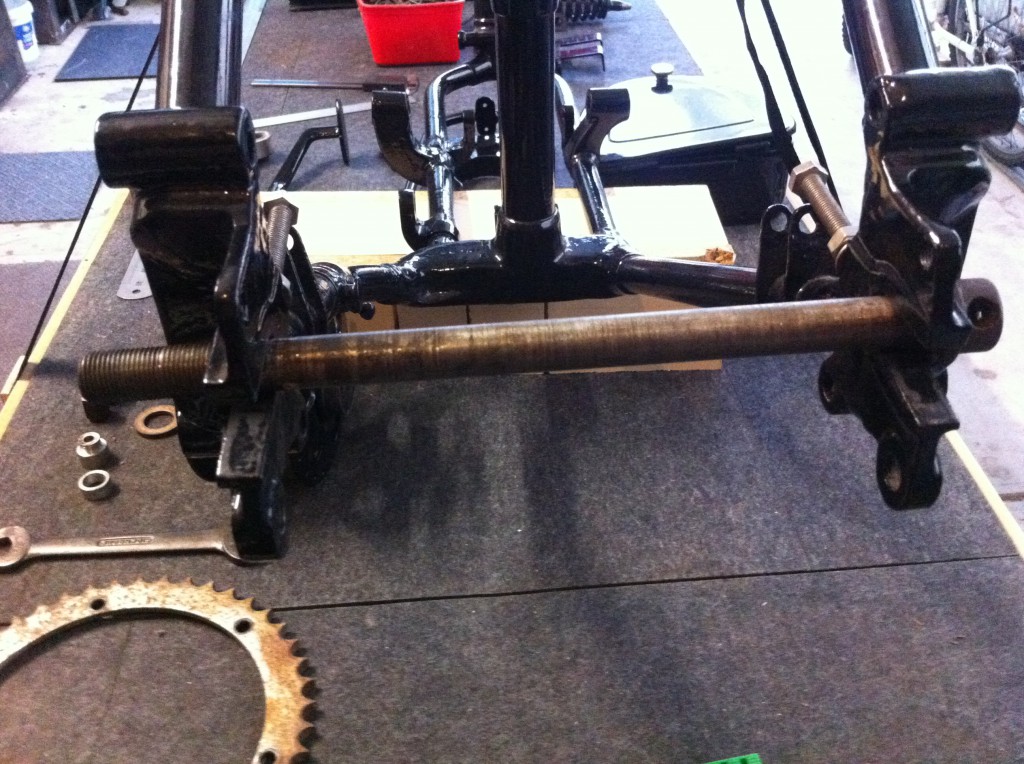
Just practice, with a solid spindle!
I can’t believe that its been a month since I last wrote something here! How time flies and the setting up of a business does require a little research, travel, meetings, conversations and preparation! Being in the main a manufacturing entity, there are all sorts of things to work out before one single item can be made, partners and suppliers of parts and services etc, all of which takes time and exclude the earning of any money in the meantime.
‘Lead time’ is what I think it called, ‘lean time’ is what it actually should be called!
So, while it seemed that nothing was happening, there was indeed a load going on. The blog and the restoration are inextricably locked into the ClassicBikeNut company as a manufacturing entity for more than one reason: Financially dependent is one thing, but the bike has been a bit neglected and I must admit to having been ‘time poor’ regarding headspace for the blog, too, despite being here most of the time.
More interestingly, the parts that I am missing on the bike and the search for same, gives me an insight into what bits and pieces are rare, difficult (or ‘impossible’) to get and as such, could give me clues as to what I could make, in order to fill supply gaps in the bike scene in general. There has to be a weighing up of what is practical and the sheer bandwidth of possibilities is almost frightening! There are the engine and gearbox bits, nuts and bolts, frame, fork and brake parts, tinware and tanks and not to forget, electrics to consider, most of which is technically beyond my reach in a financially viable sense, to reproduce myself.
The problem still remains, however, that some parts in all of these sectors are somewhat of a challenge to get in most parts of the world. Since I am, for this bike at least, concentrating on mostly pre-war parts, and being in South Australia, I am blessed with proximity (quite by accident) to probably the worlds highest density of parts available for this ‘brand’ of bike! – Not that you would think it, looking at the pile ob sundry bits I have, which will, in the end, turn into a motorcycle, and that before Christmas (this year!). That’s the plan, anyway!
I’m rambling on again, aren’t I! Well, I have been in the Garage again, and this time I decided to have a go at sorting out my rear wheel, which obviously had never been used in this frame, at least, to run on the road…All the spindles and spacers are wrong and some probably not even Velocette.
The main problem is to make something work until I can find the ‘right’ parts to put it together ‘properly’. By work, I mean properly, of course, and not just to make it look like it works. This is NOT going to be a static display and I intend to do some serious mileage with it!
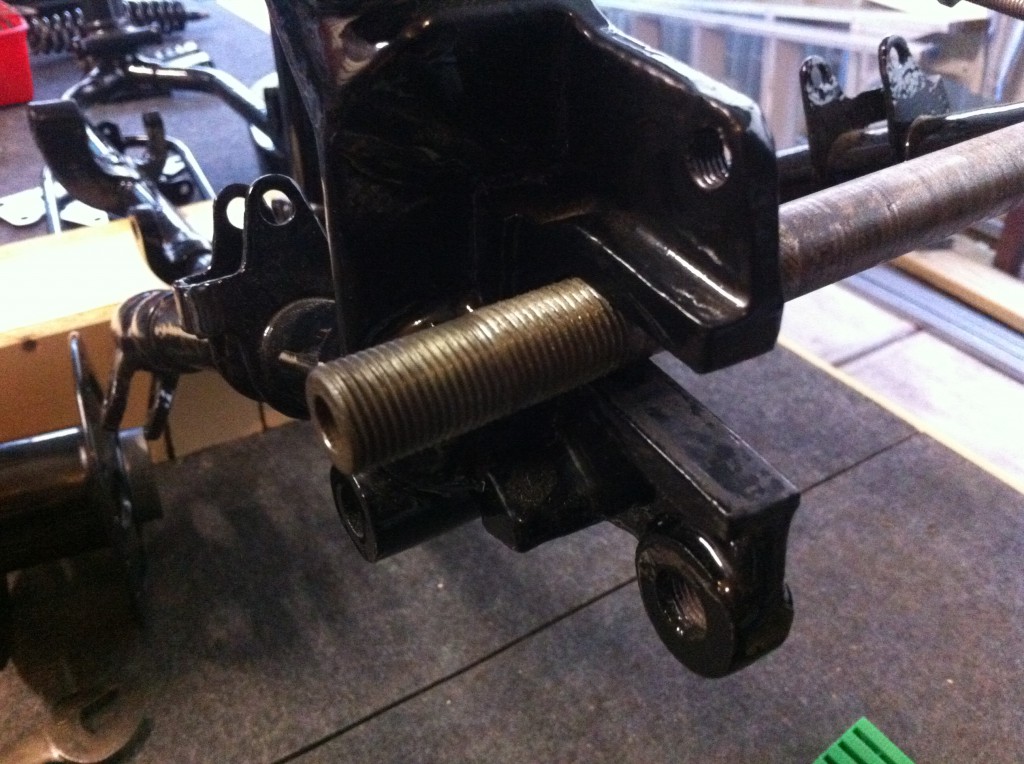
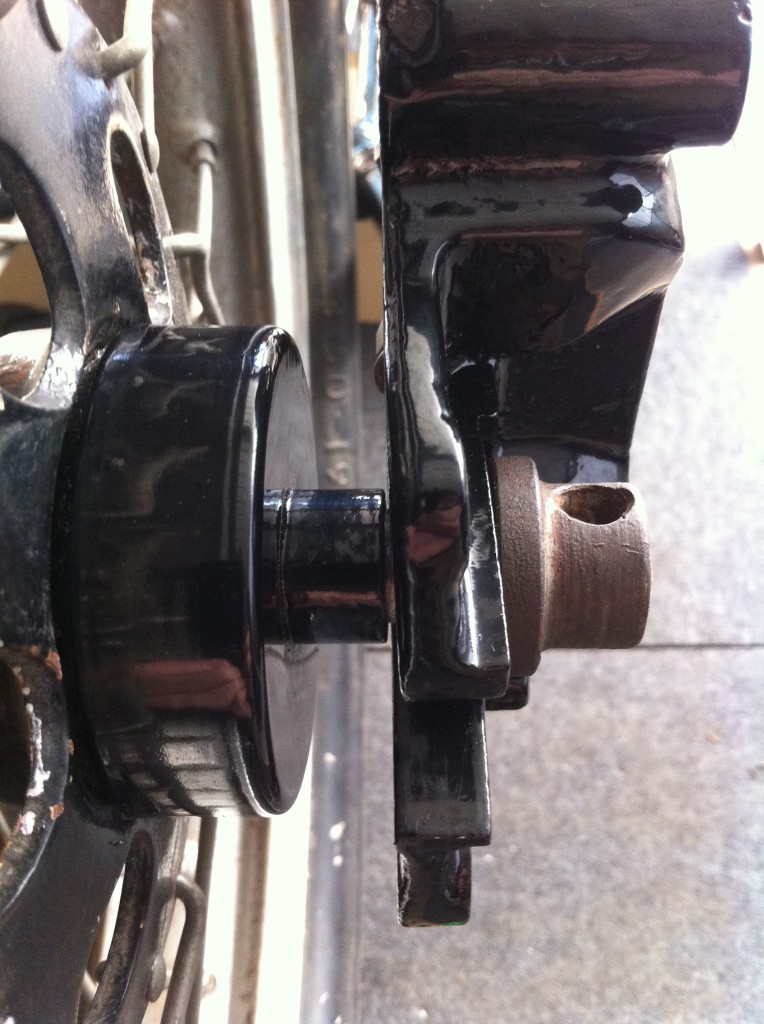
Take a look at that spindle in the photo at the top of the page and below: The right diameter, yes, but just a tad long, don’t you think? About 1 ½ inches too long, actually (37mm)! So I just had to turn the thread on the shaft down to the width of the frame (a lathe does come in handy for this!) and I will, when it all fits, just cut the end of the spindle of to go with the rest.
The more interesting part is the lining up of the rear wheel. Here again, the lathe is absolutely necessary to turn spacers with differing internal and external diameters, some with steps. I never assume, BUT, at the moment I am assuming that the rear wheel has been laced up with the correct offset, and so have started looking at the arrangement of the brake-plate and the left-right-centre alignment of the wheel in the frame.
Historically speaking, this bike should have a quickly-detachable rear wheel, but the QD bits I have here are off a swing-arm MAC or similar and have very different proportions, although they look right: The stub-axle is too short and the long axle that screws into it is far too long, they might also not even belong together, either. So rather that ruin those, I decided to modify the single spindle as above.
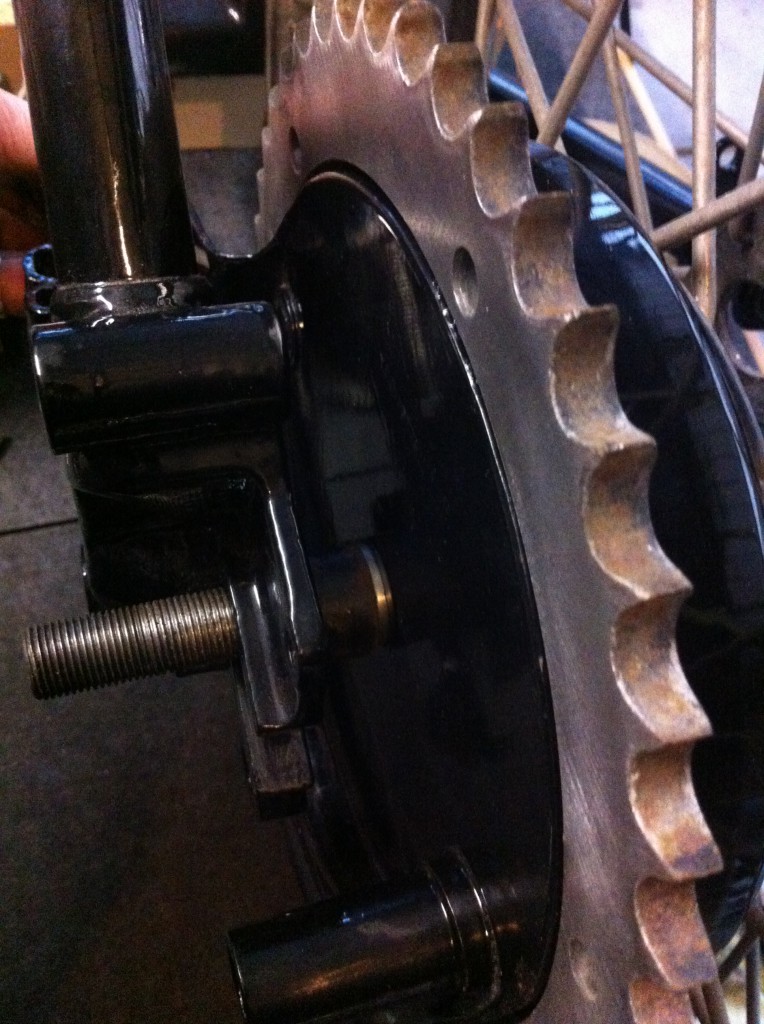
Here it is with the brake-plate lined up as best as I could (I think that’s right, anyway…), there’s still some jiggery-pokery to be done with the spacers between the forks, but until I am sure of the rear wheel being correctly laced up, I am just guessing (which while not wrong – and it would probably also be ‘OK’ – is not really what I want)
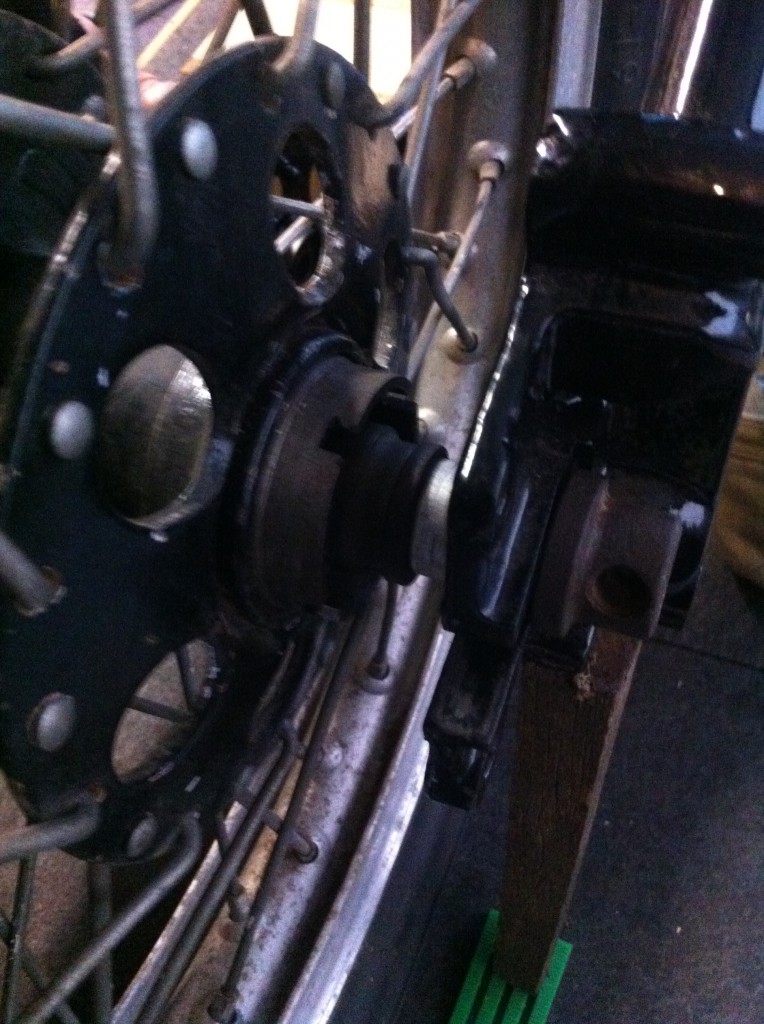
This is the other side, and shows the speedometer-drive-ring that normally has that cover over it. I left the grease on the ring, to show the depth that it goes into the hub, the arrow shows the same edge in the inset as on the main pic: then there is a spacer (a bit thick, to allow for the rear-wheel speedo-drive) and the spacer which I turned up to take up the distance remaining to the fork.. I’m still looking for the right hub and spindle, but this is fun!
Here in close-up is what the right-hand-side looks like with the cover on that would replace the (missing) drive for the speedo, when that is driven from the front wheel. Just for your pleasure, look at the bend in the spoke above the cover… on the right they are all like that: I don’t think I’ll be actually using this wheel, despite the real Borrani rim…which looks as if it has been drilled for a front wheel with a single sided brake-hub… shame!
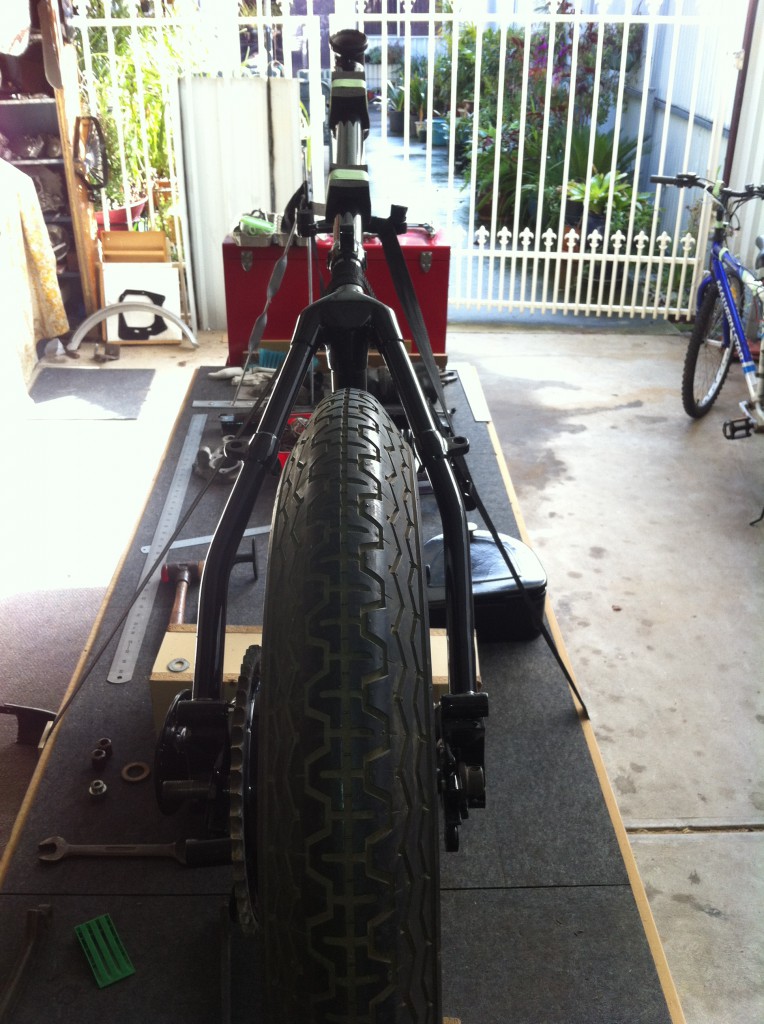
And this is what I am aiming for… a rear-wheel, lined up in the centre of the frame. Oh, and just by the way, no, I shan’t be using the Dunlop Racing KR73/ KR76 setup that are on the wheels, either! Not really suitable for touring (though great for scaring people around town on a loud bike, as I remember from my youth – stories, you understand, related by other people, I would NEVER have done such a thing, tut, tut!) The Virtual-Velo is on the right, and will take up its duties again, when we have less horizontal rain and overflowing gutters… More about mudguards and rear stands in the next instalment (no, not in a month’s time!)
© peter gouws 2012
