Well, blow me down. Four days and nights I have been beating myself up about not stripping the ‘box while it was out of the frame and at four this morning, it finally got me.
So I decided that, between everything else going on here (including storms, blocked drains, trees falling all over the place fetchin’ an’ totin’ for the parents, that I’d finally ‘do’ it. The box had been sitting there looking at me reproachfully every time I went past it (about 40 times a day) and so I grabbed it had another look. There was a sort of light-browny sludge and bubbles of water sitting in it and oozing out of one of the corners and that finally tipped me over the edge. All had to come out, if only to clean it all properly, and with that much water-ingress, there was bound to be more to discover inside.
The only successful way to get this apart is first to extract the two pins from the selectors, AFTER making sure that the gearbox is in neutral (this makes it a lot easier, believe me!). To remove the pins, they are pushed/punched out from the clutch-side of the box, NOT pulled out with Mole-Grips or any other Neanderthal method… once out, and having pulled out the mainshaft (if not already done), the first gear BK9/4 will now be sitting loosely on the top, or already have fallen on your foot… the other two gears formerly on the mainshaft can now come out, with some clever tilting and skewing of the selector and if necessary a few expletives as lubricant (works very well and always good to have close at hand!).
The layshaft and selectors are a bit of a bind to get out, even if practised, due to the lack of space in this rather small casting, but a method is soon found to disengage the selector and twist it all out. Don’t try taking the sleeve-gear out first, it doesn’t work. Strangely enough, reassembly is always a lot easier than dismantling, even if you’ve never done it before!
Now I remove the swivel pin (remember the actual culprit in the story) and remove the selector plate, being careful not to let things go ‘ping’ inside and fly about the place. For the less confident, a tea-towell over the opening stops any errant bits (usually the click-stop pawl and the ‘biro’ spring) from becoming ballistic and subsequently losing the spring (I’ve never done that before, of course!).
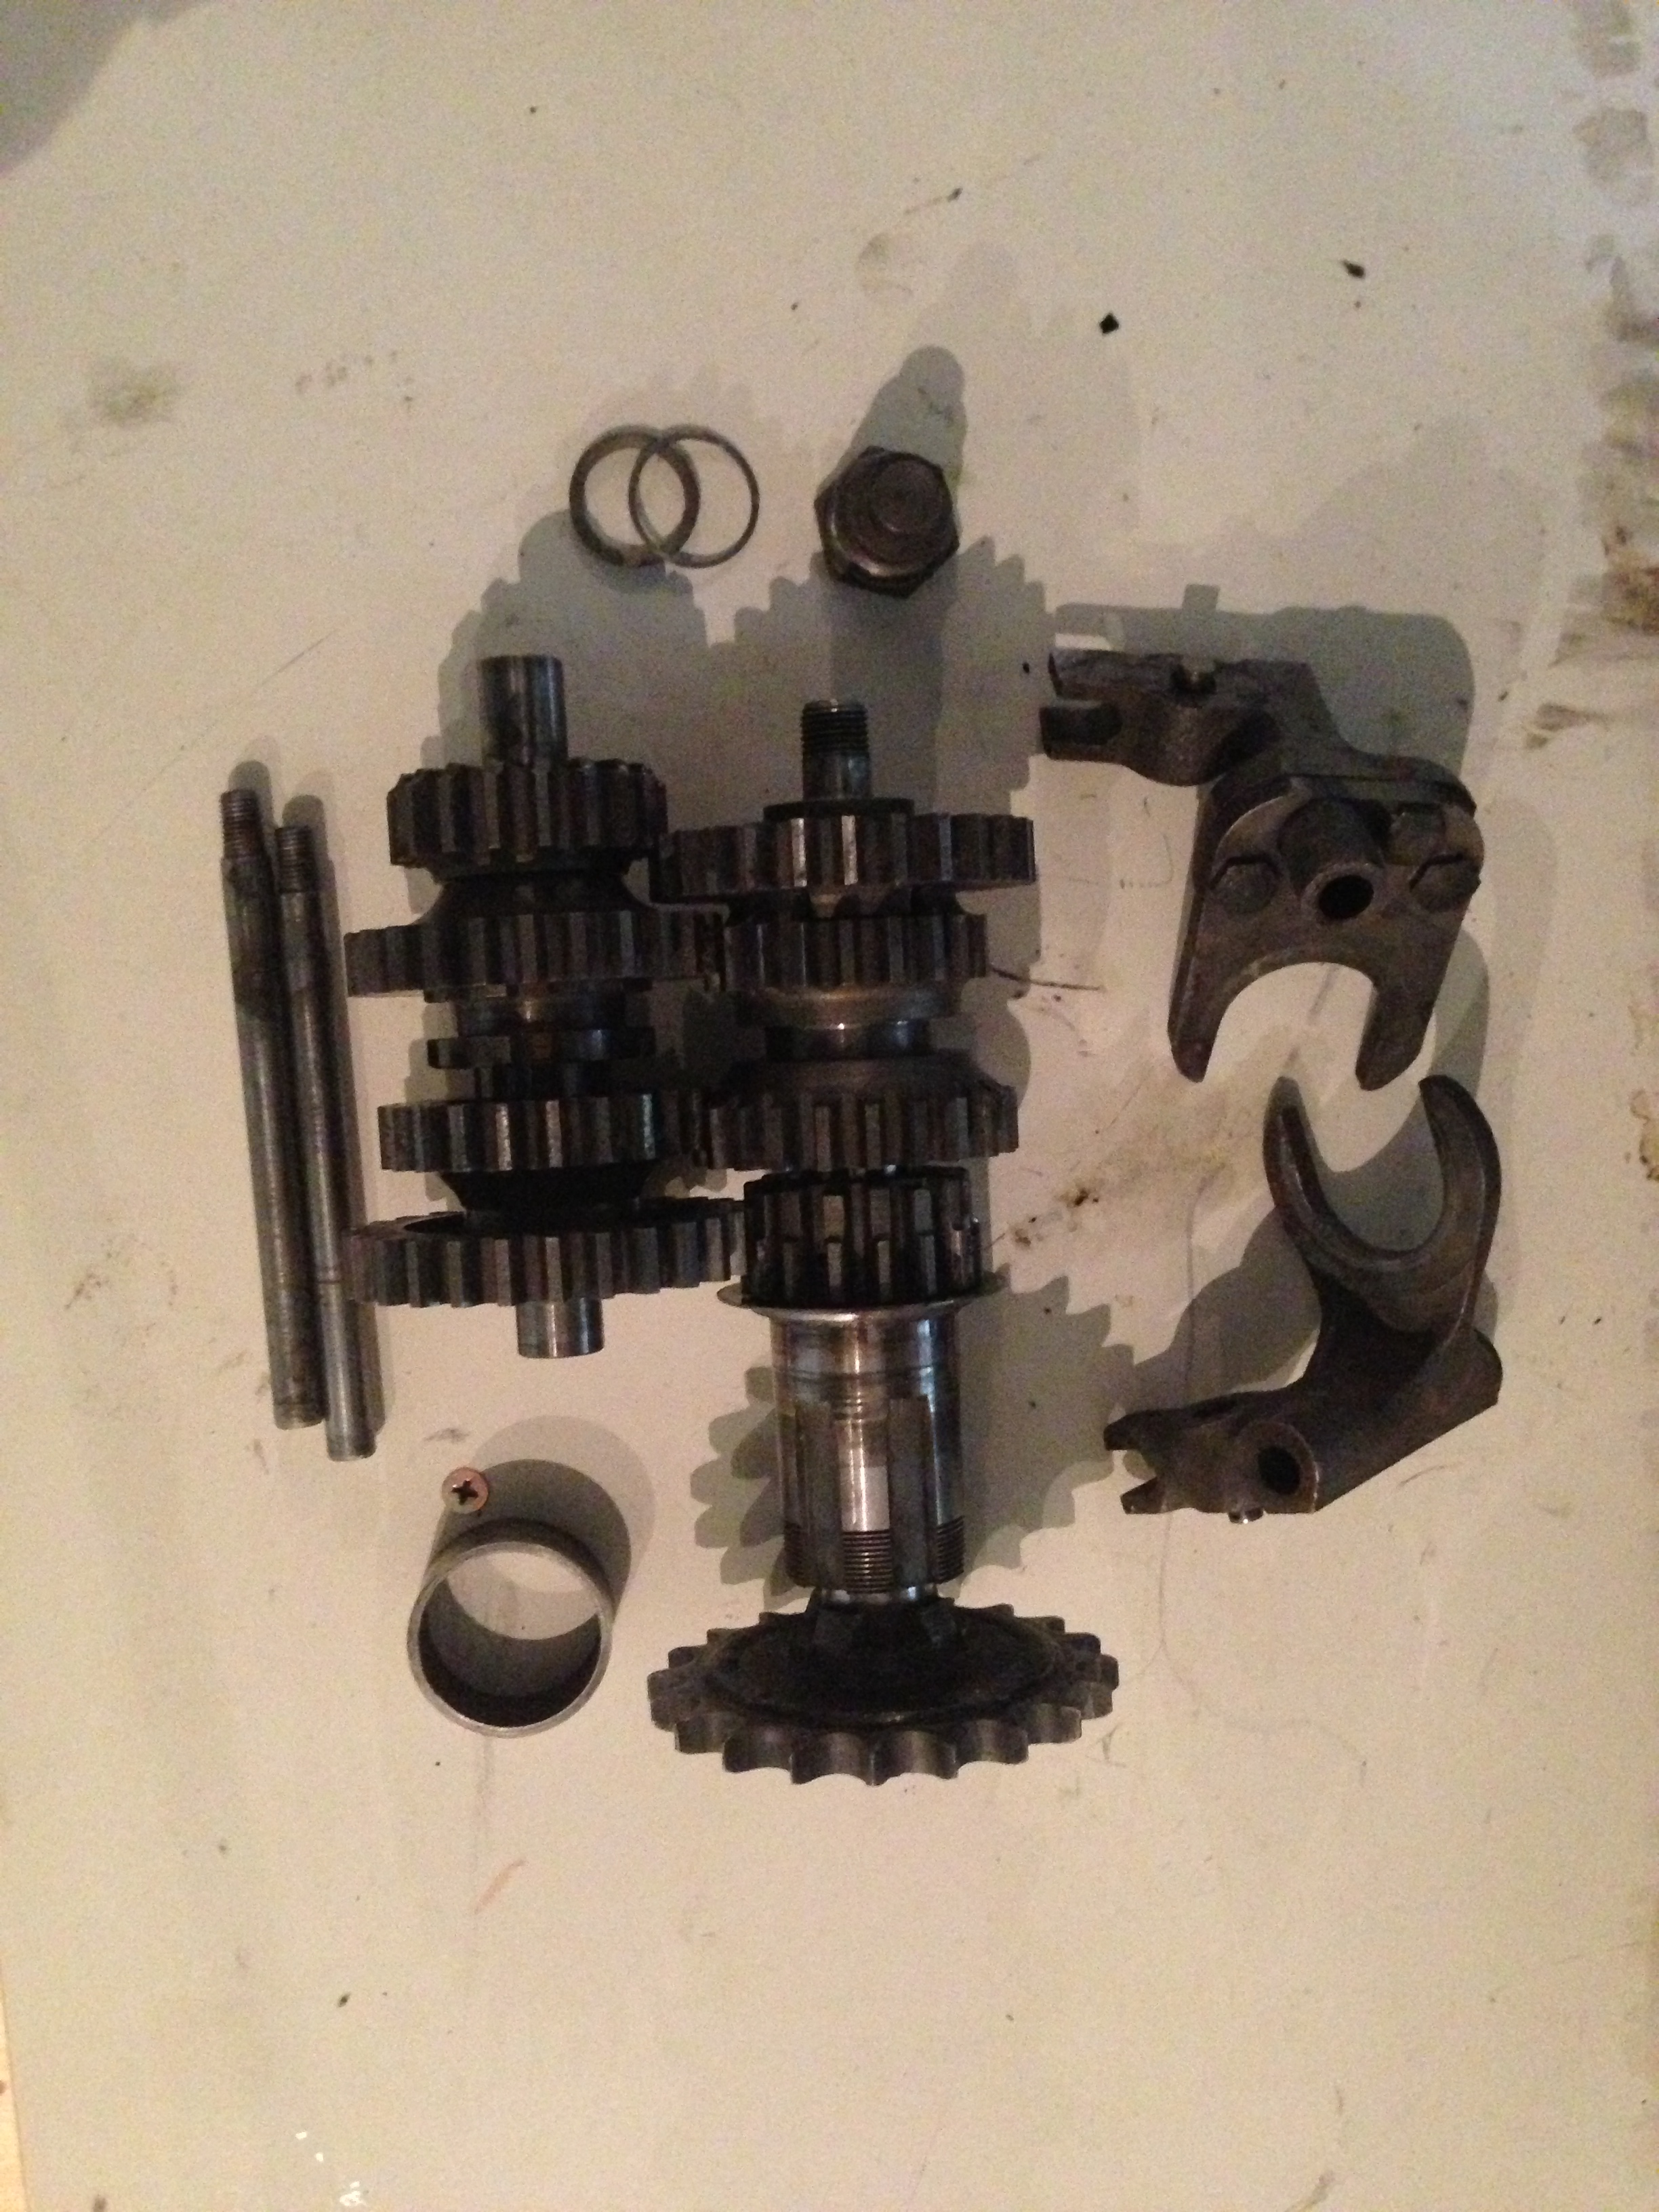
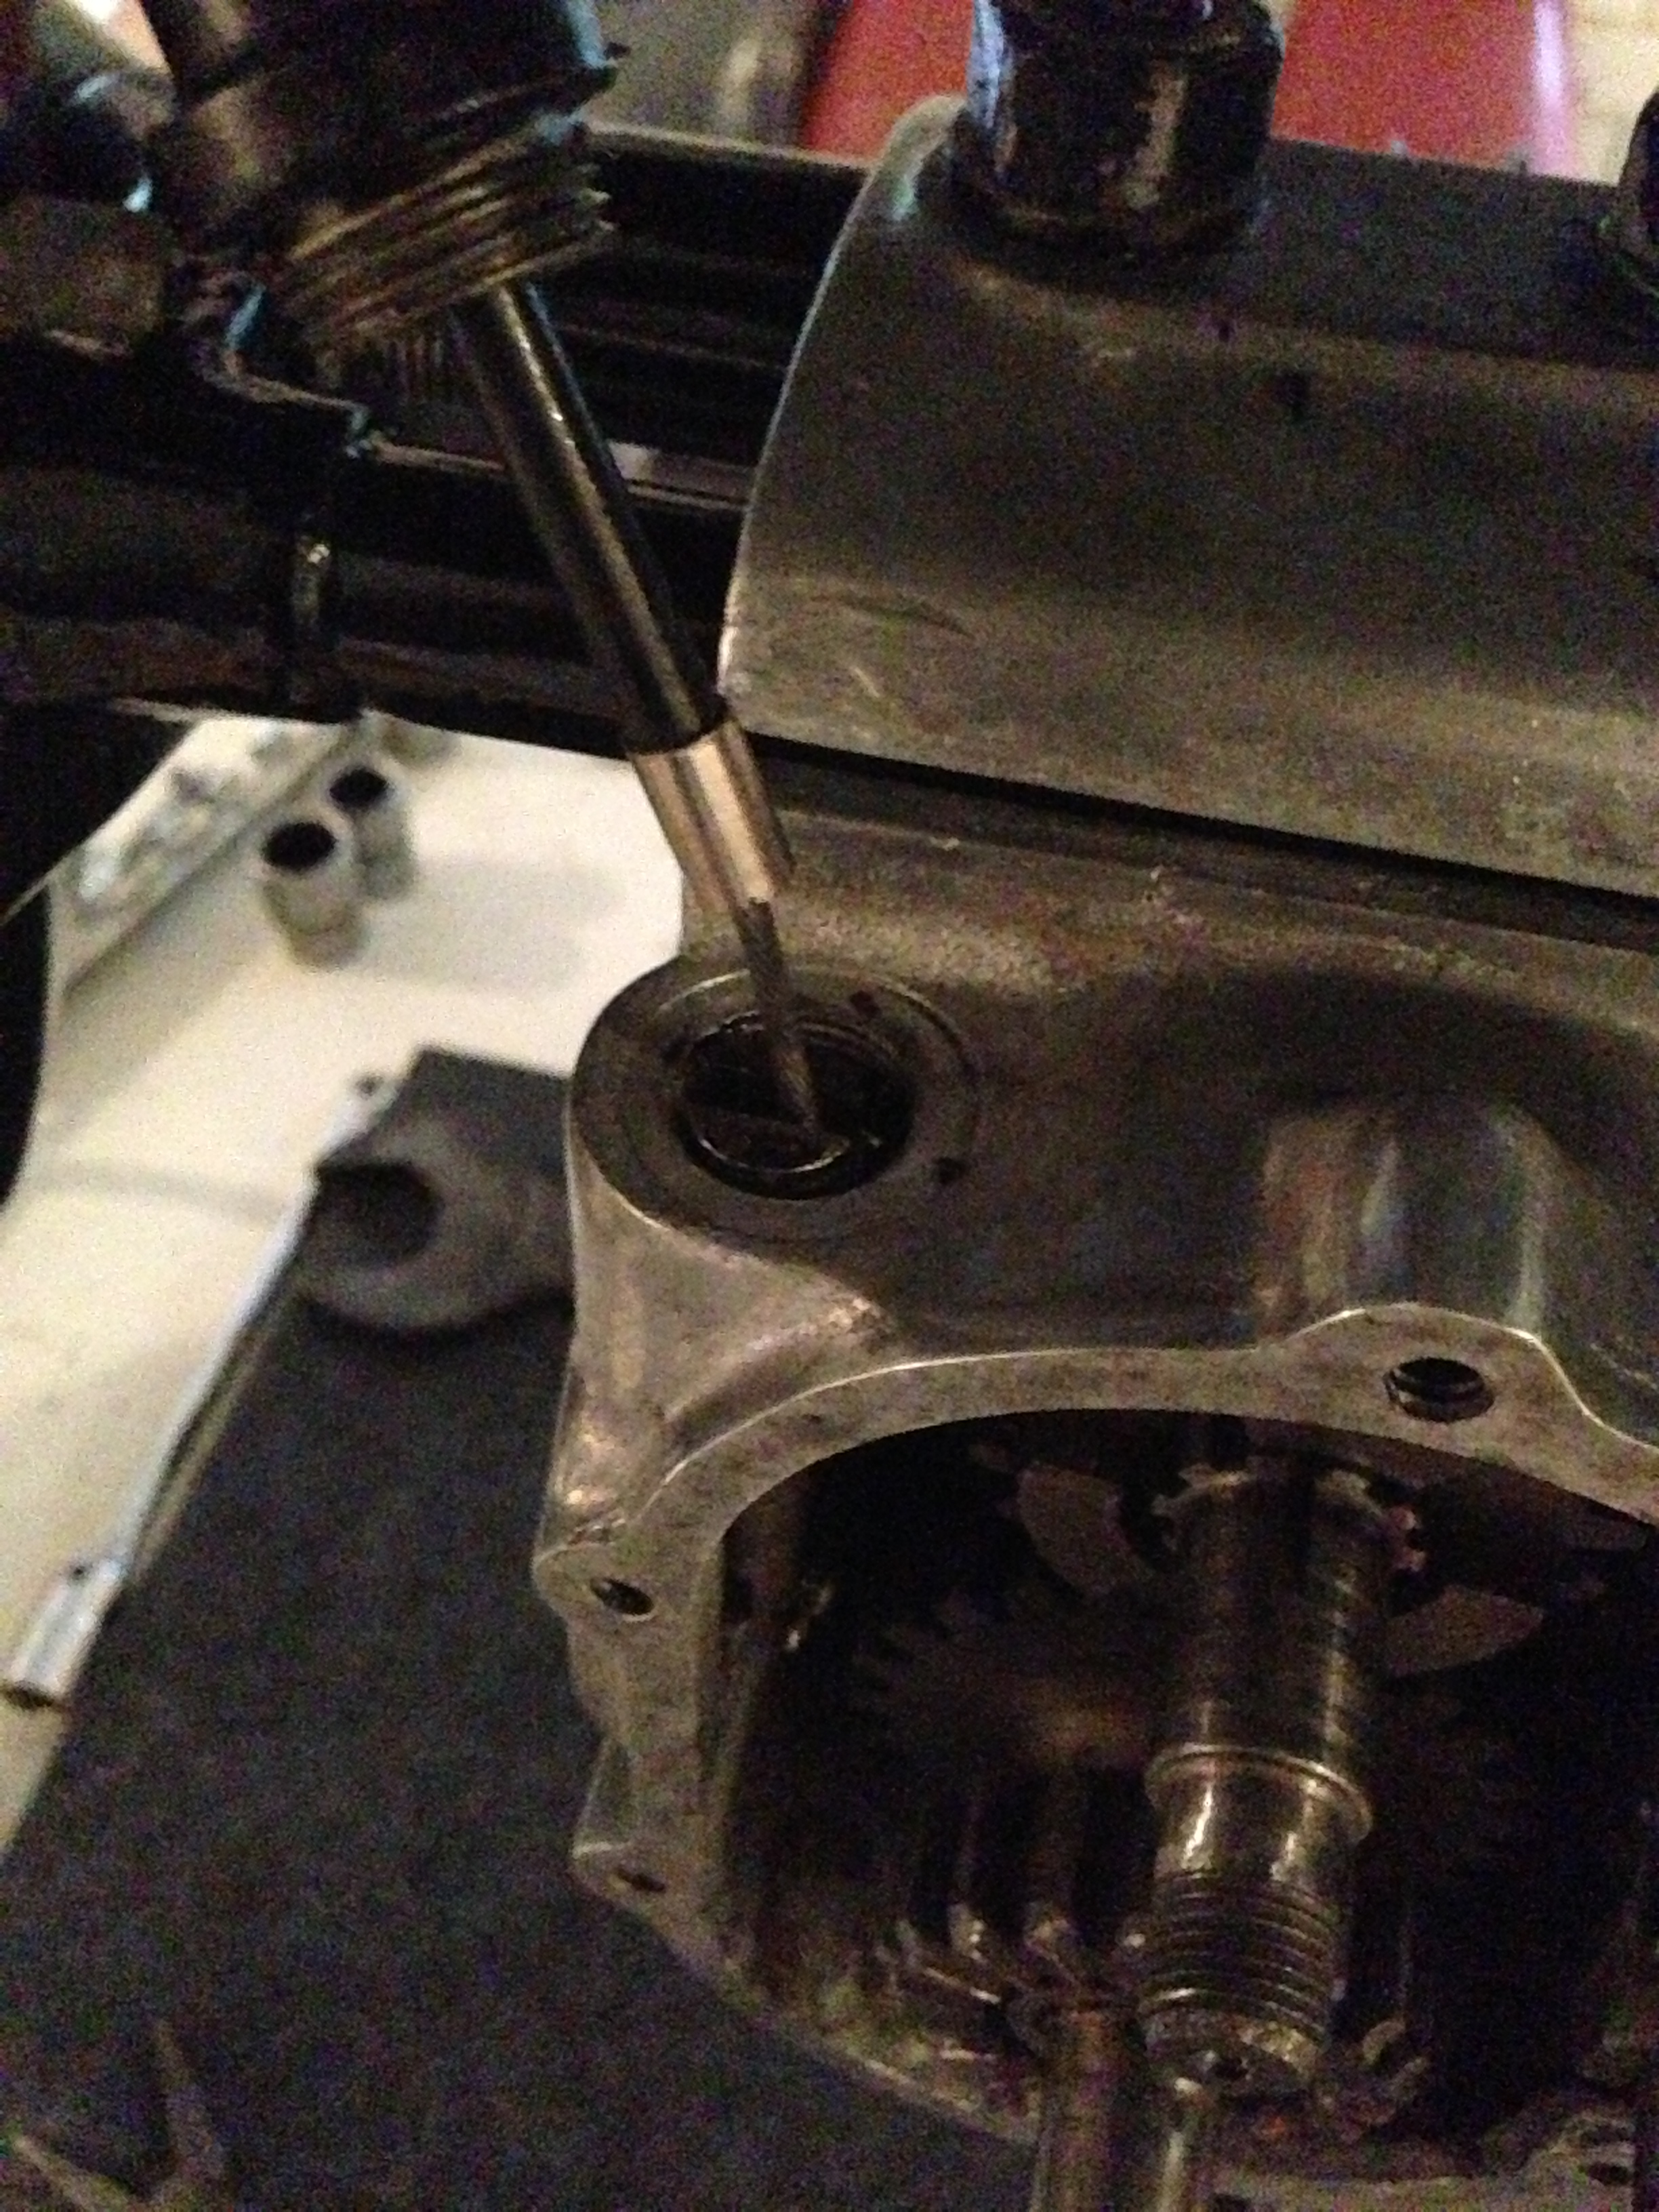
Once that is all done, the whole lot can be cleaned and inspected:
I start with mineral turpentine and then use thinners for nasty grime and then wash it down with methylated spirits, but I suppose everyone has their own favourites. For reassembly a smear of sewing-machine oil suffices to keep things lubed.
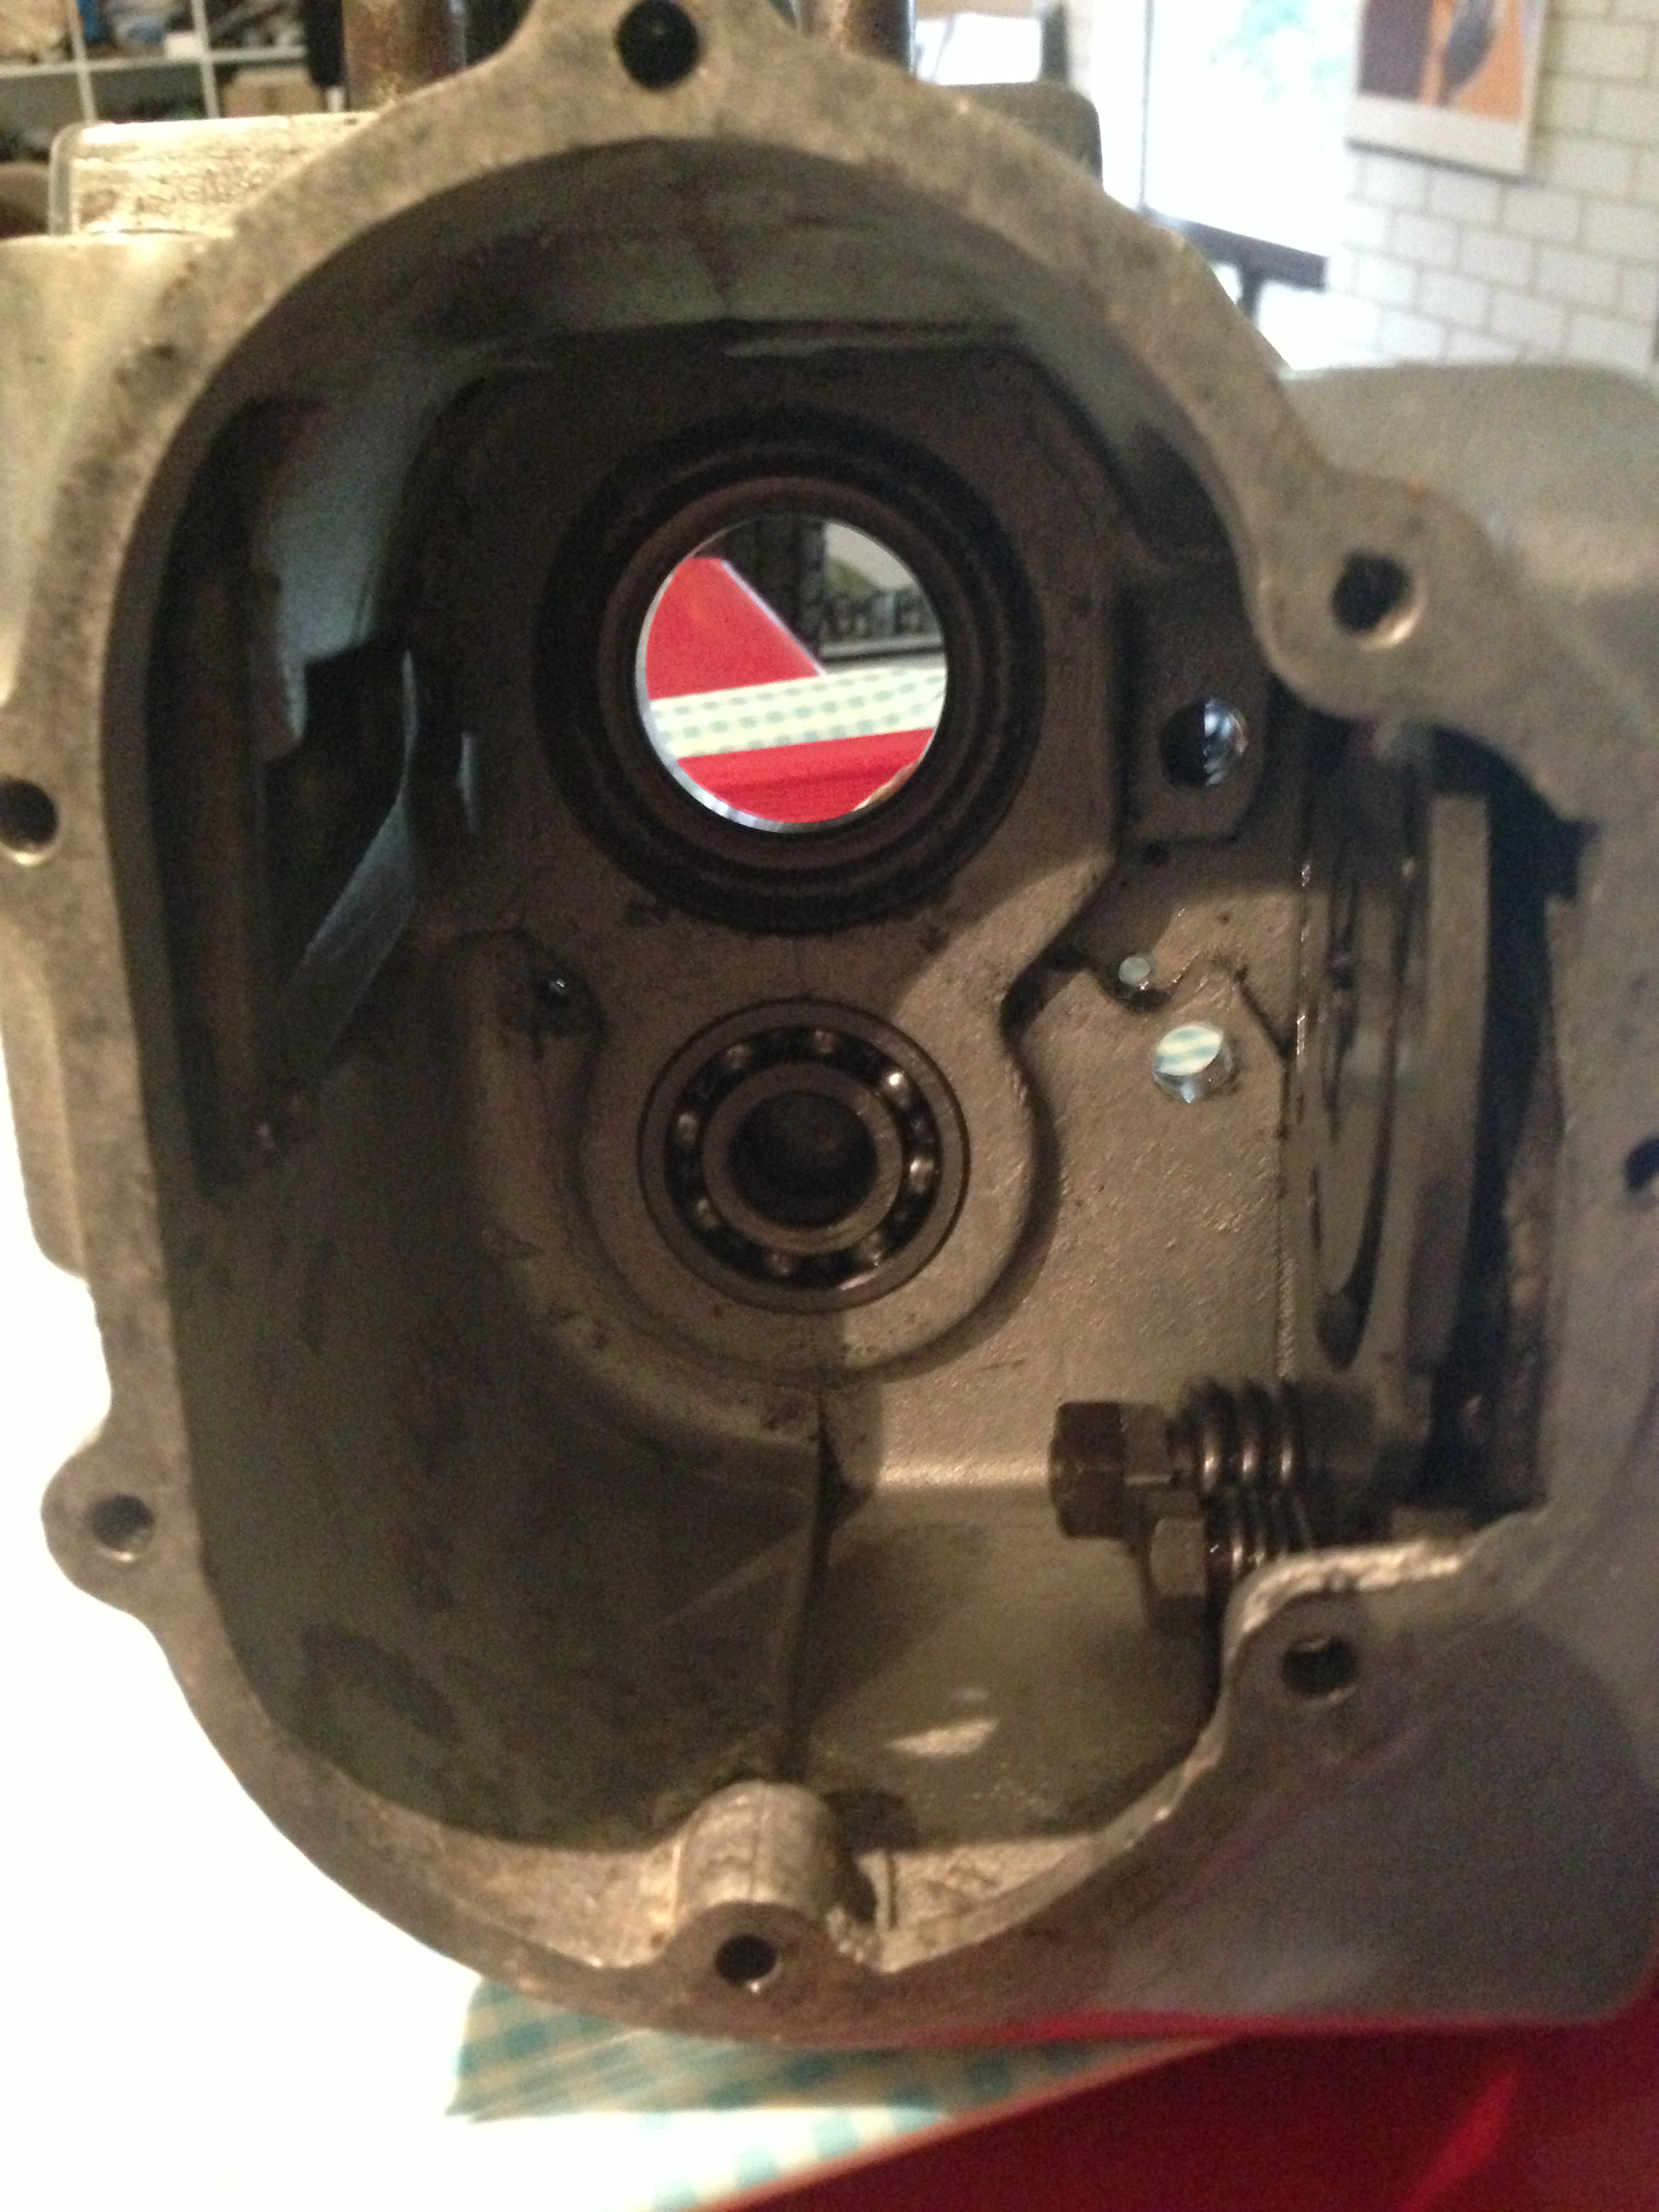
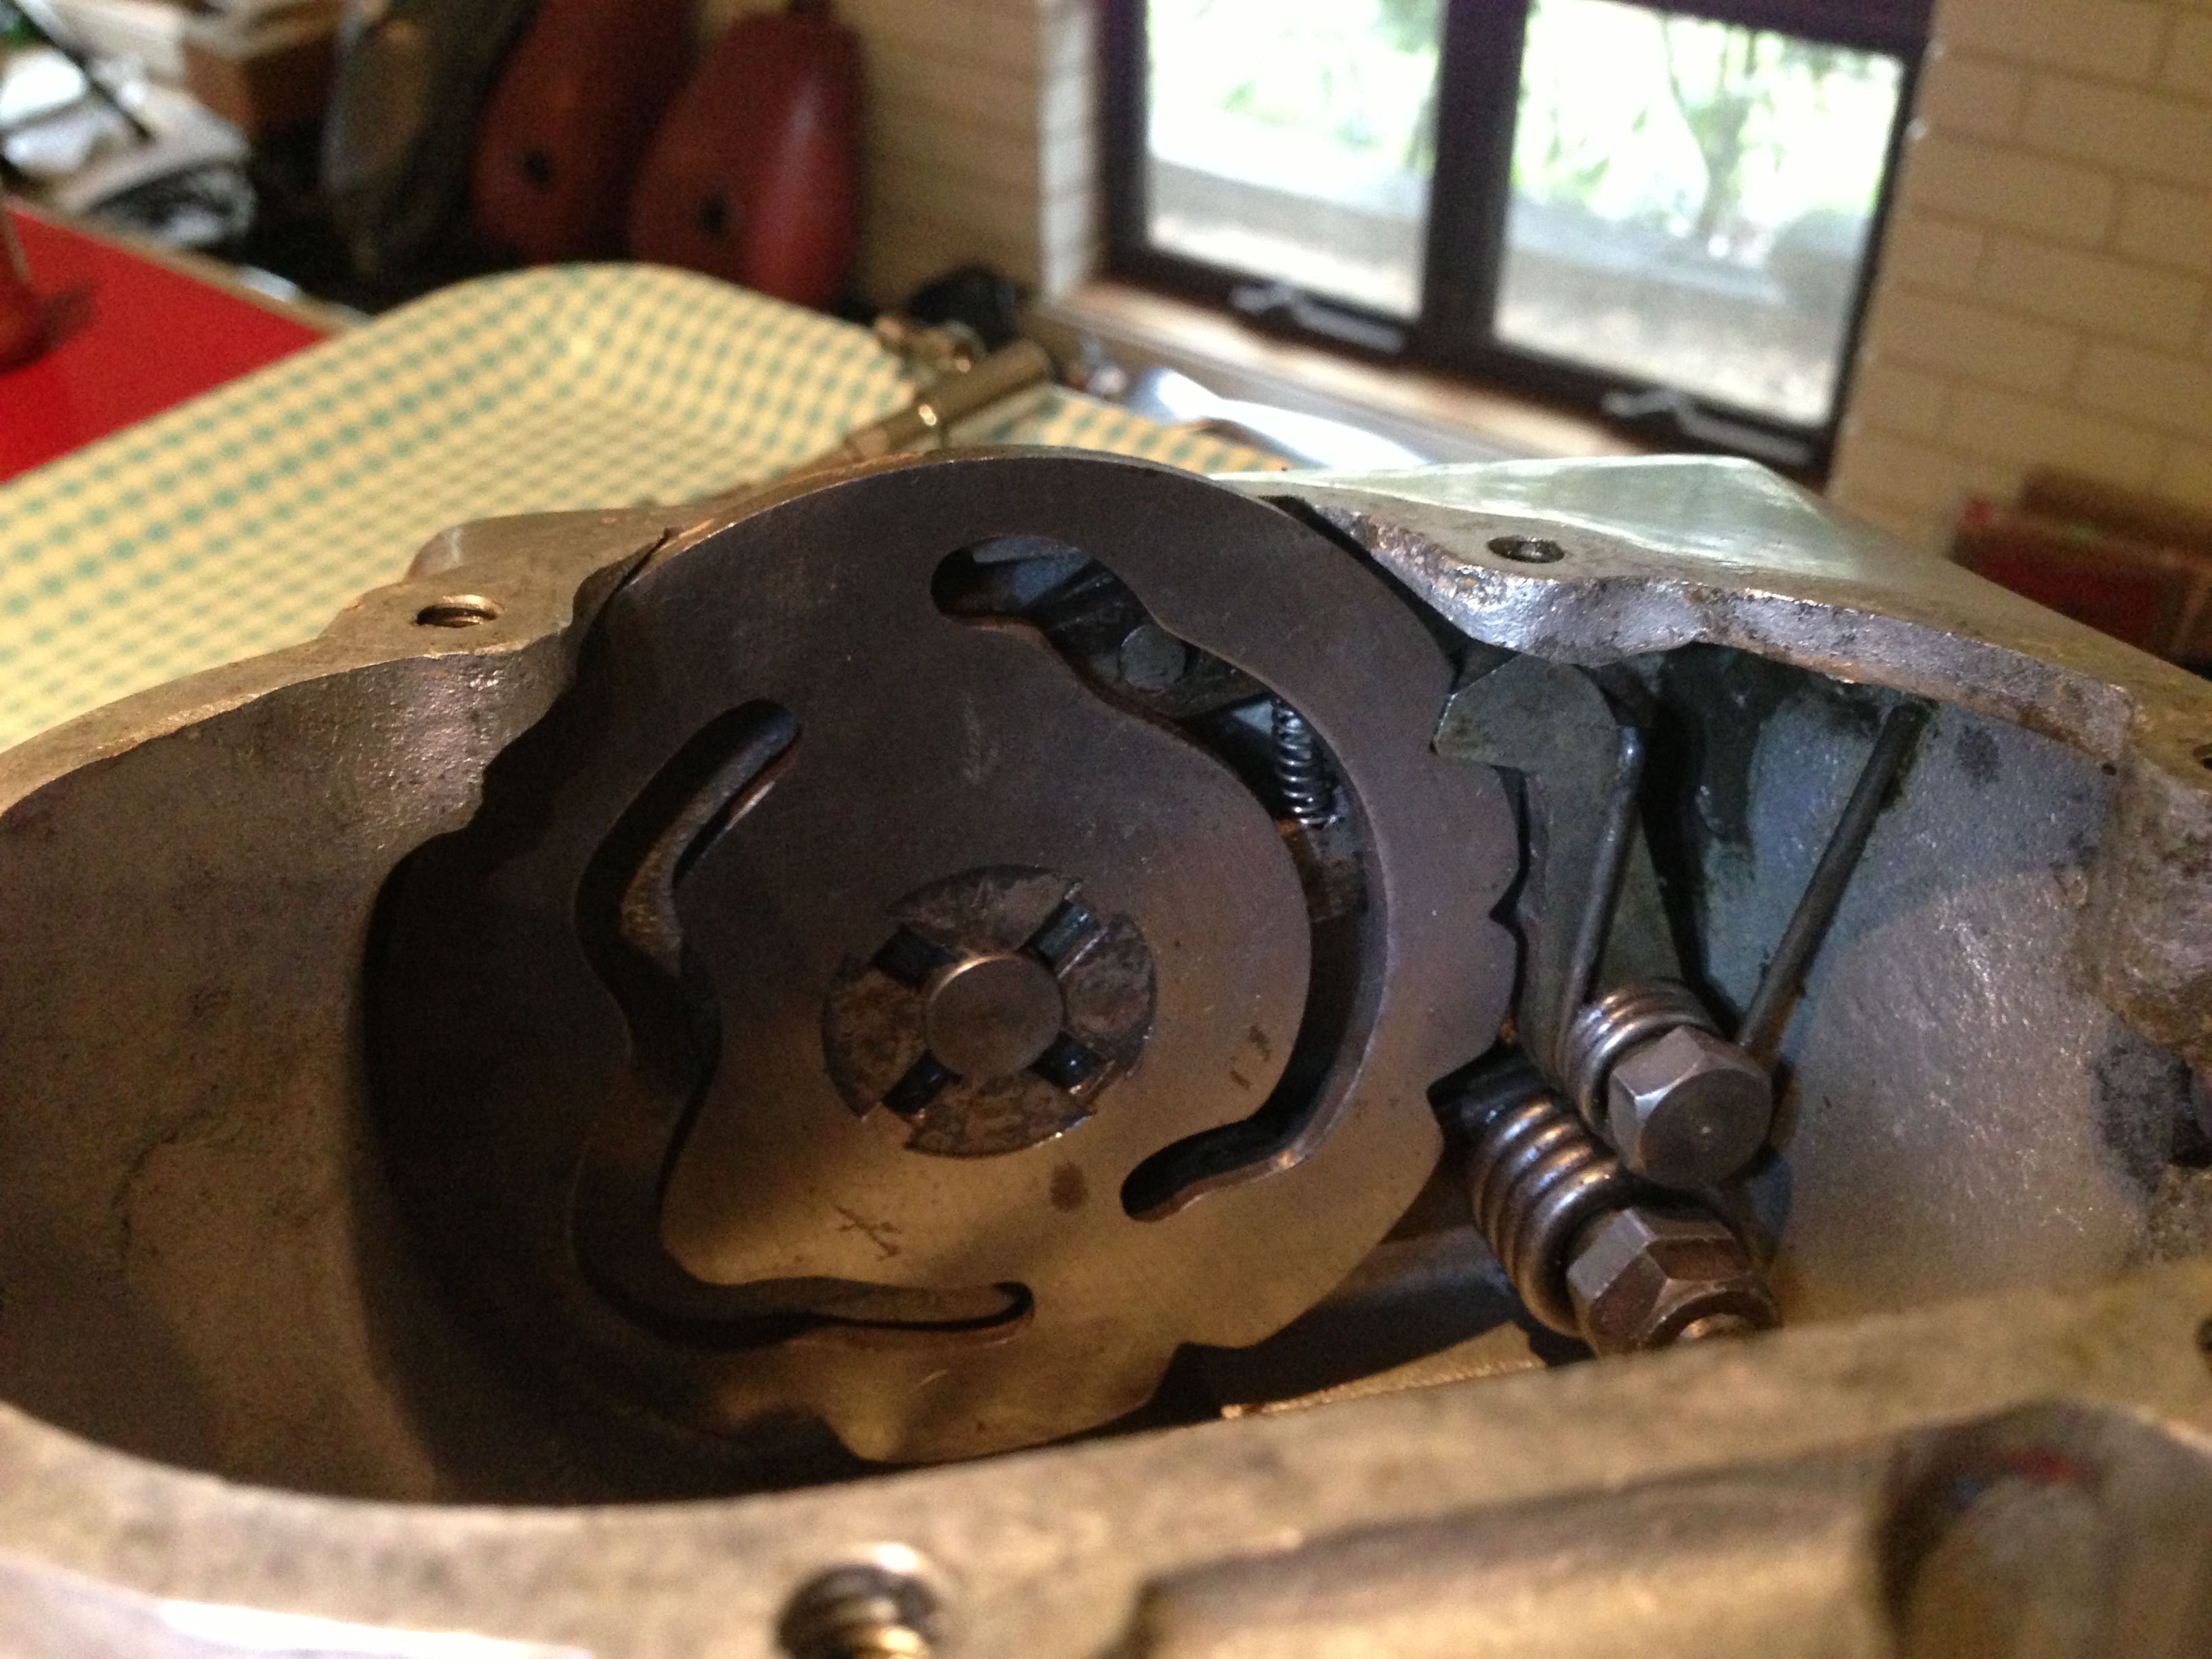
So this is the inside of the box after wiping out and cleaning, the camplate still engaged but the pin already unscrewed, which is why it is a bit ‘skew’.
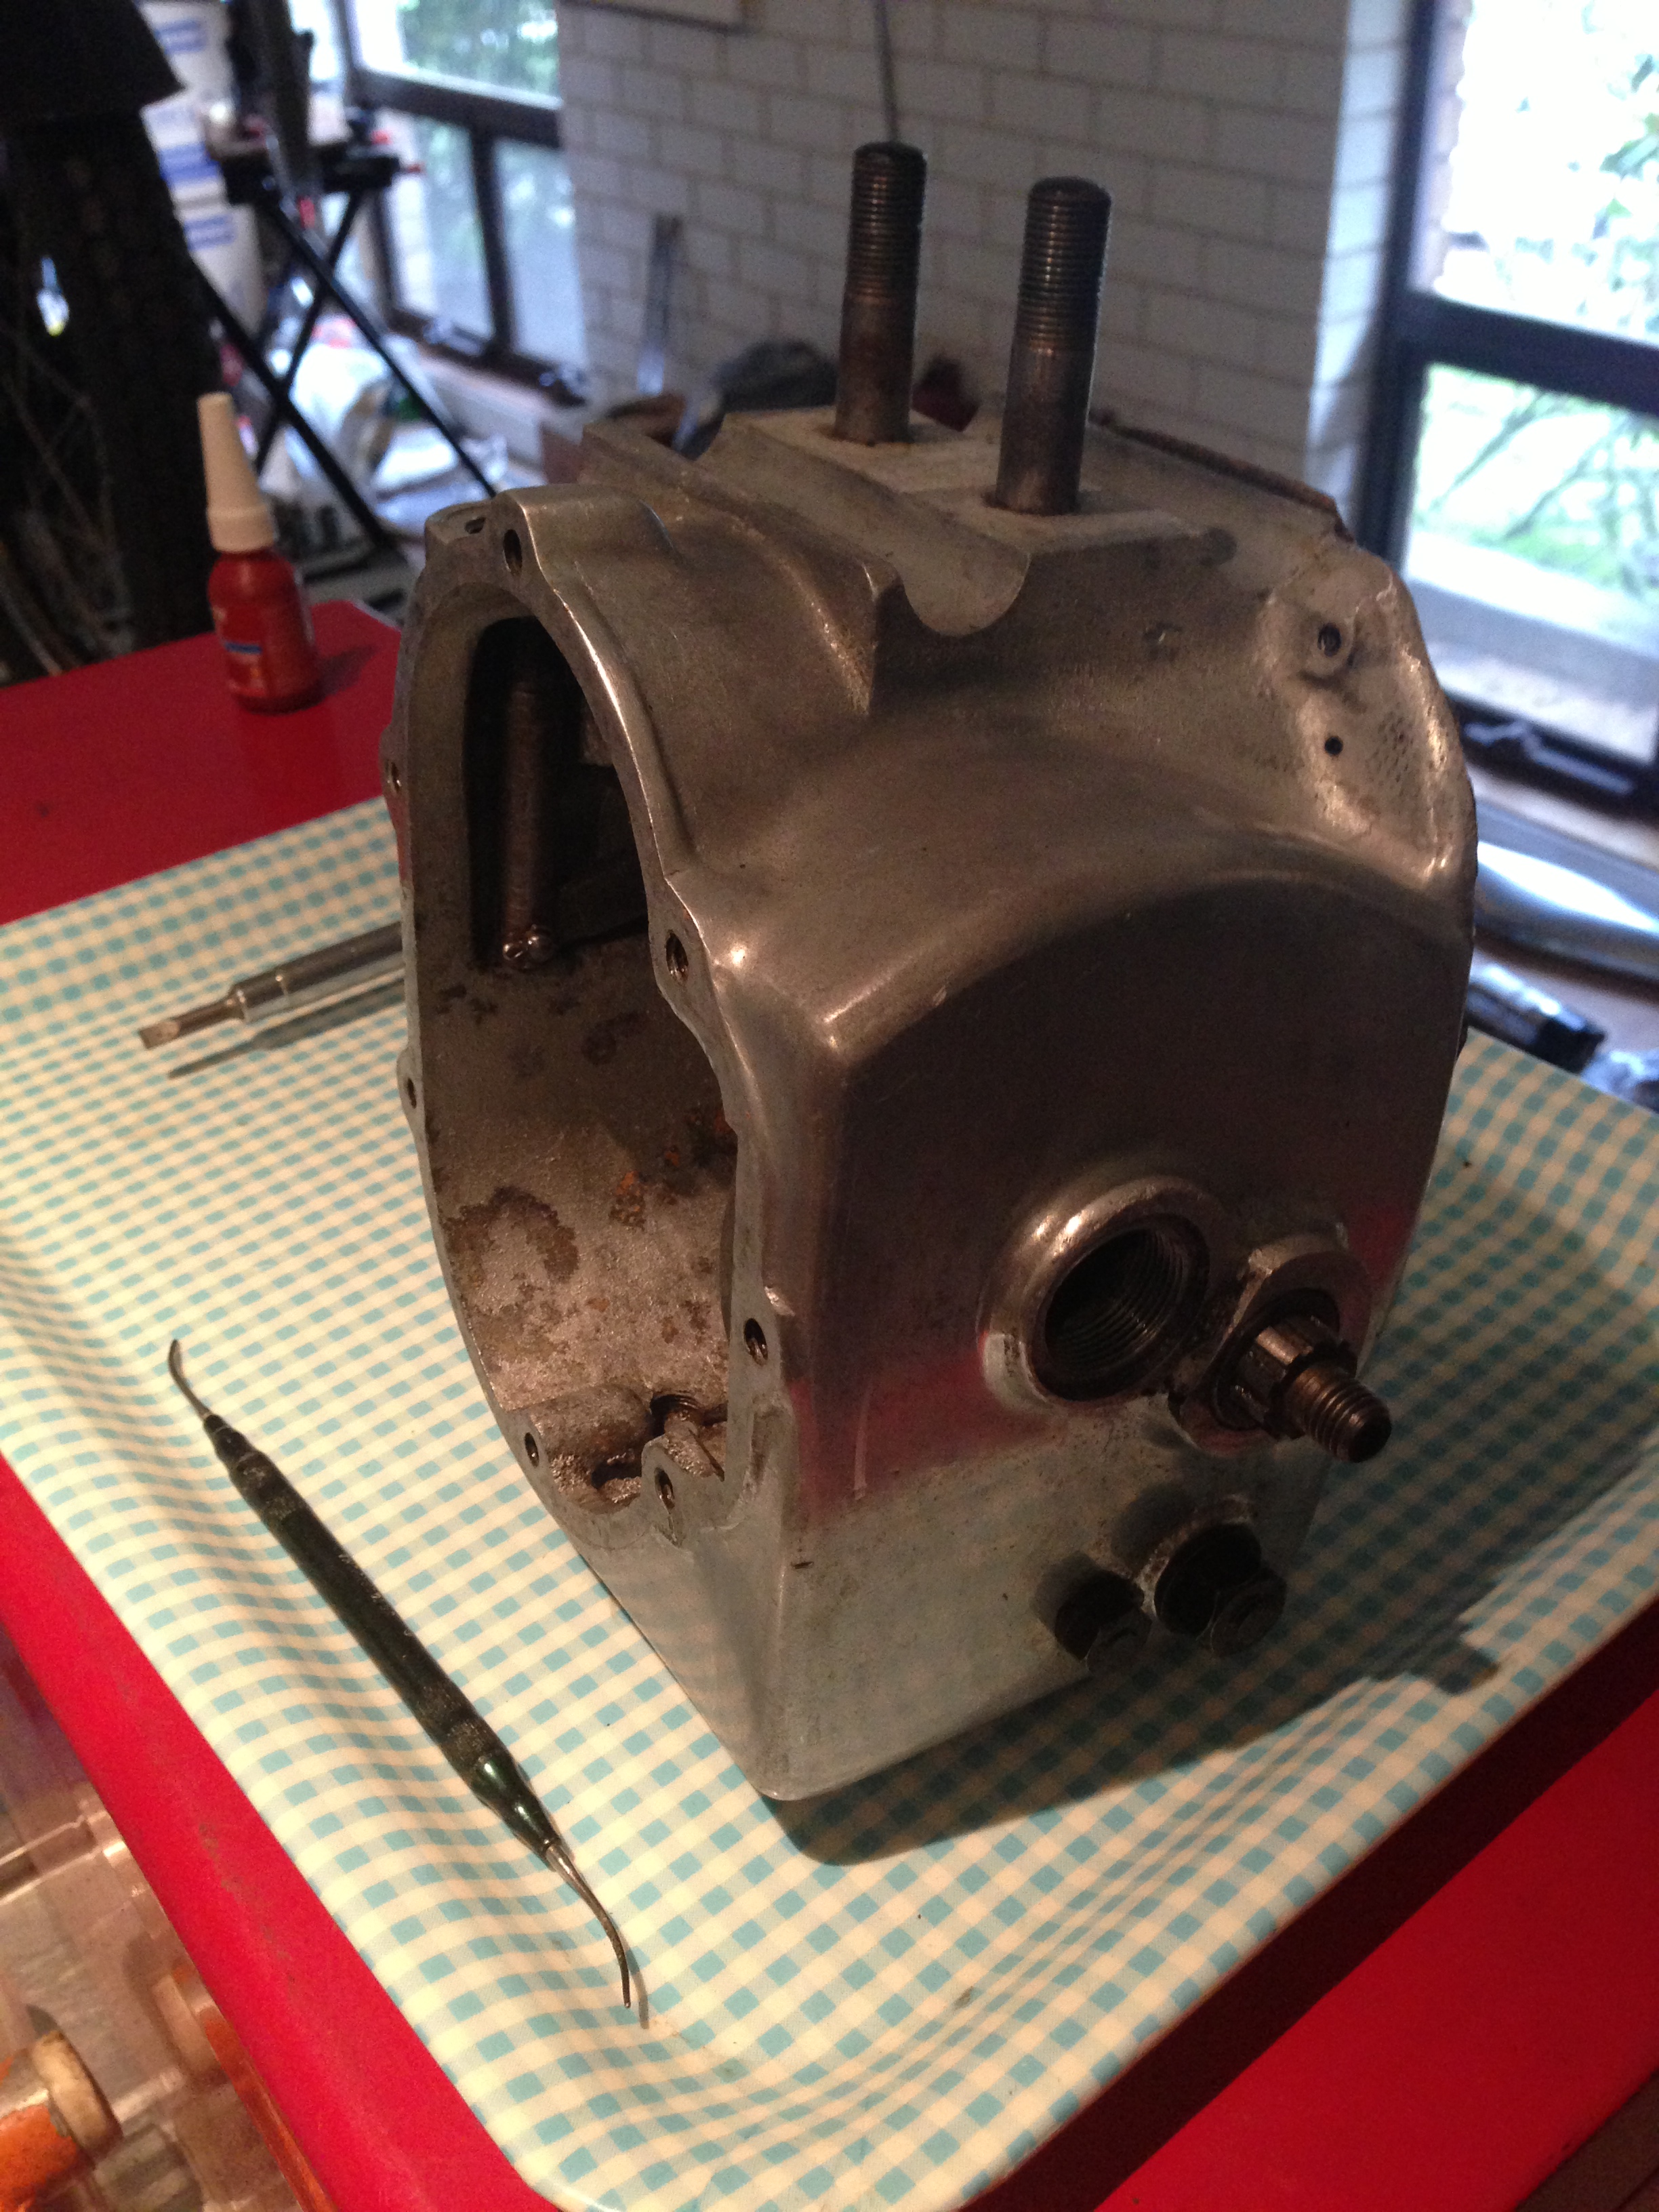
Outside cleaned of all the crud that was on it.
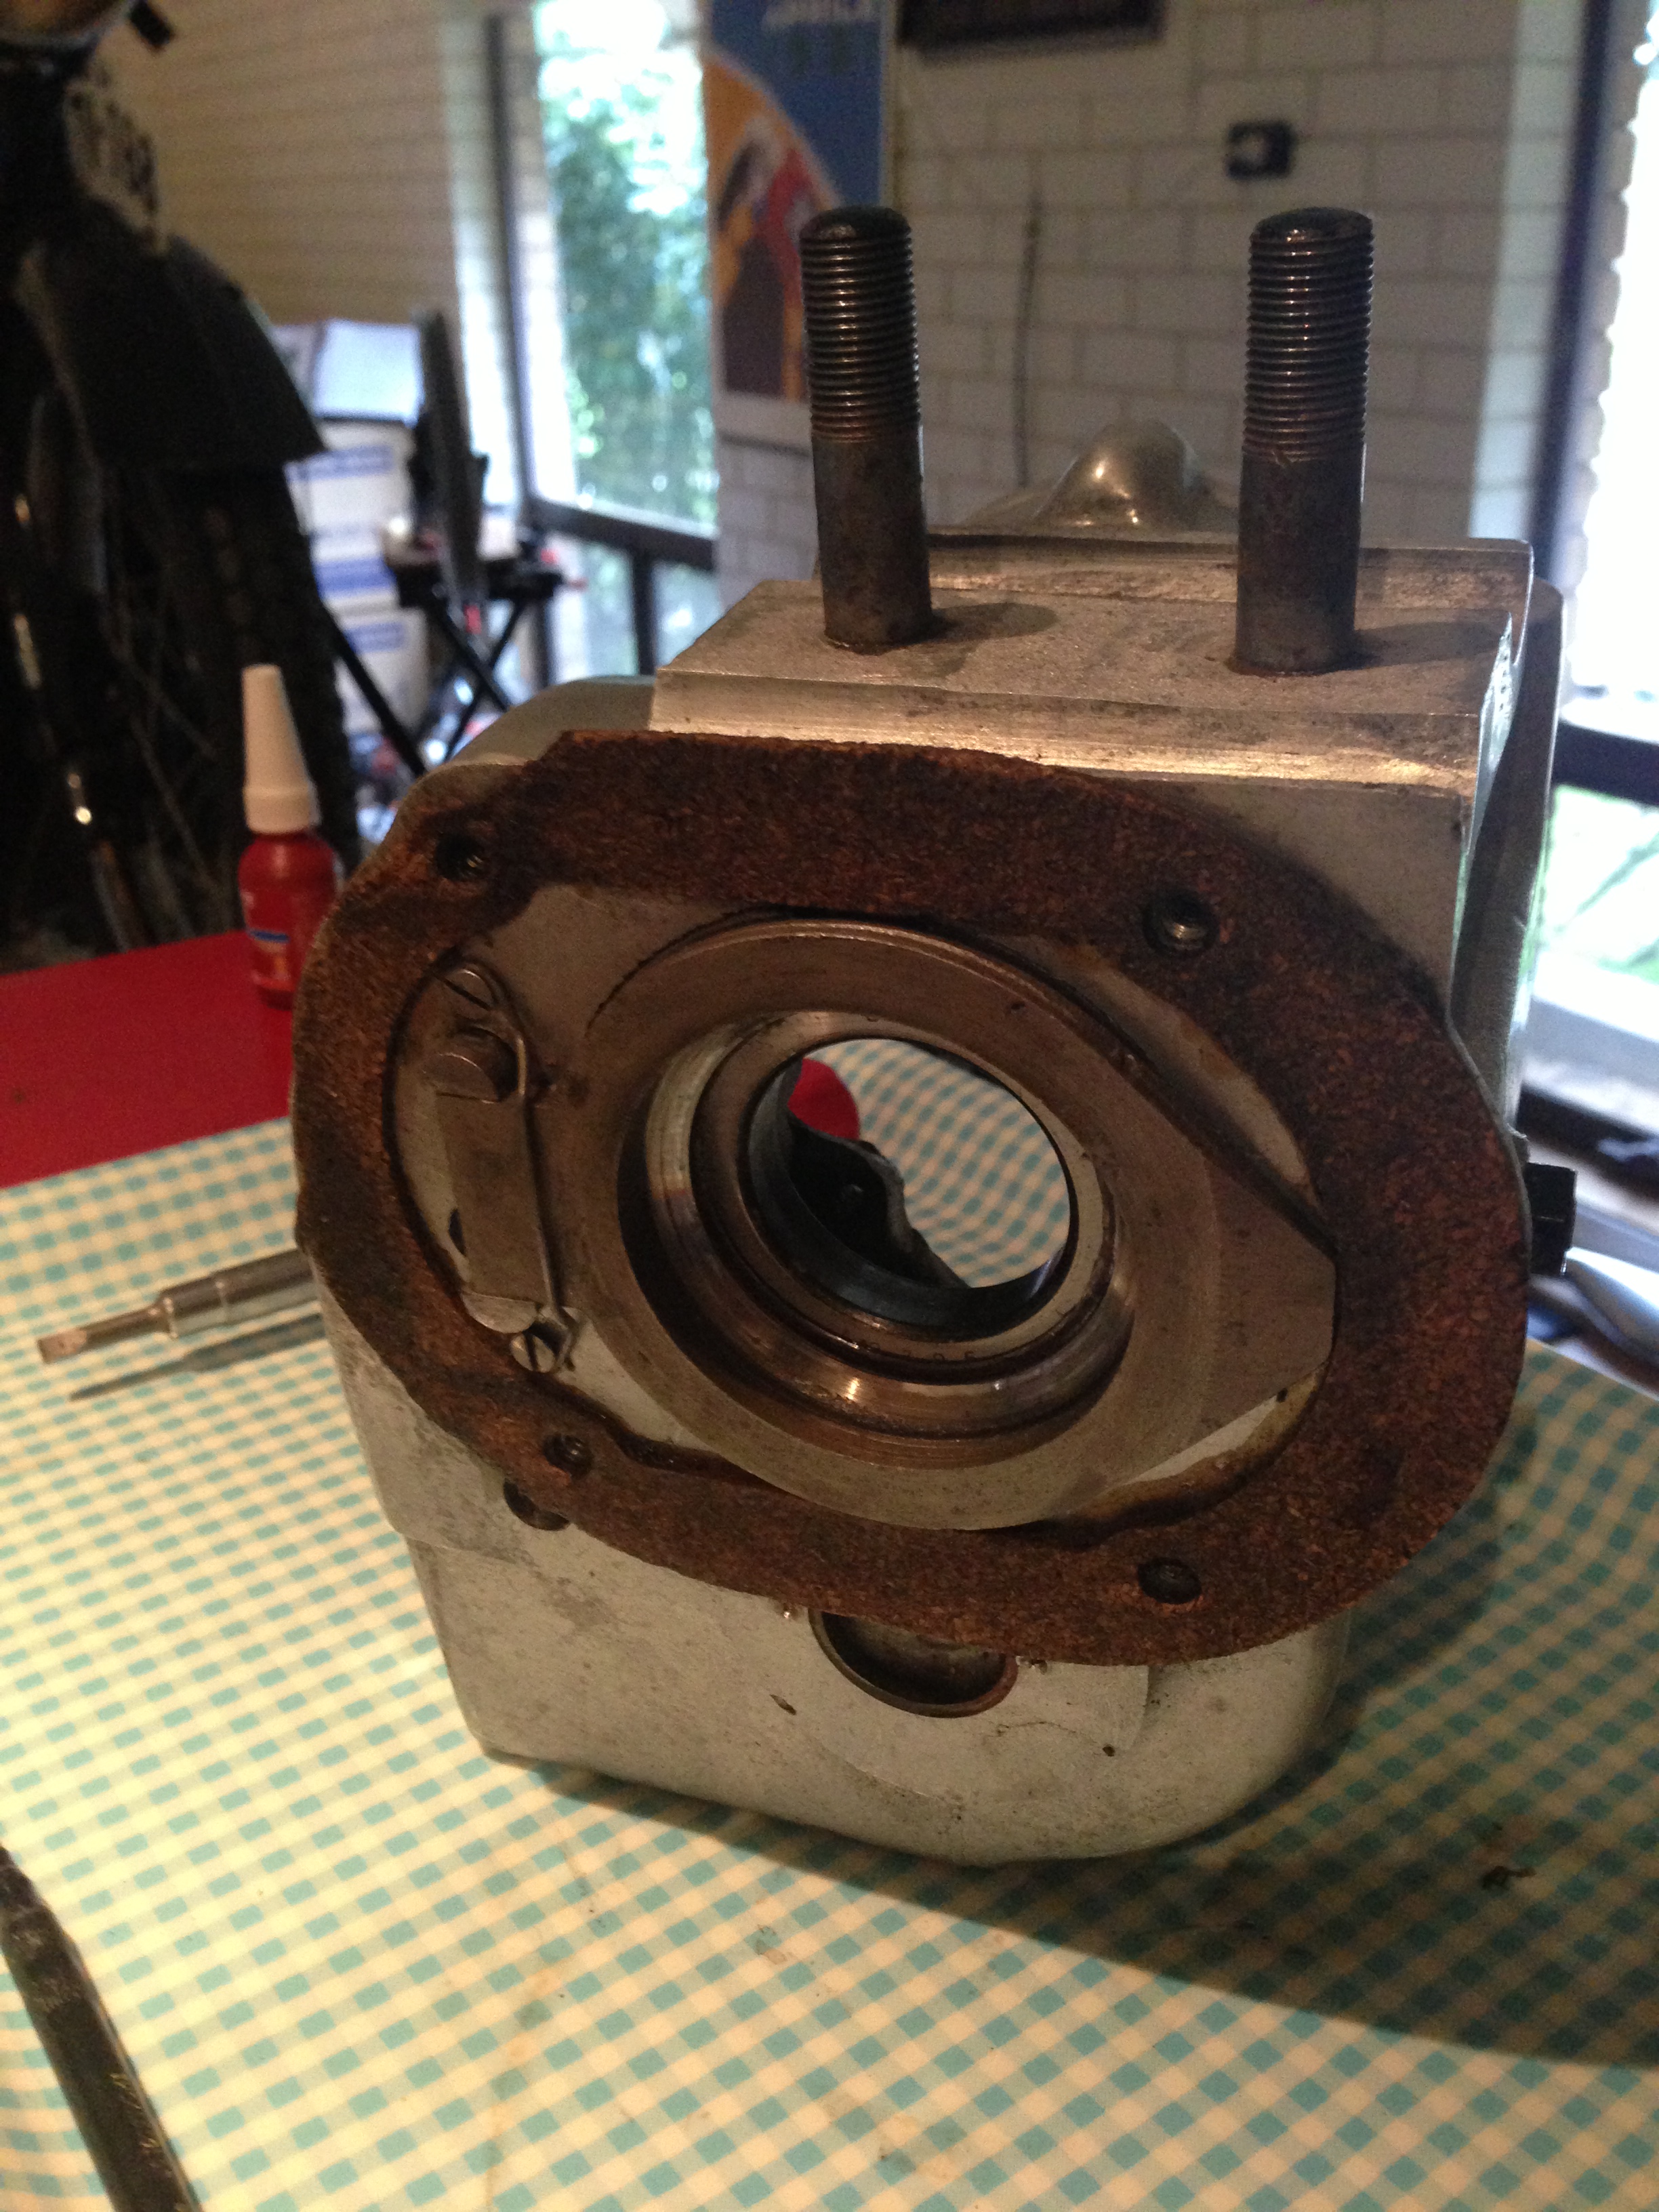
and the clutch end, without disturbing the cork, which is all intact.
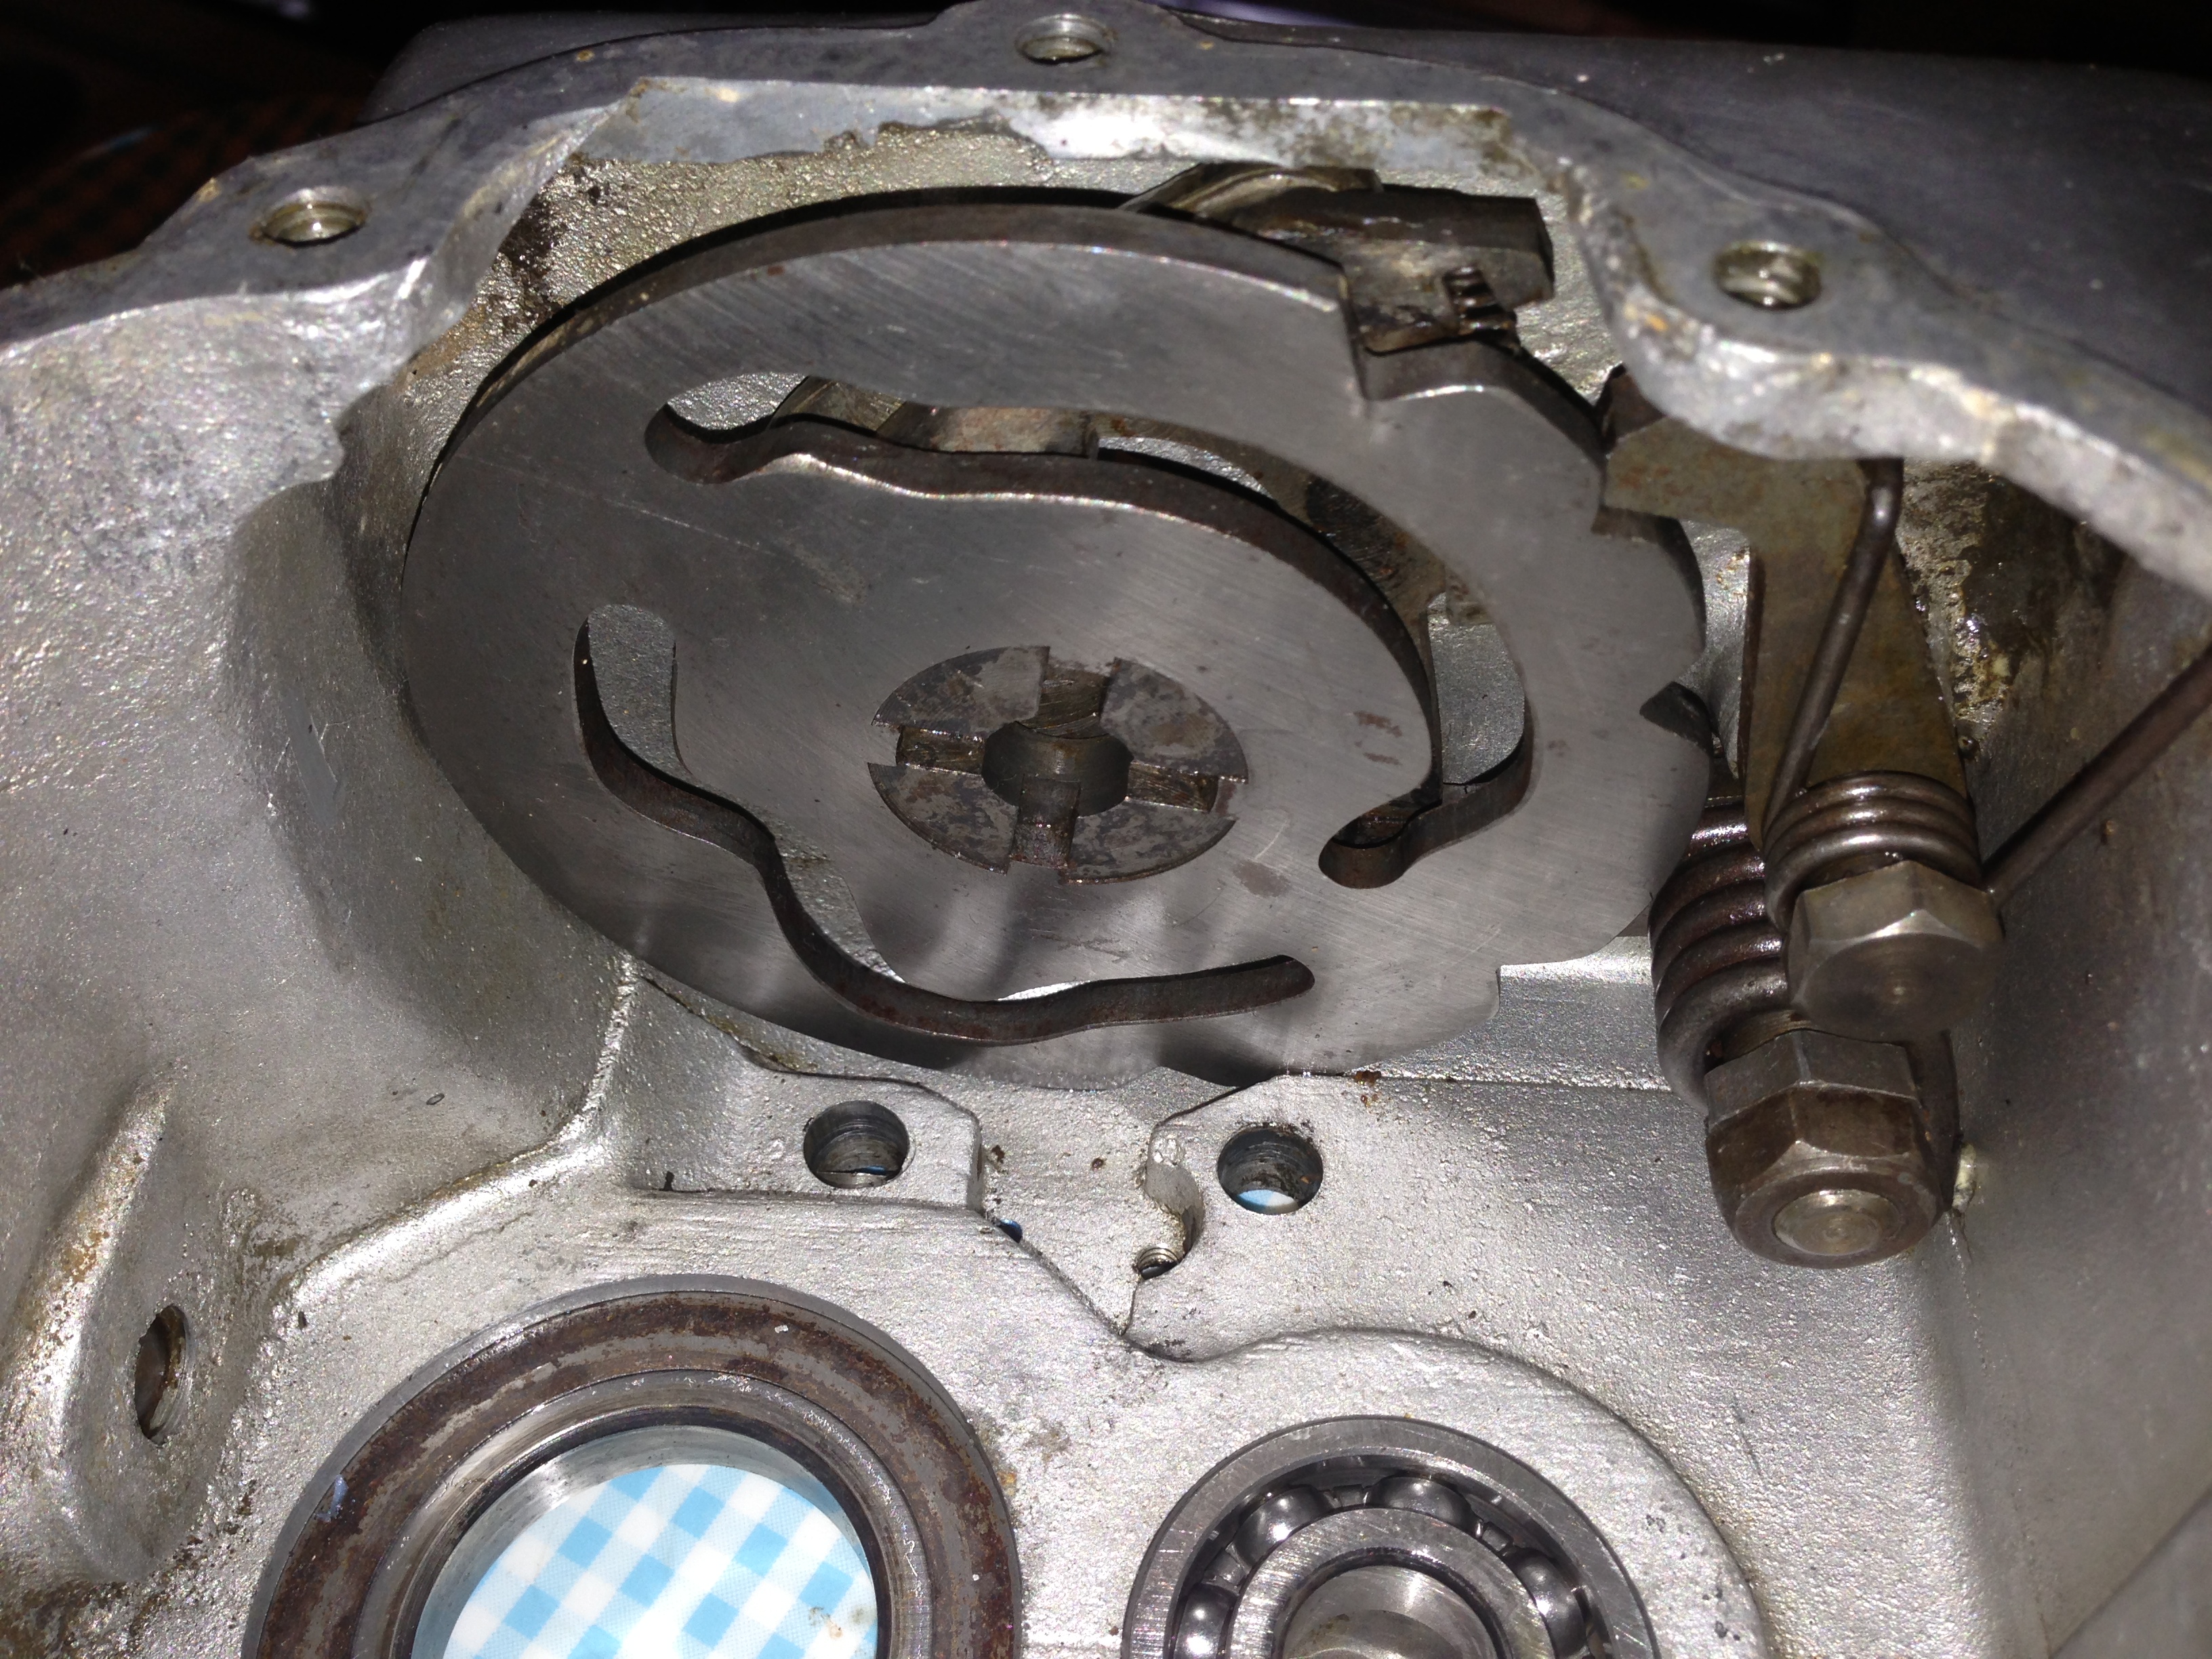
OK, here is the camplate properly, so that you can see it! The pivot is obviously missing from the centre and the selector-pawl is notched in the ‘neutral’ position.
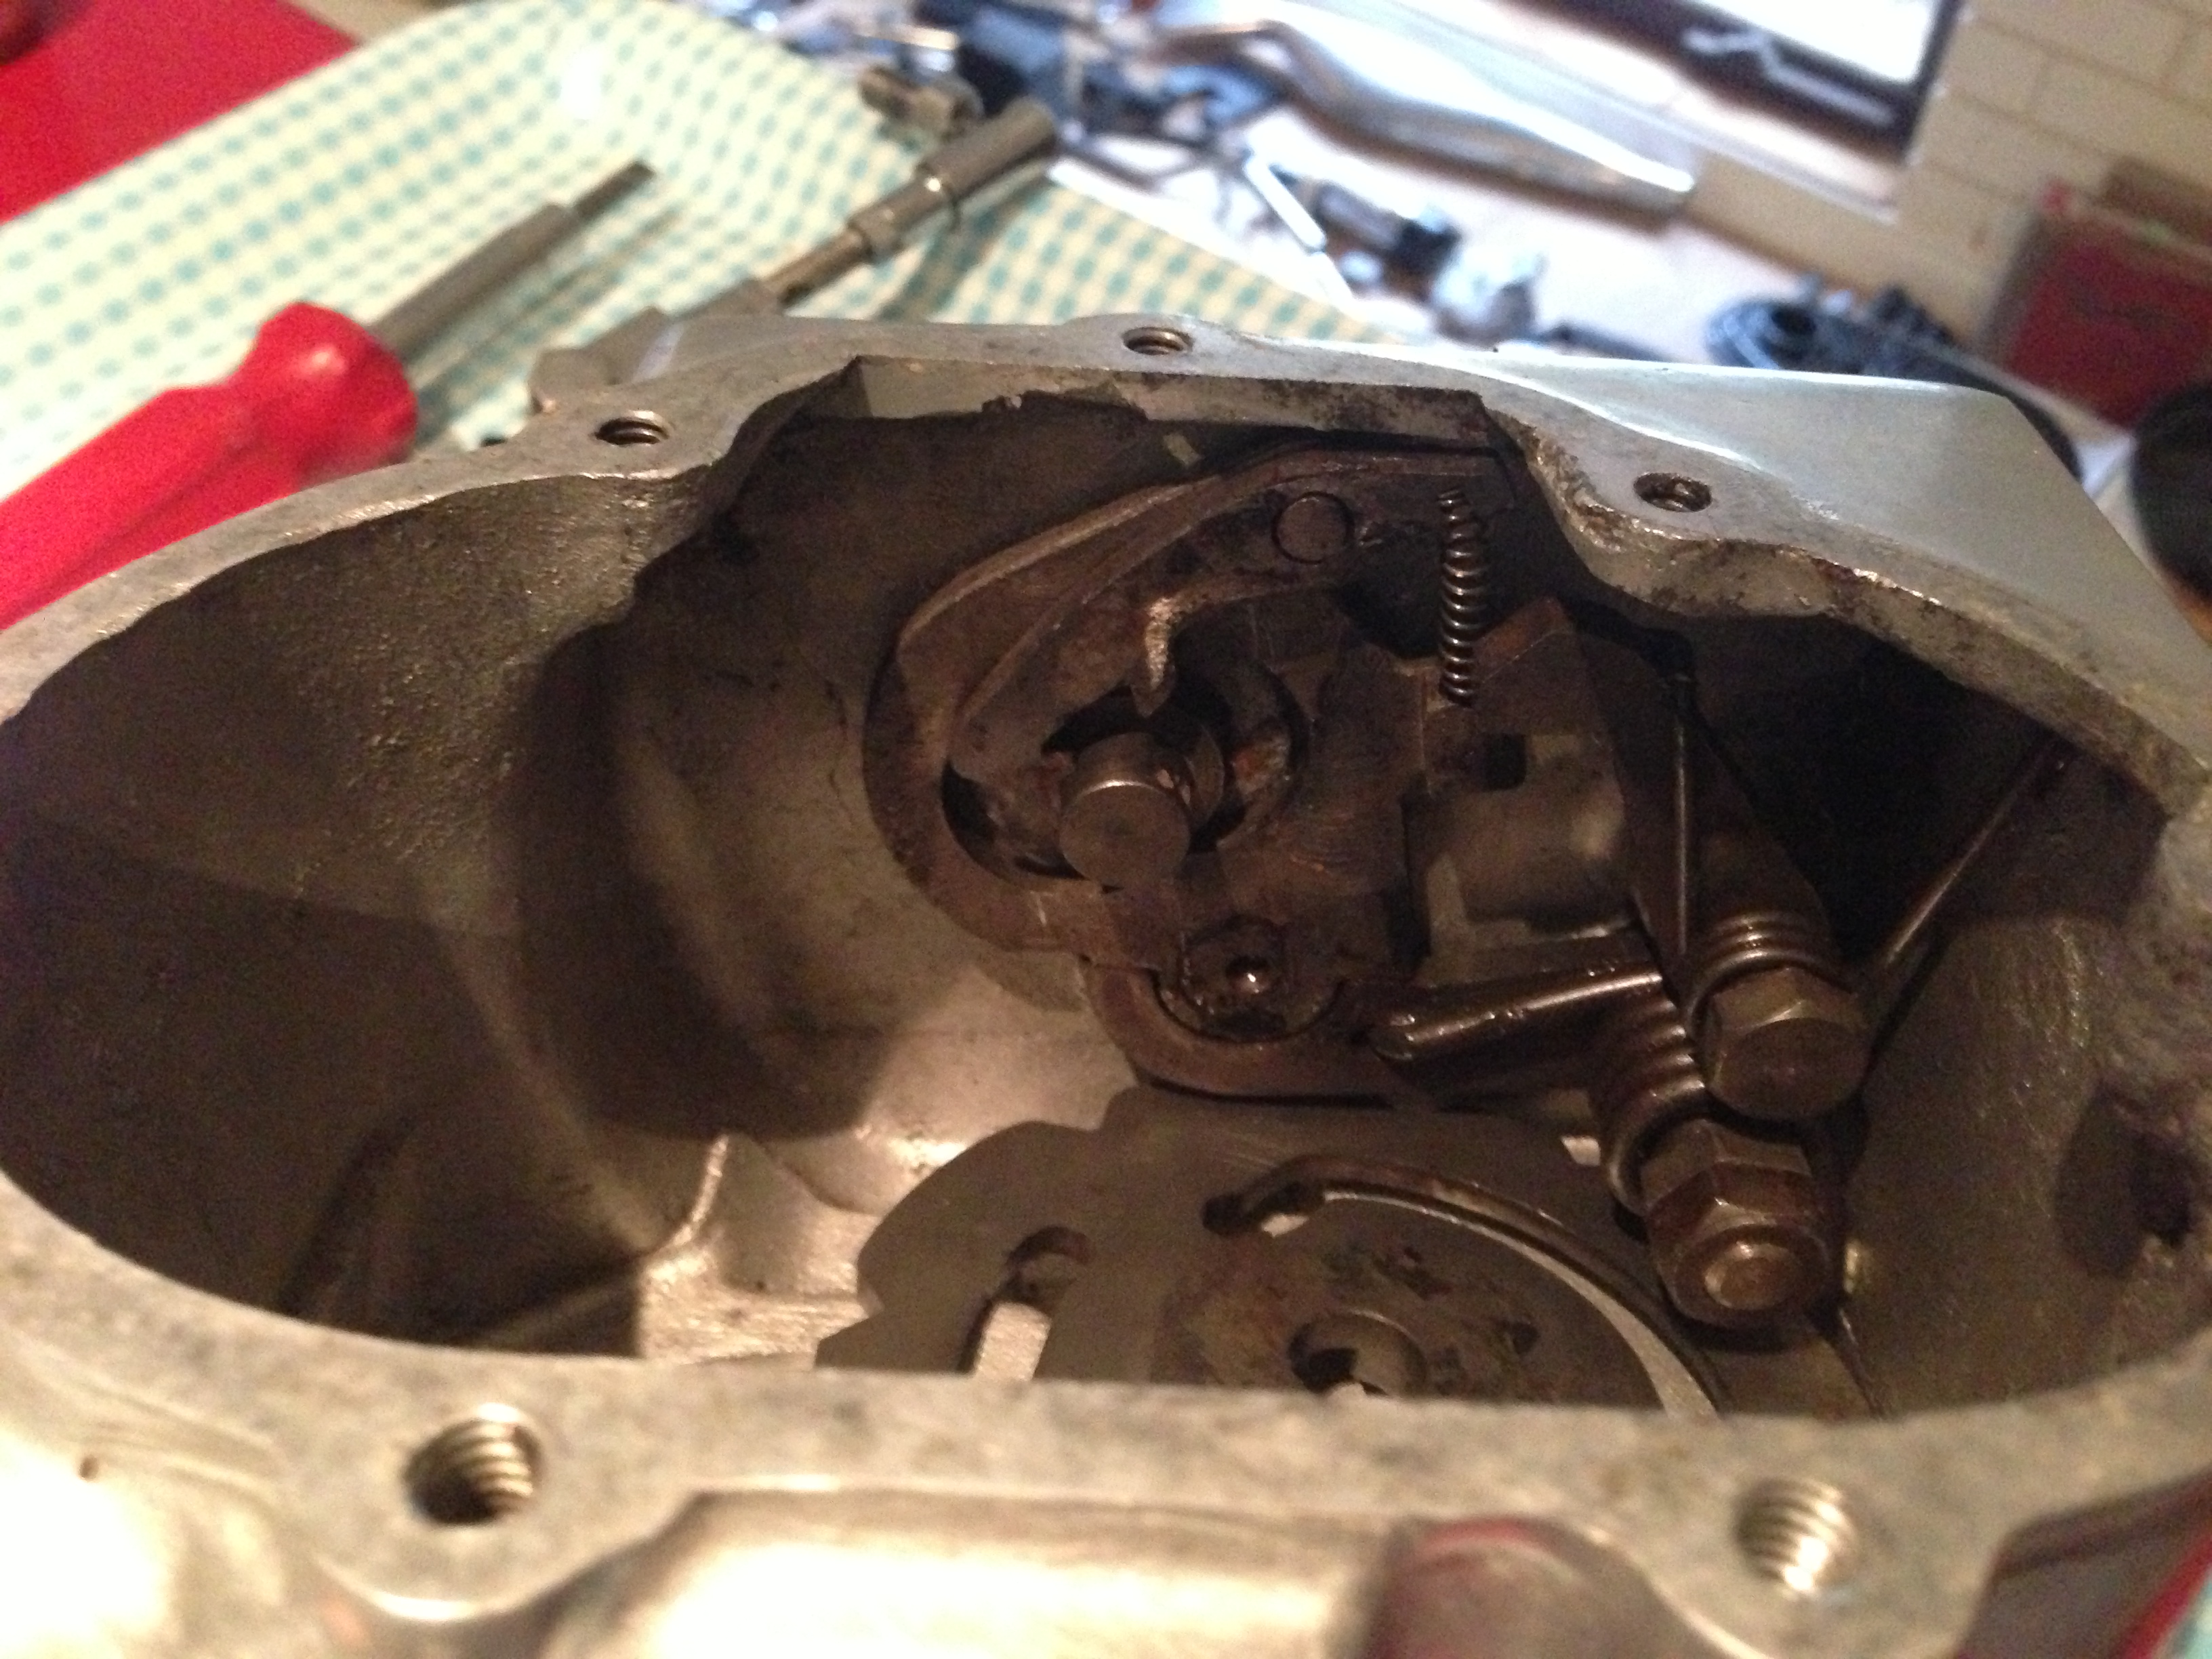
The plate removed and showing what lurks behind it, which is all OK. The ‘Biro’ spring (vertical) will also be ordered for later… the pivot bolt (with Loctite!) is seen here already screwed back in from the outside… tightened up and then repainted black again!
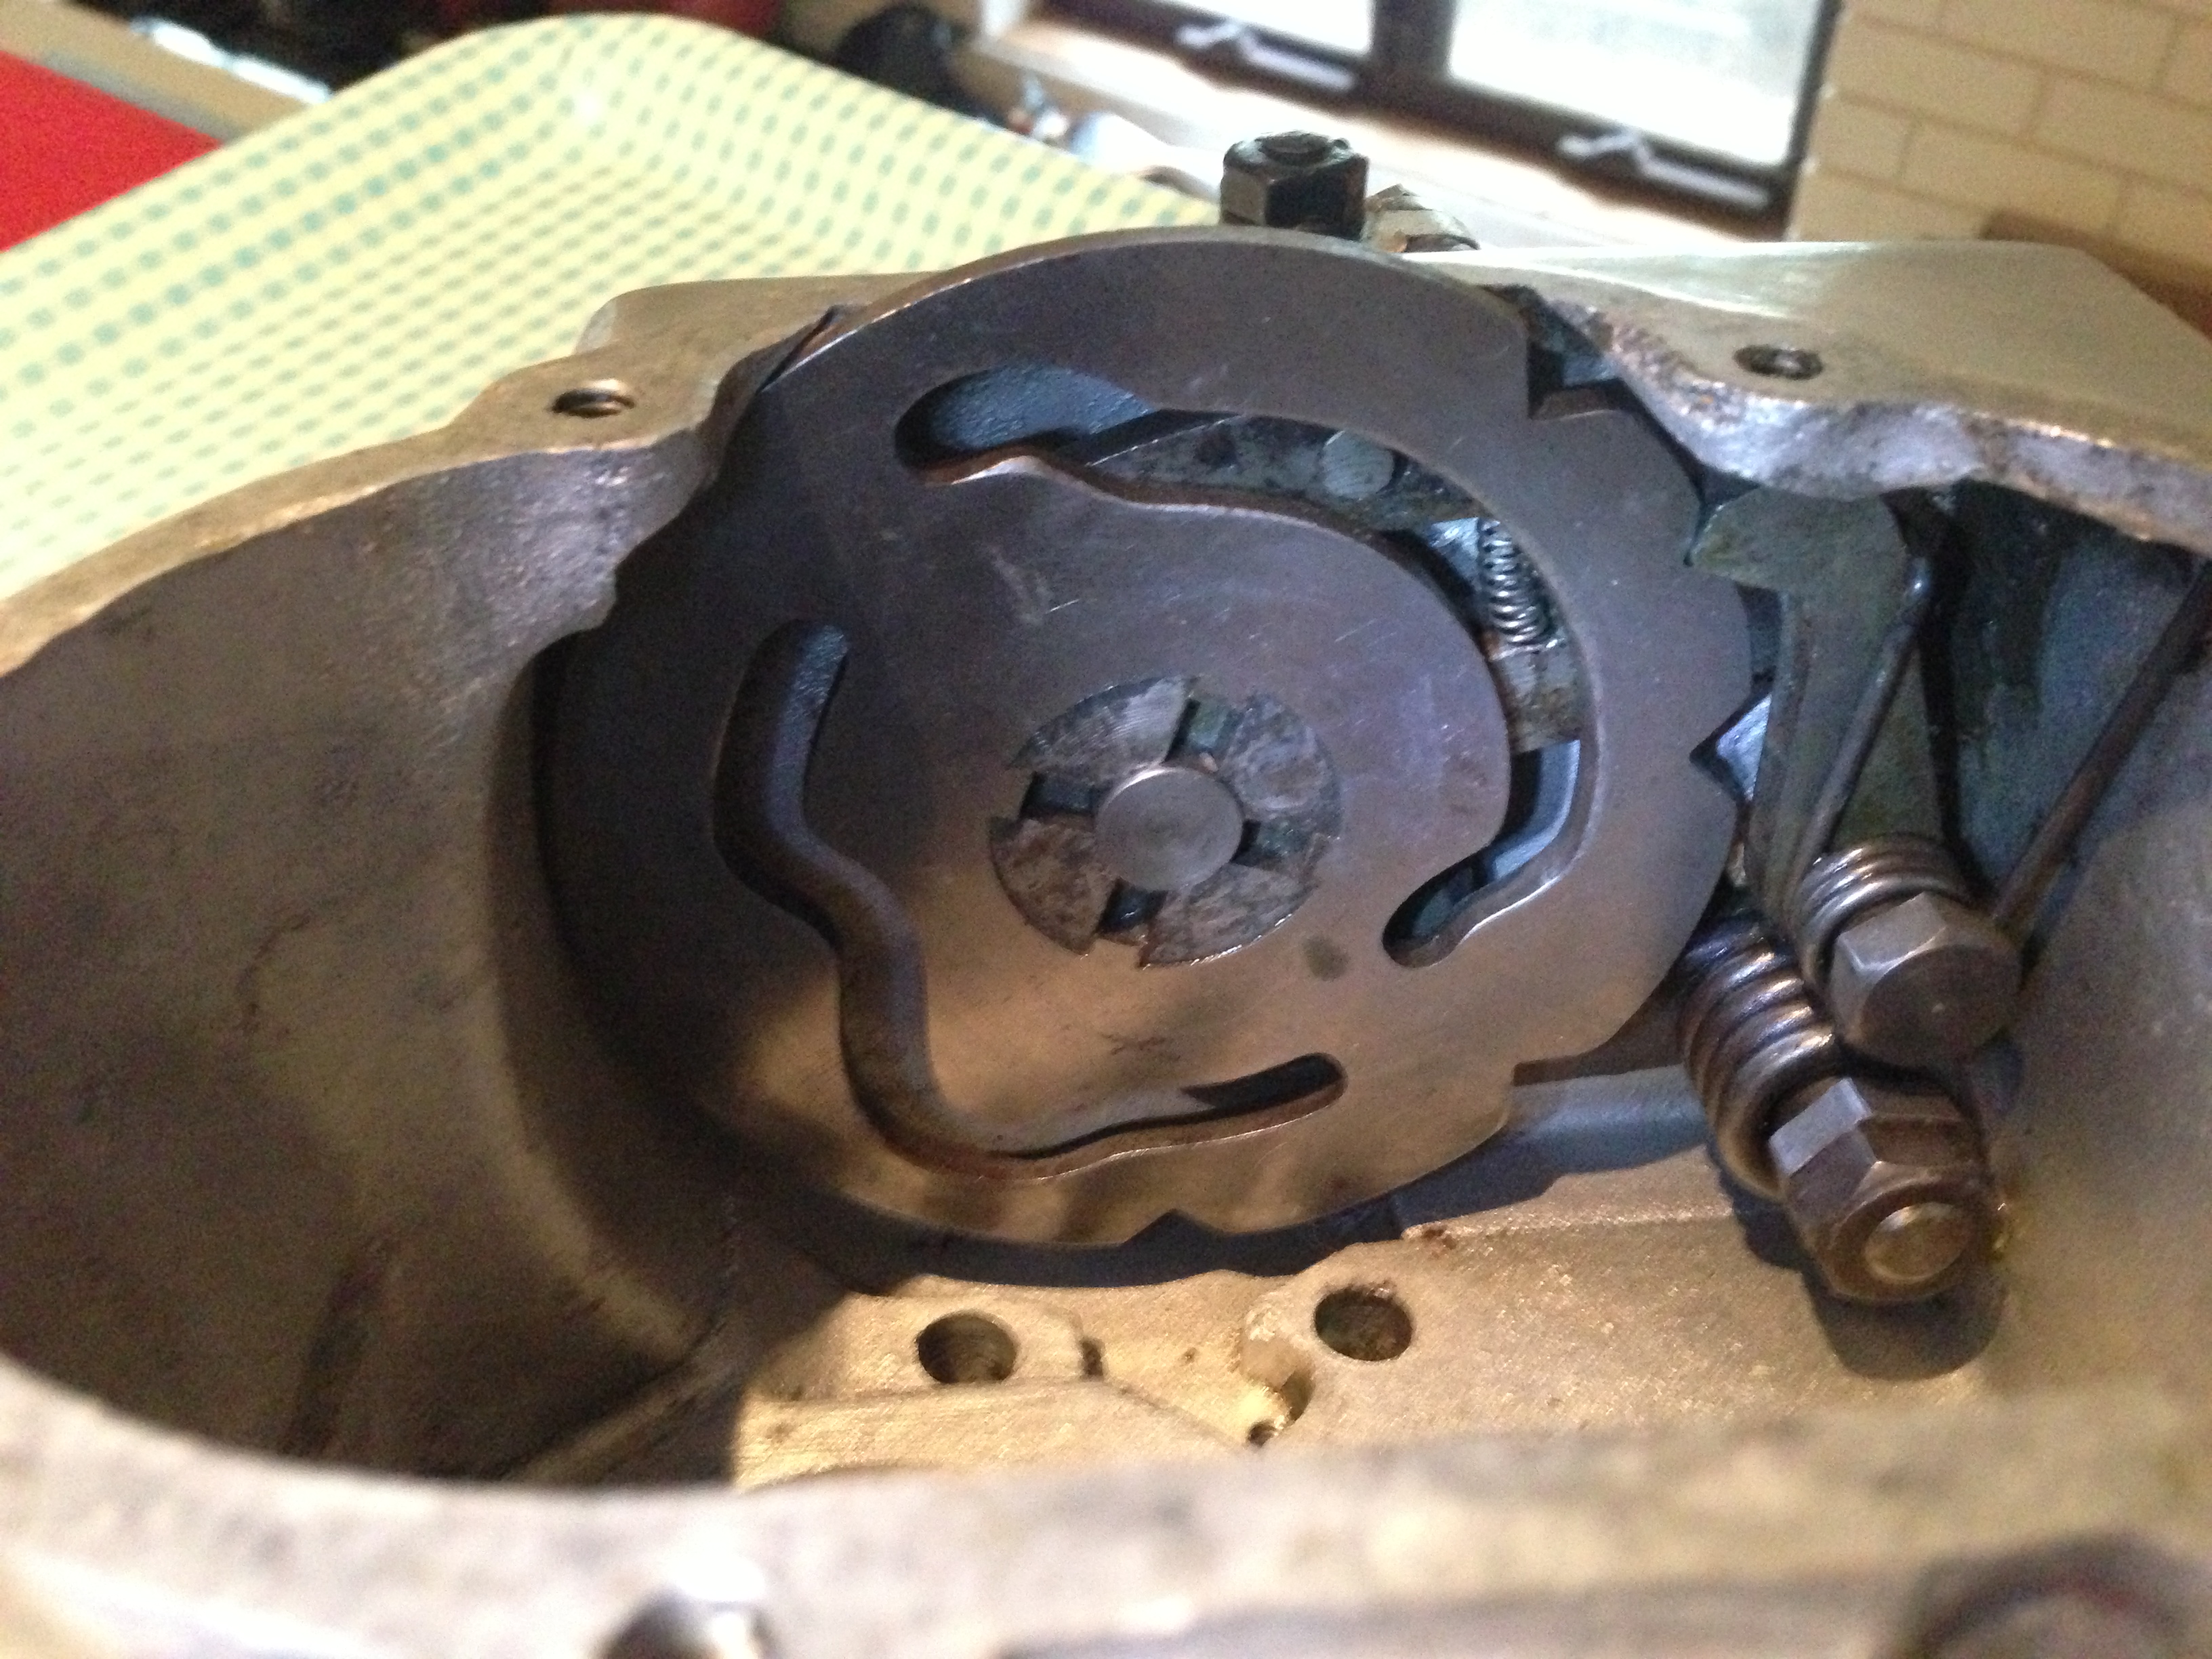
The plate replaced, making sure that ‘neutral’ detent is engaged with the pawl (neutral is always the shallowest indentation, and is the second one from one of the ends (depending which plate you have… WD and postwar ones were generally for all models the other way round for the gearchange ‘one-up, three down’).
This one shows the detent for first gear ‘occupied’ by the pawl… see how the one for neutral (2nd notch) is smaller?
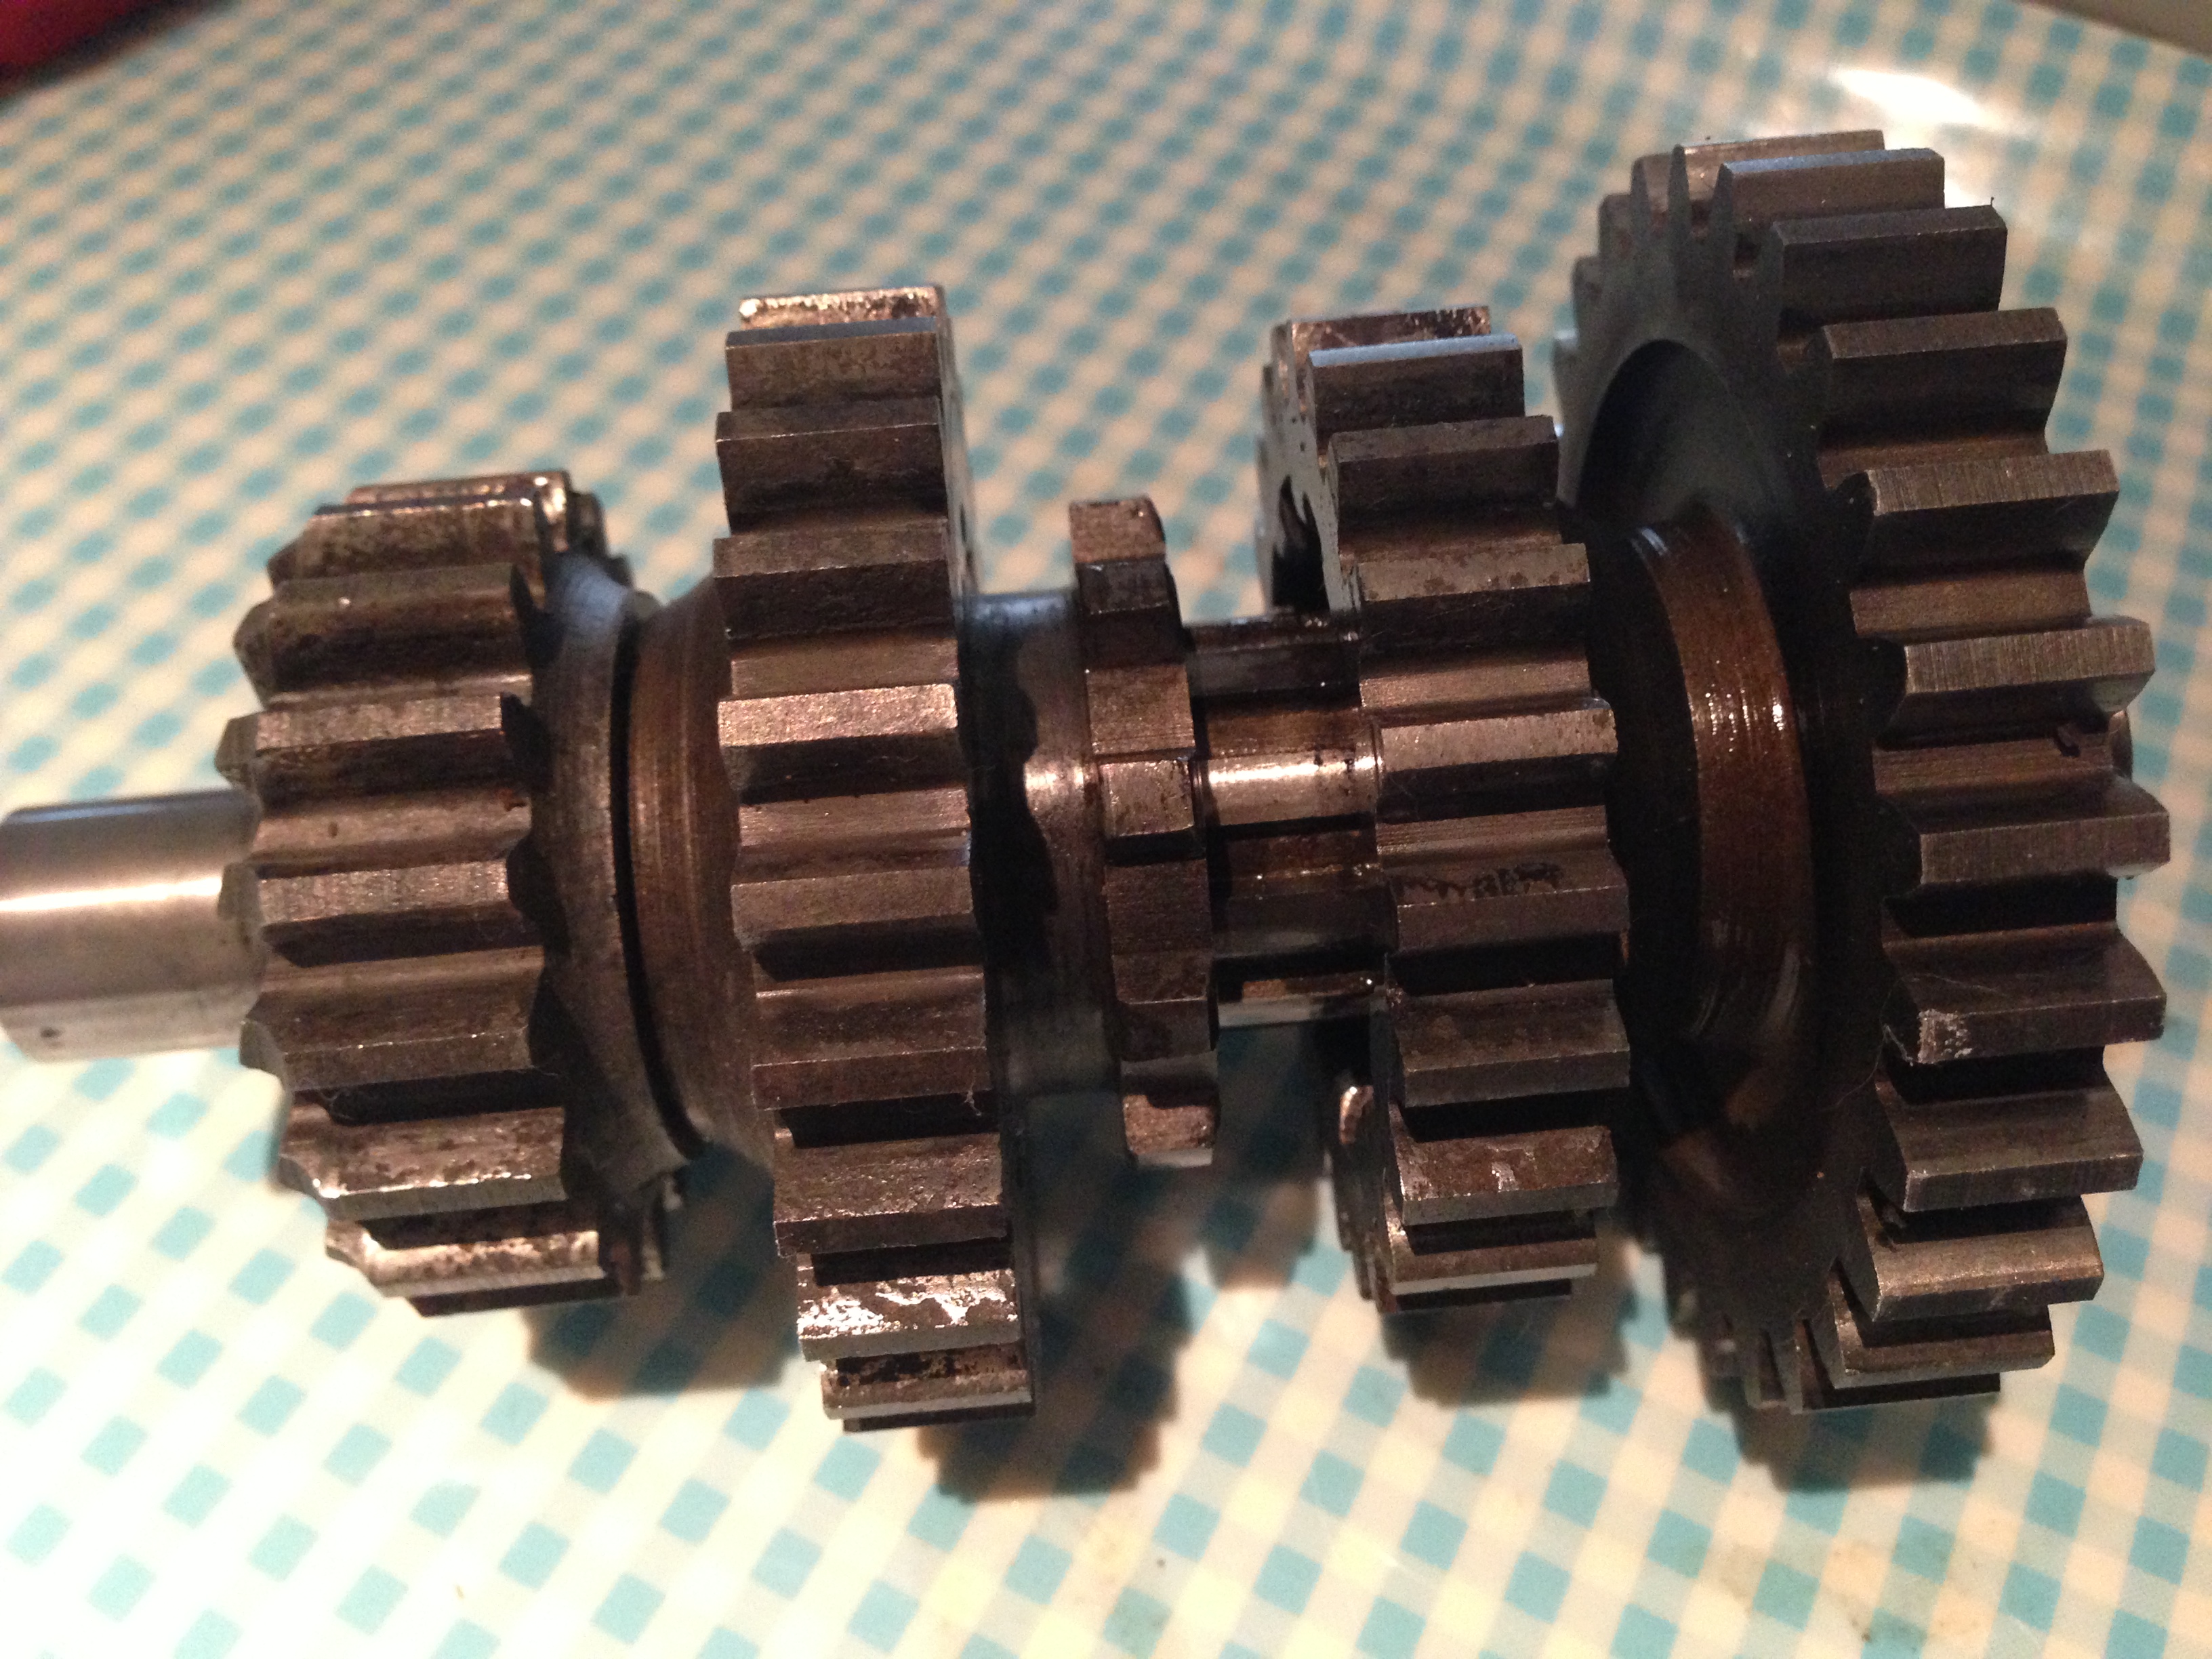
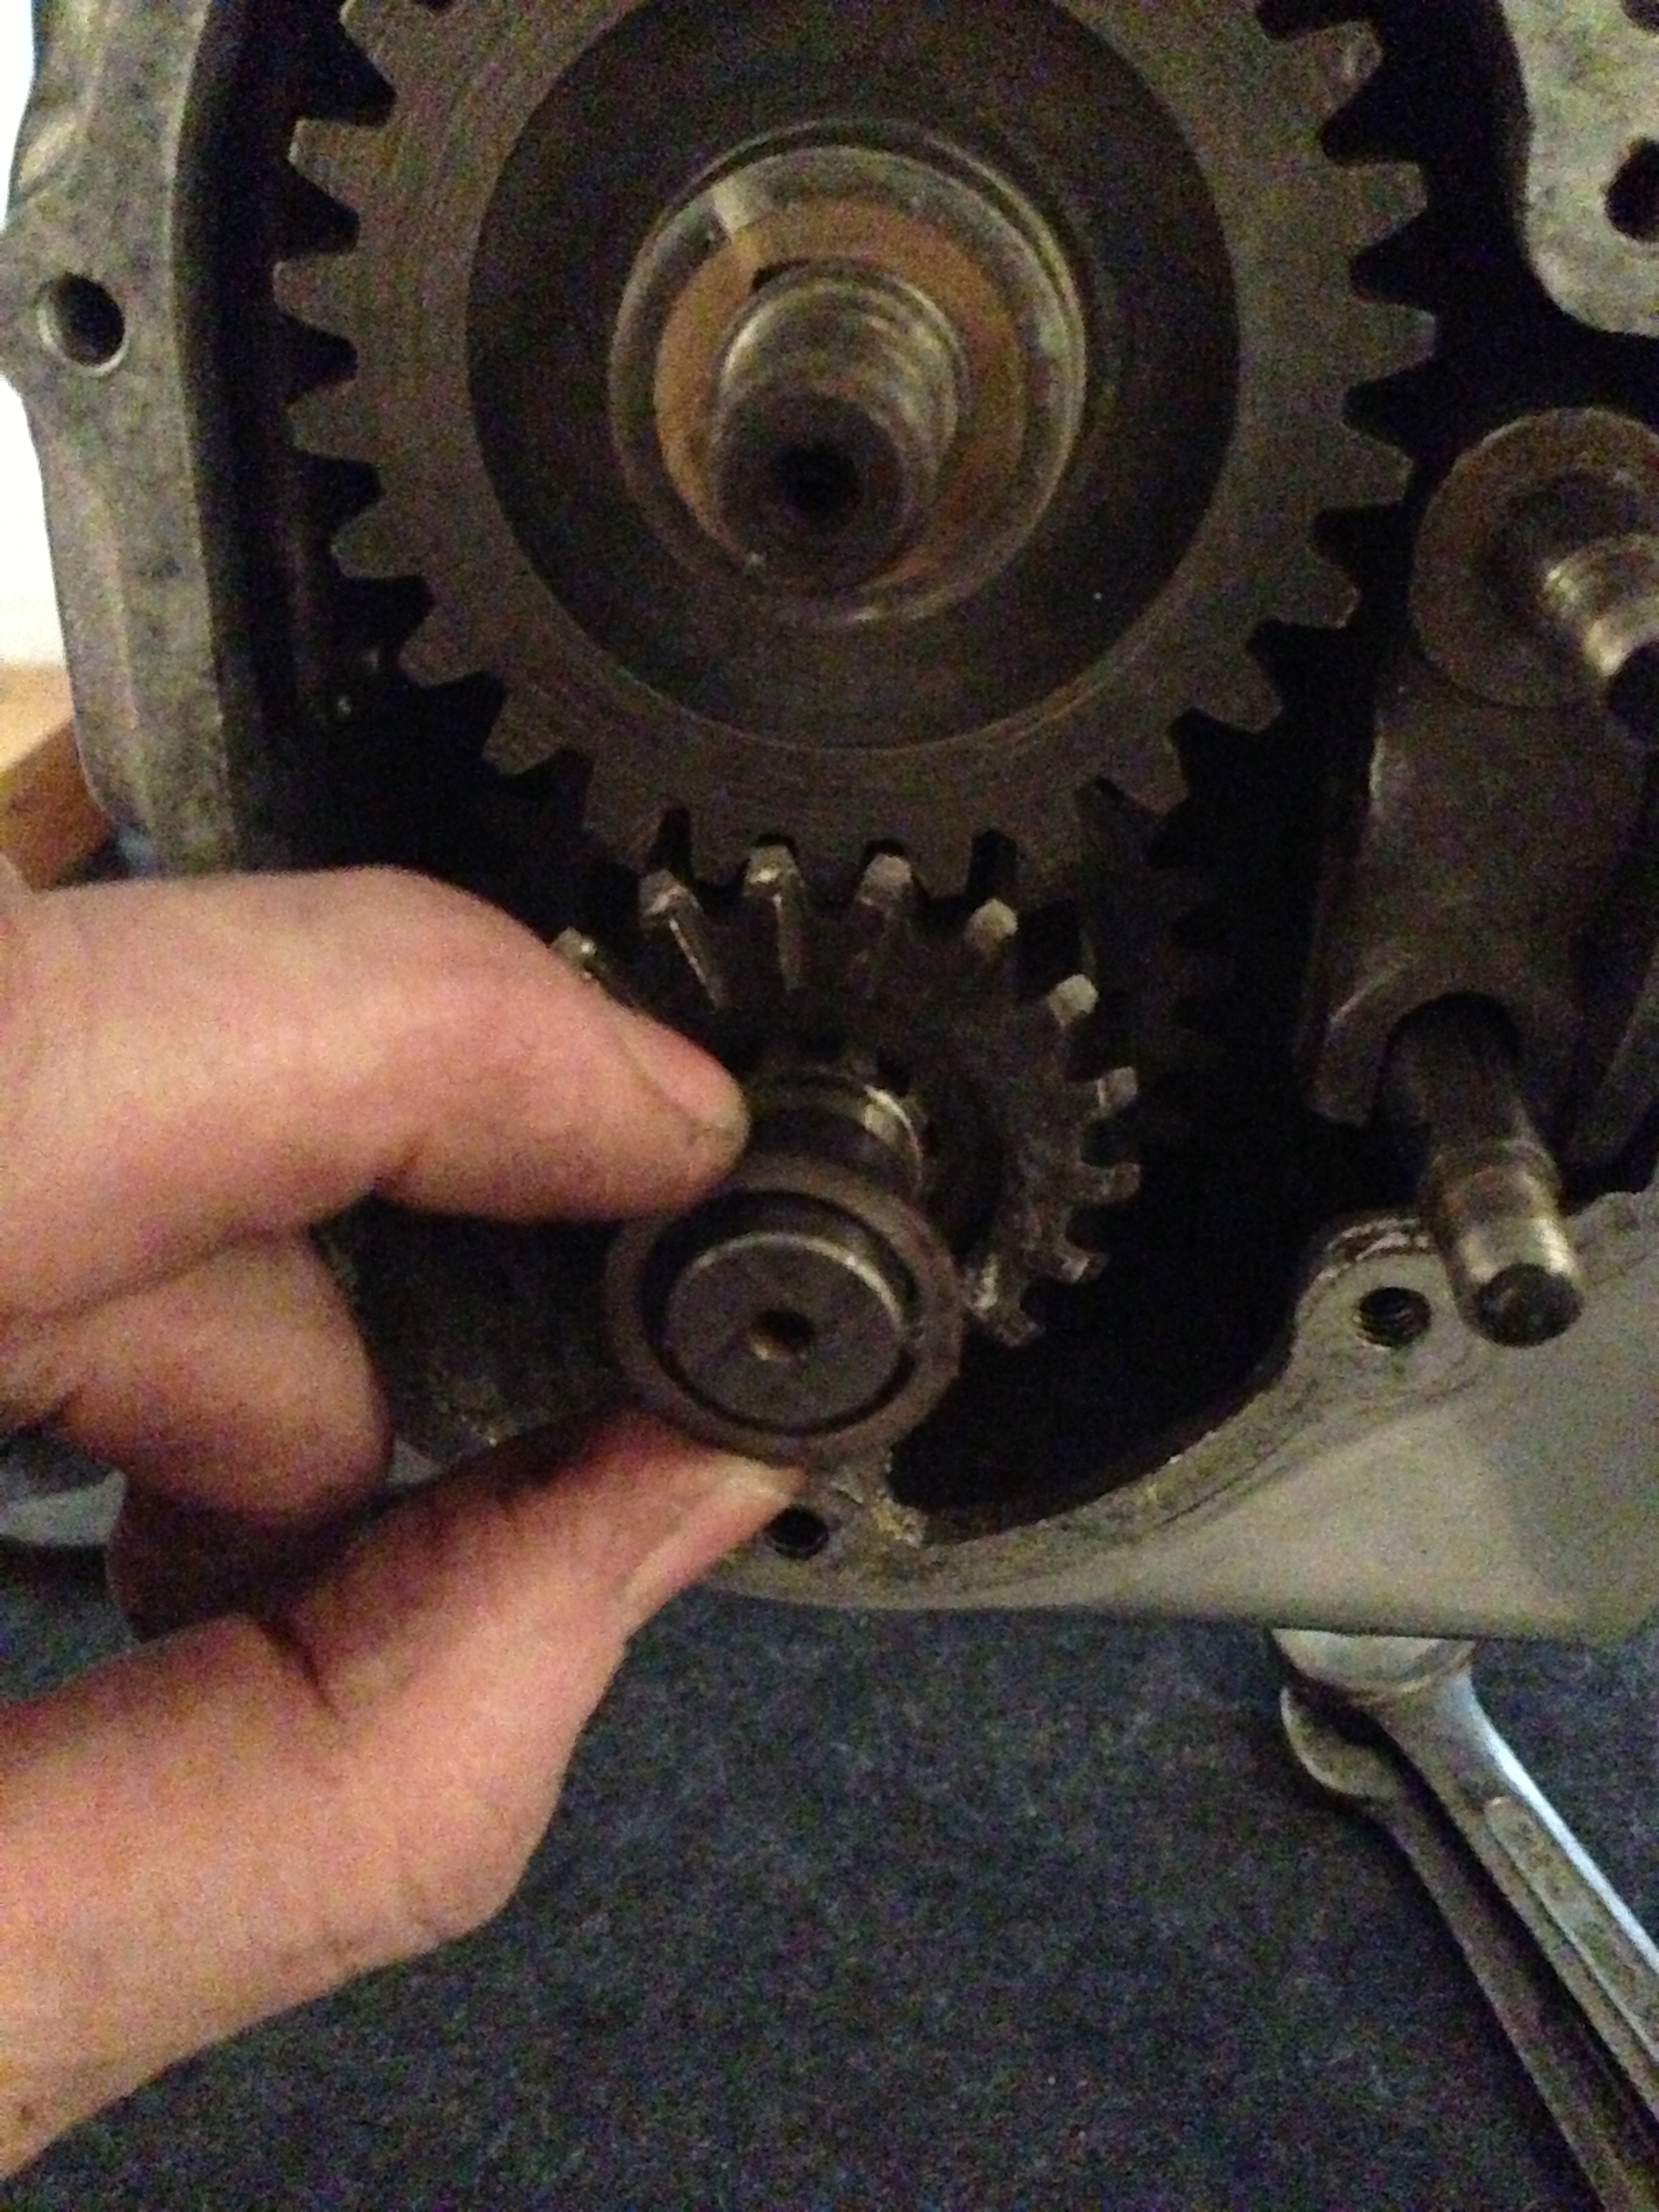
Obvious damage to layshaft gears from sitting in watery oil for decades…

… and the same on the mainshaft gears. This means that in the long run, a new set of gears (identical, by the way to the MAC/MOV cluster) will be sourced for replacement at a later date. These will run fine for a long time yet, even if they aren’t pretty.
Having checked all the bearings, it’s time for reassembly!

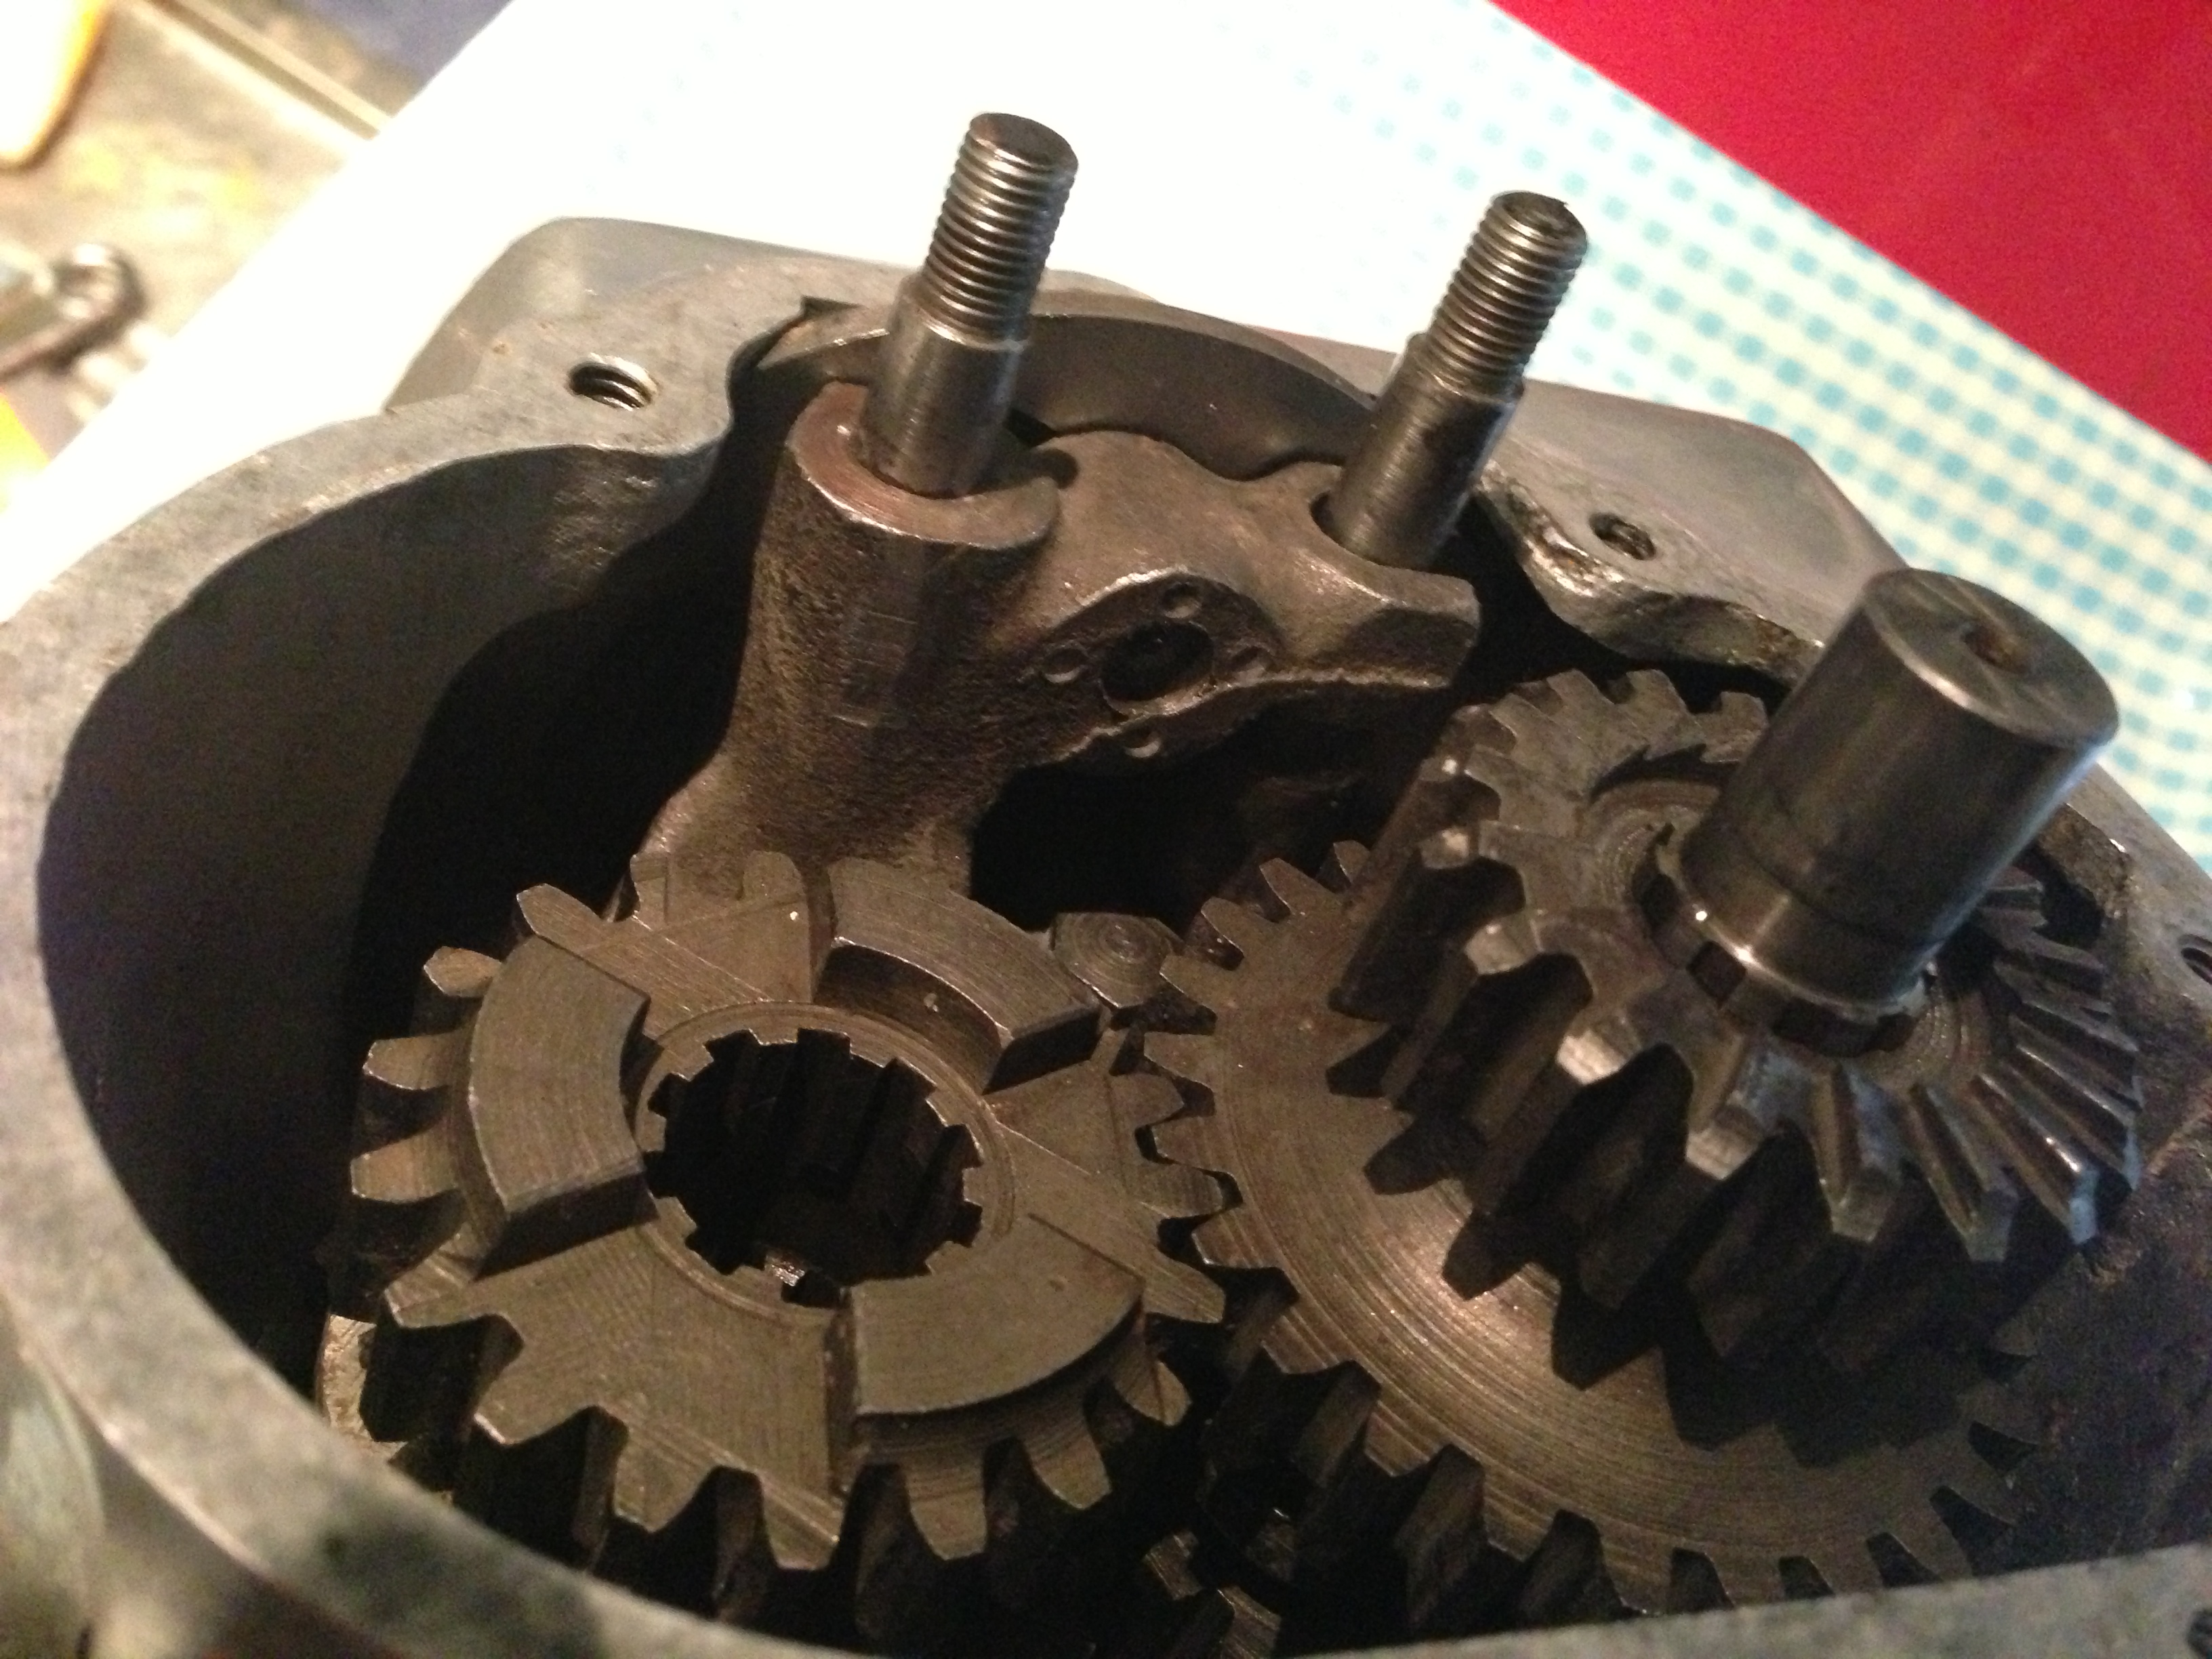
First the sleeve-gear is replaced (shown here, the gearbox is upside-down)

Then the layshaft gears and selector (which looks very home-made!) can be twiddled into place (easy if it’s in neutral, remember!!)
Then the second and third for the mainshaft are lain in place atop the sleeve-gear, also slipping the selector in the slot (you will have to lift it a tad to position it right, you’ll see!) and, as shown here, the pins also then need positioning (shown here not yet all the way in) pretty darn quick to keep everything in position, as the lid can’t go on yet, until the Primary Chaincase is in position… Don’t want it all falling out again, do we!?
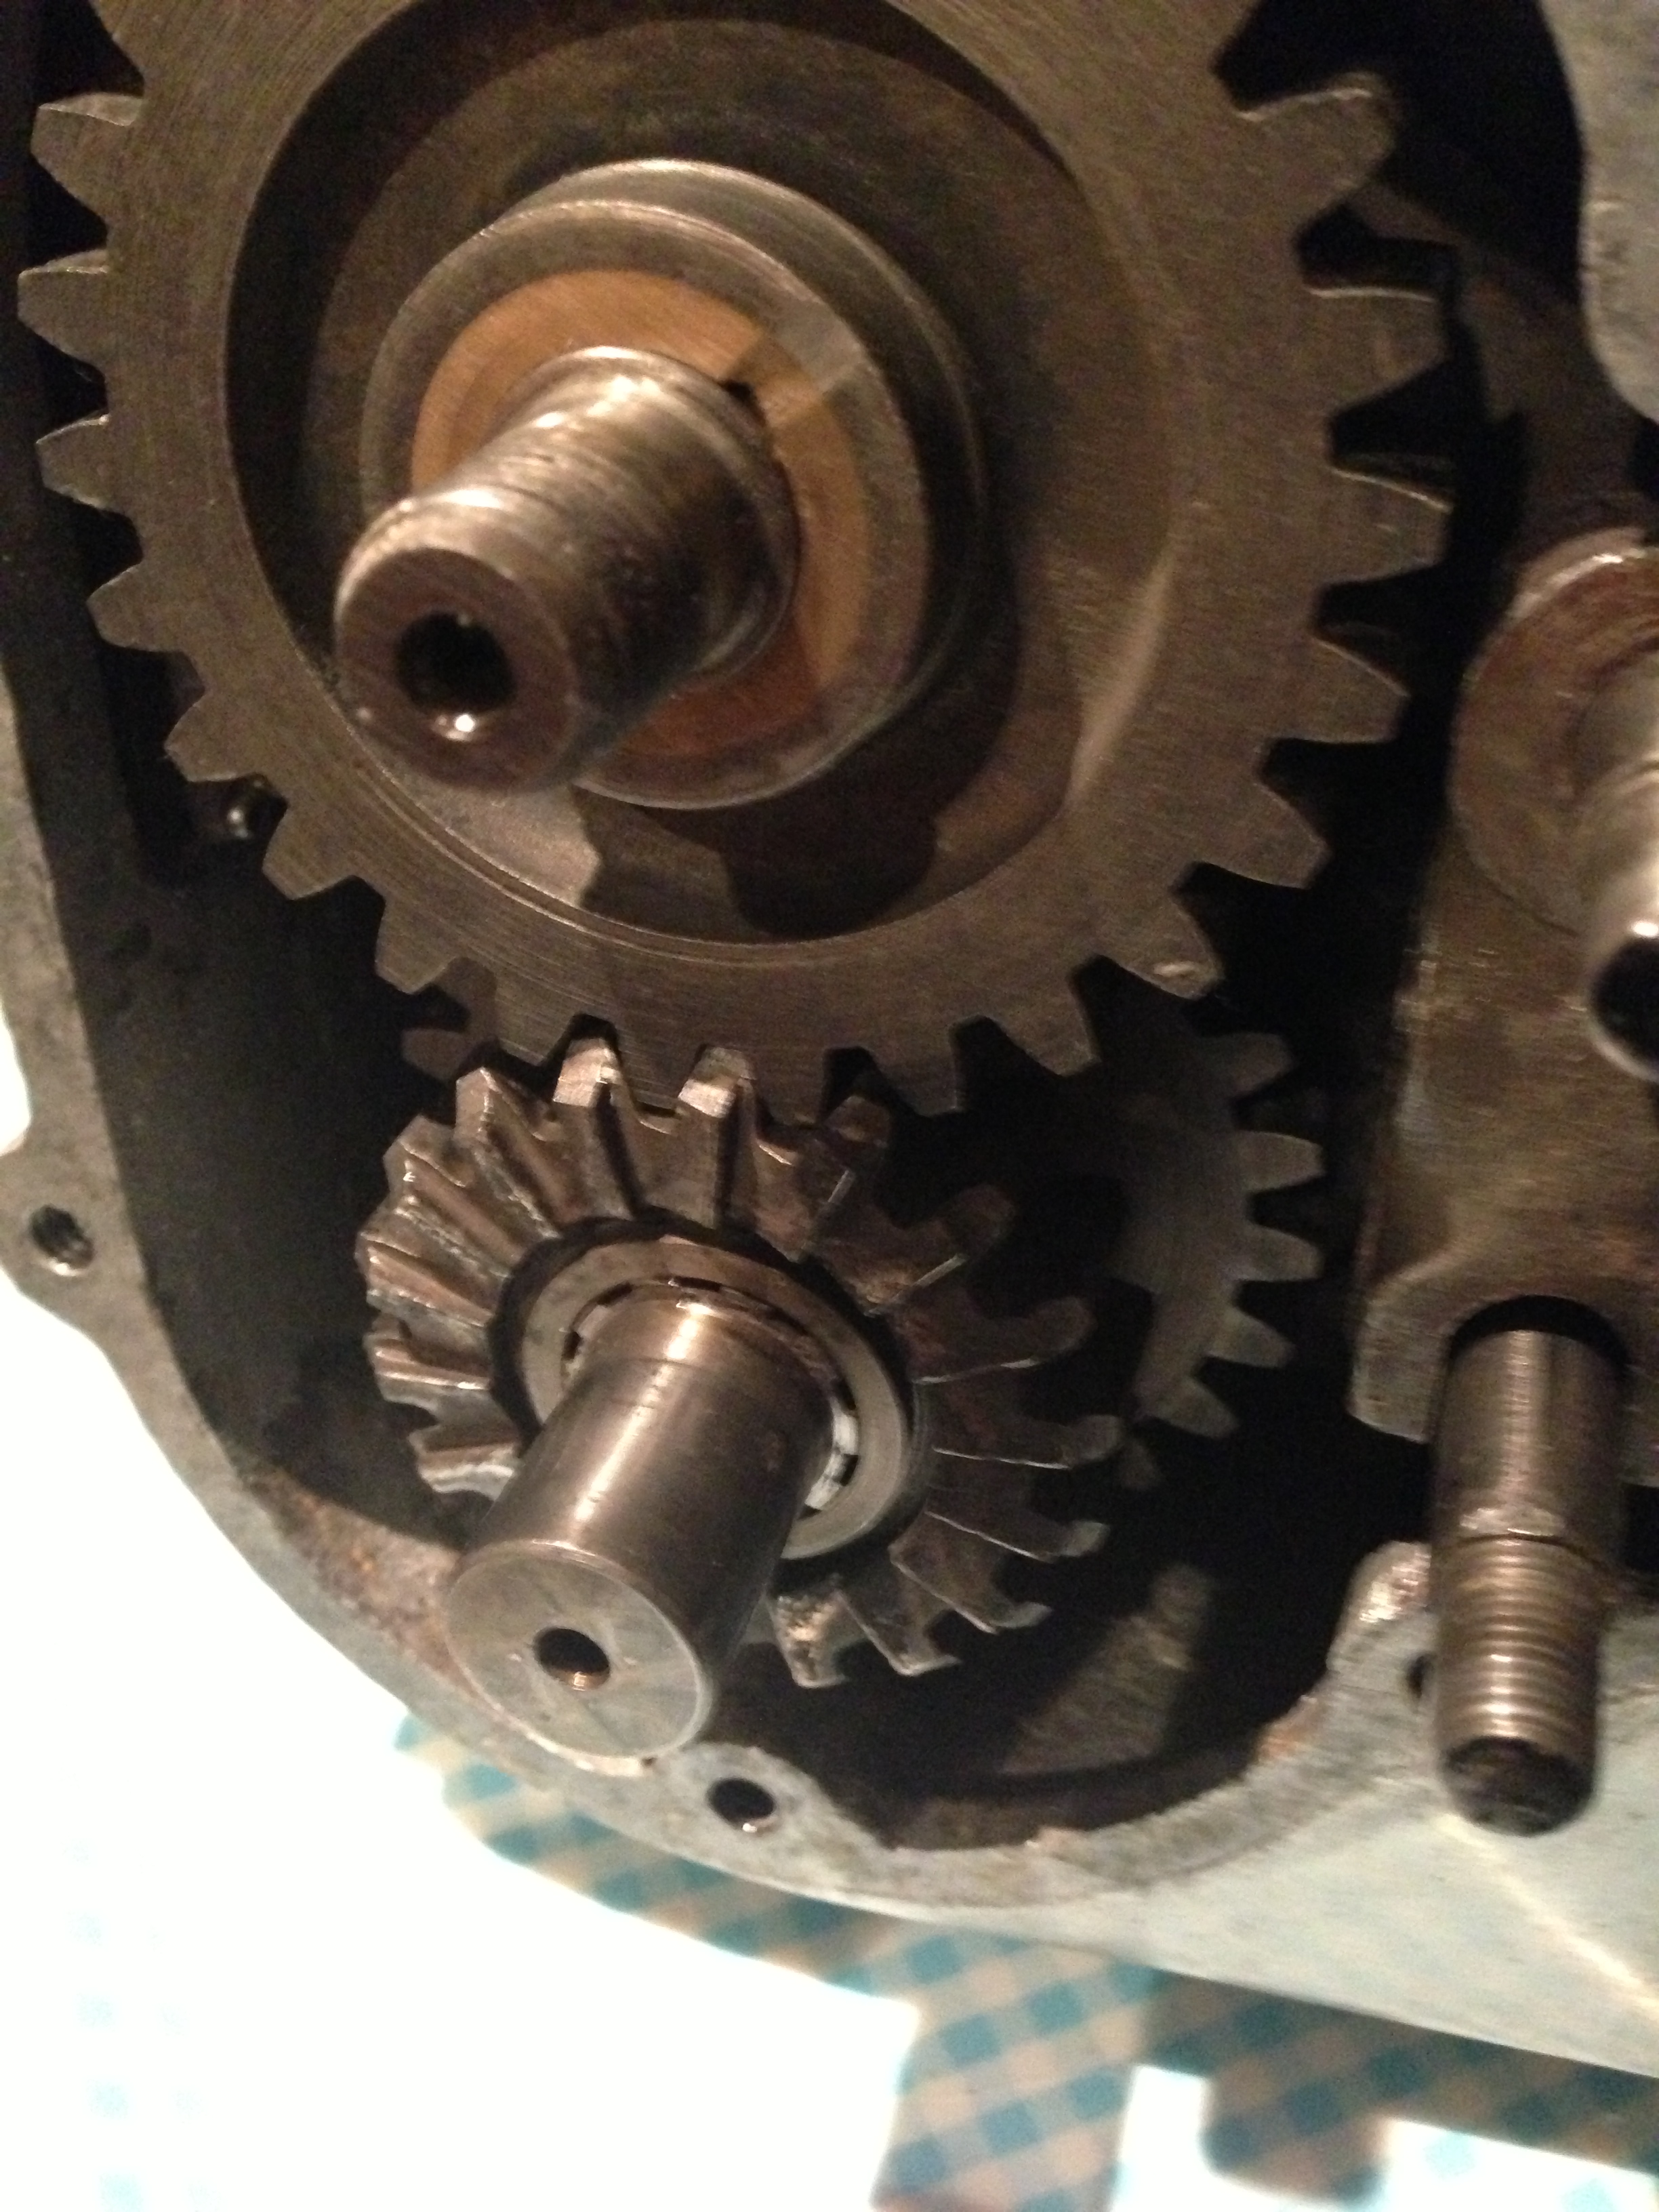
Now the ‘right’ way up, with first gear on the mainshaft, just for the picture, and with the distance-ring on the layshaft end, ‘inside’ the kickstart ratchet:
That’s the one I meant!
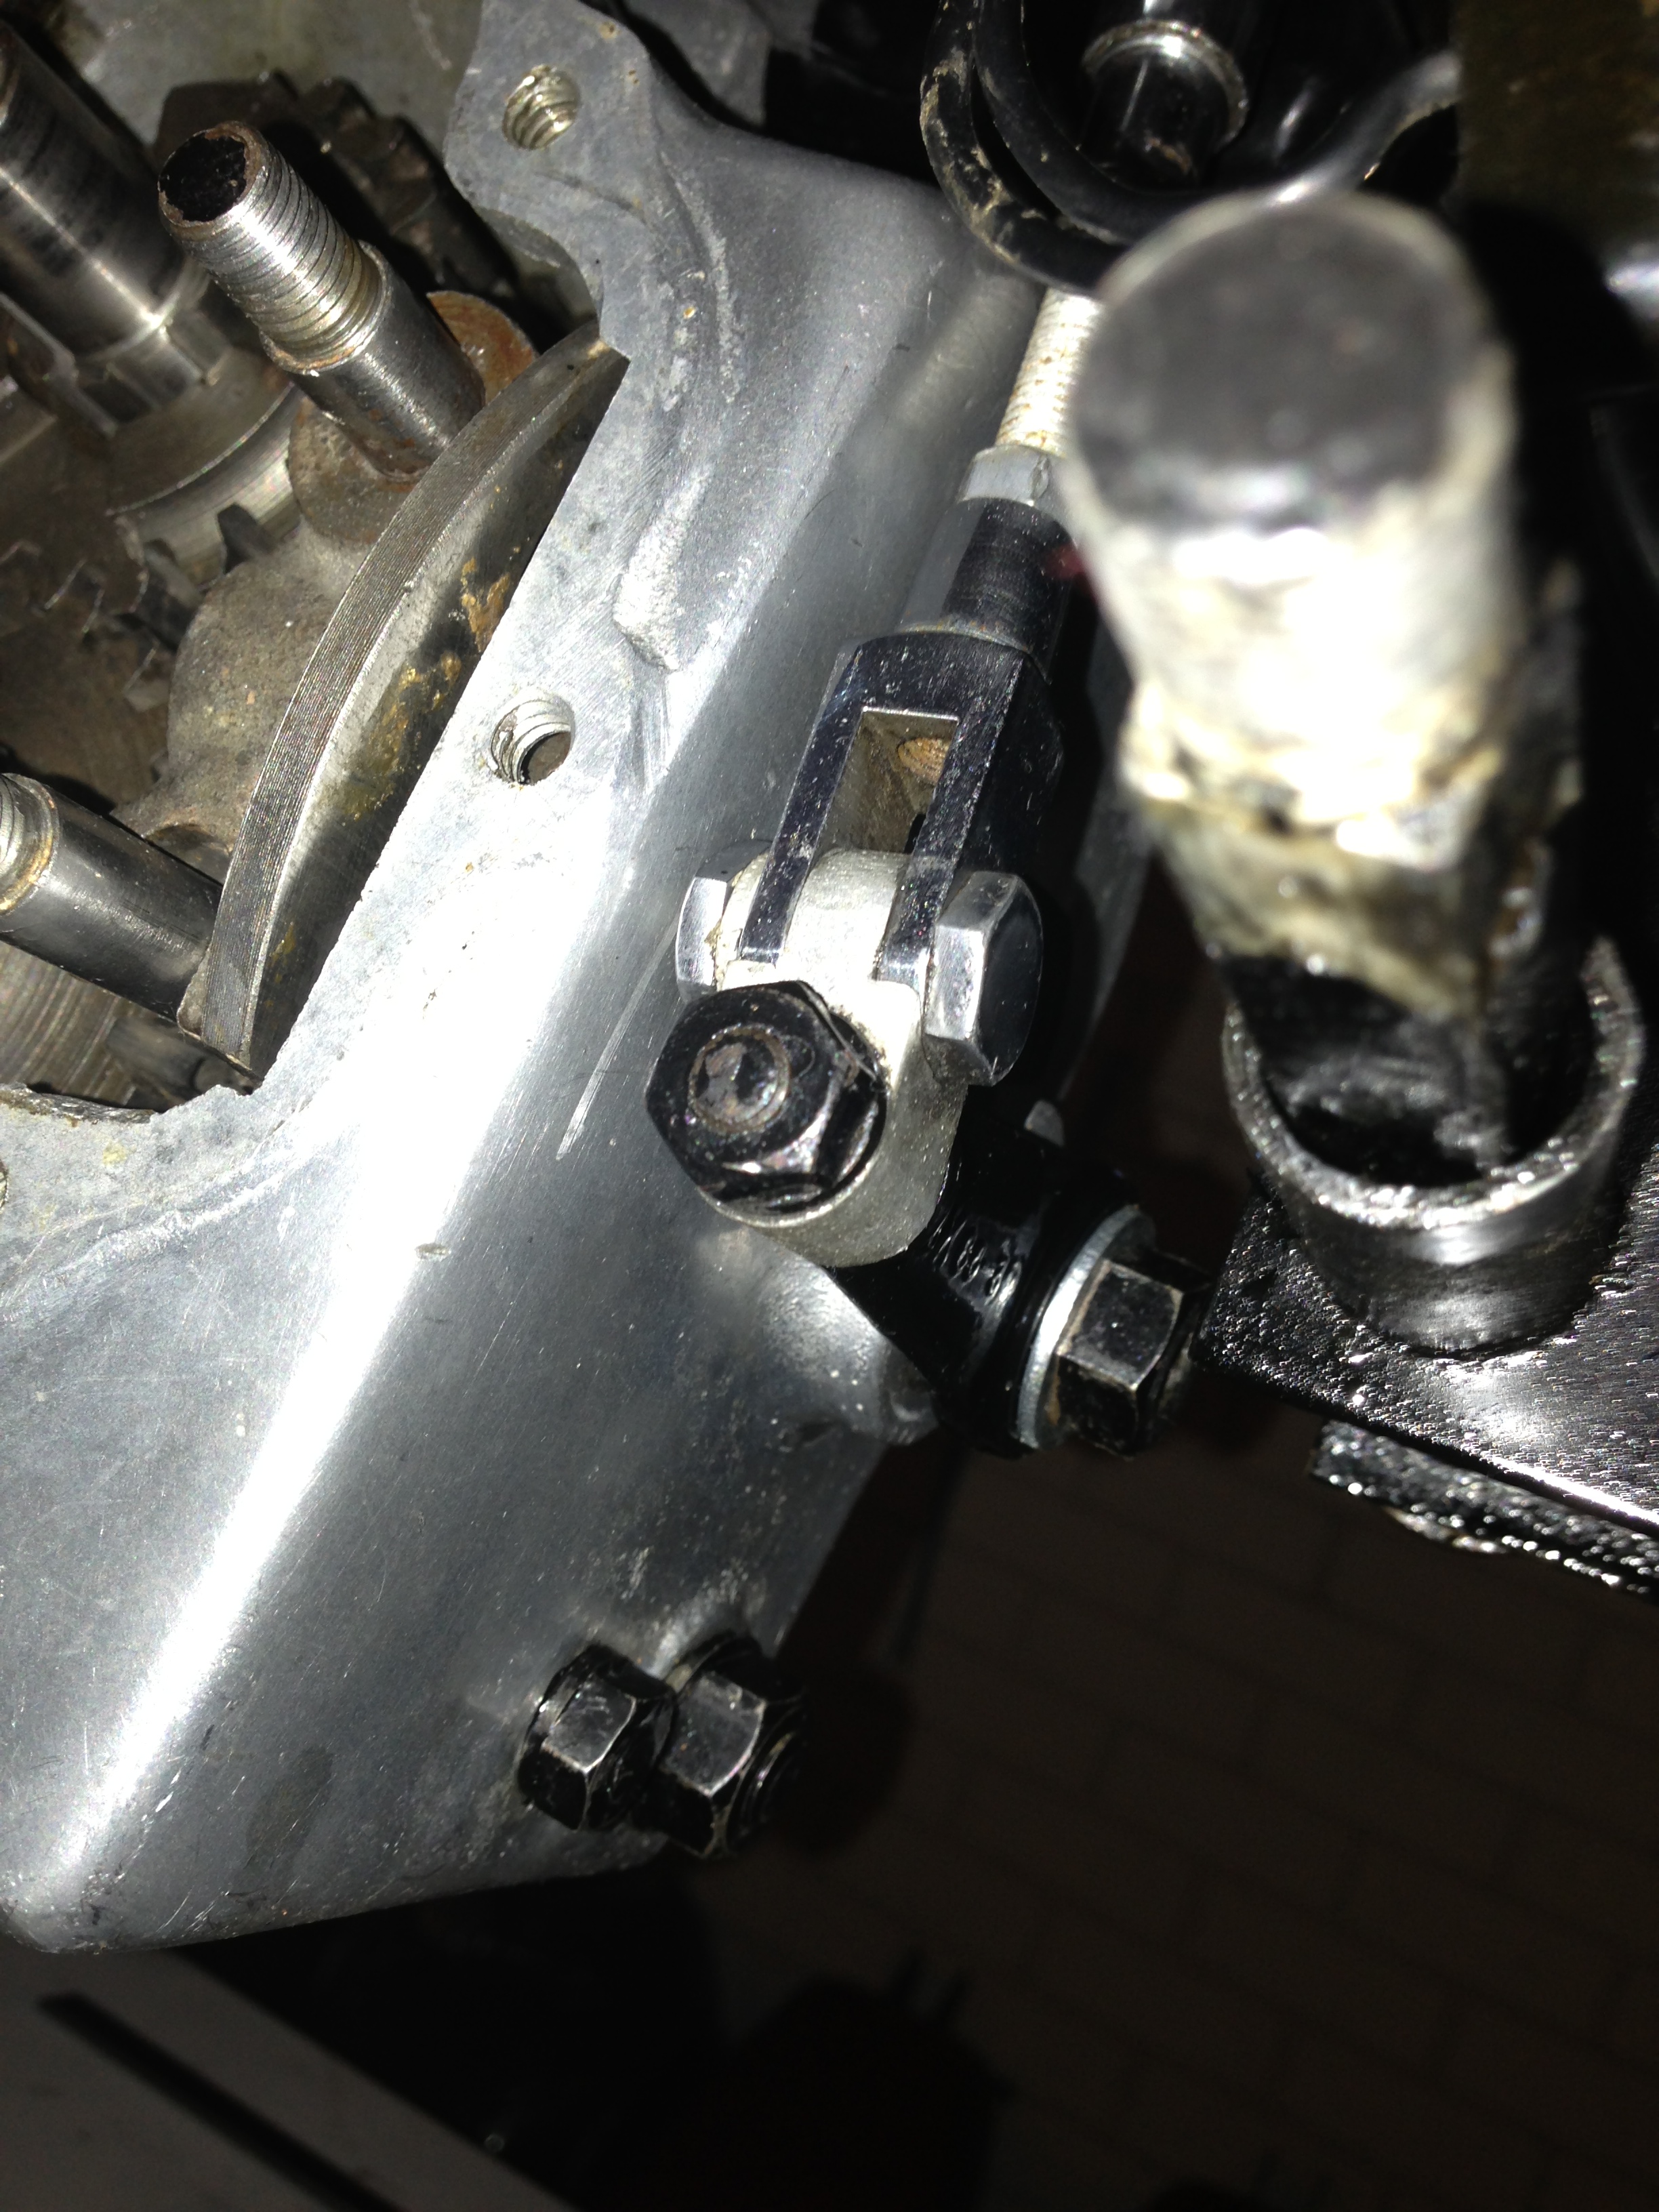
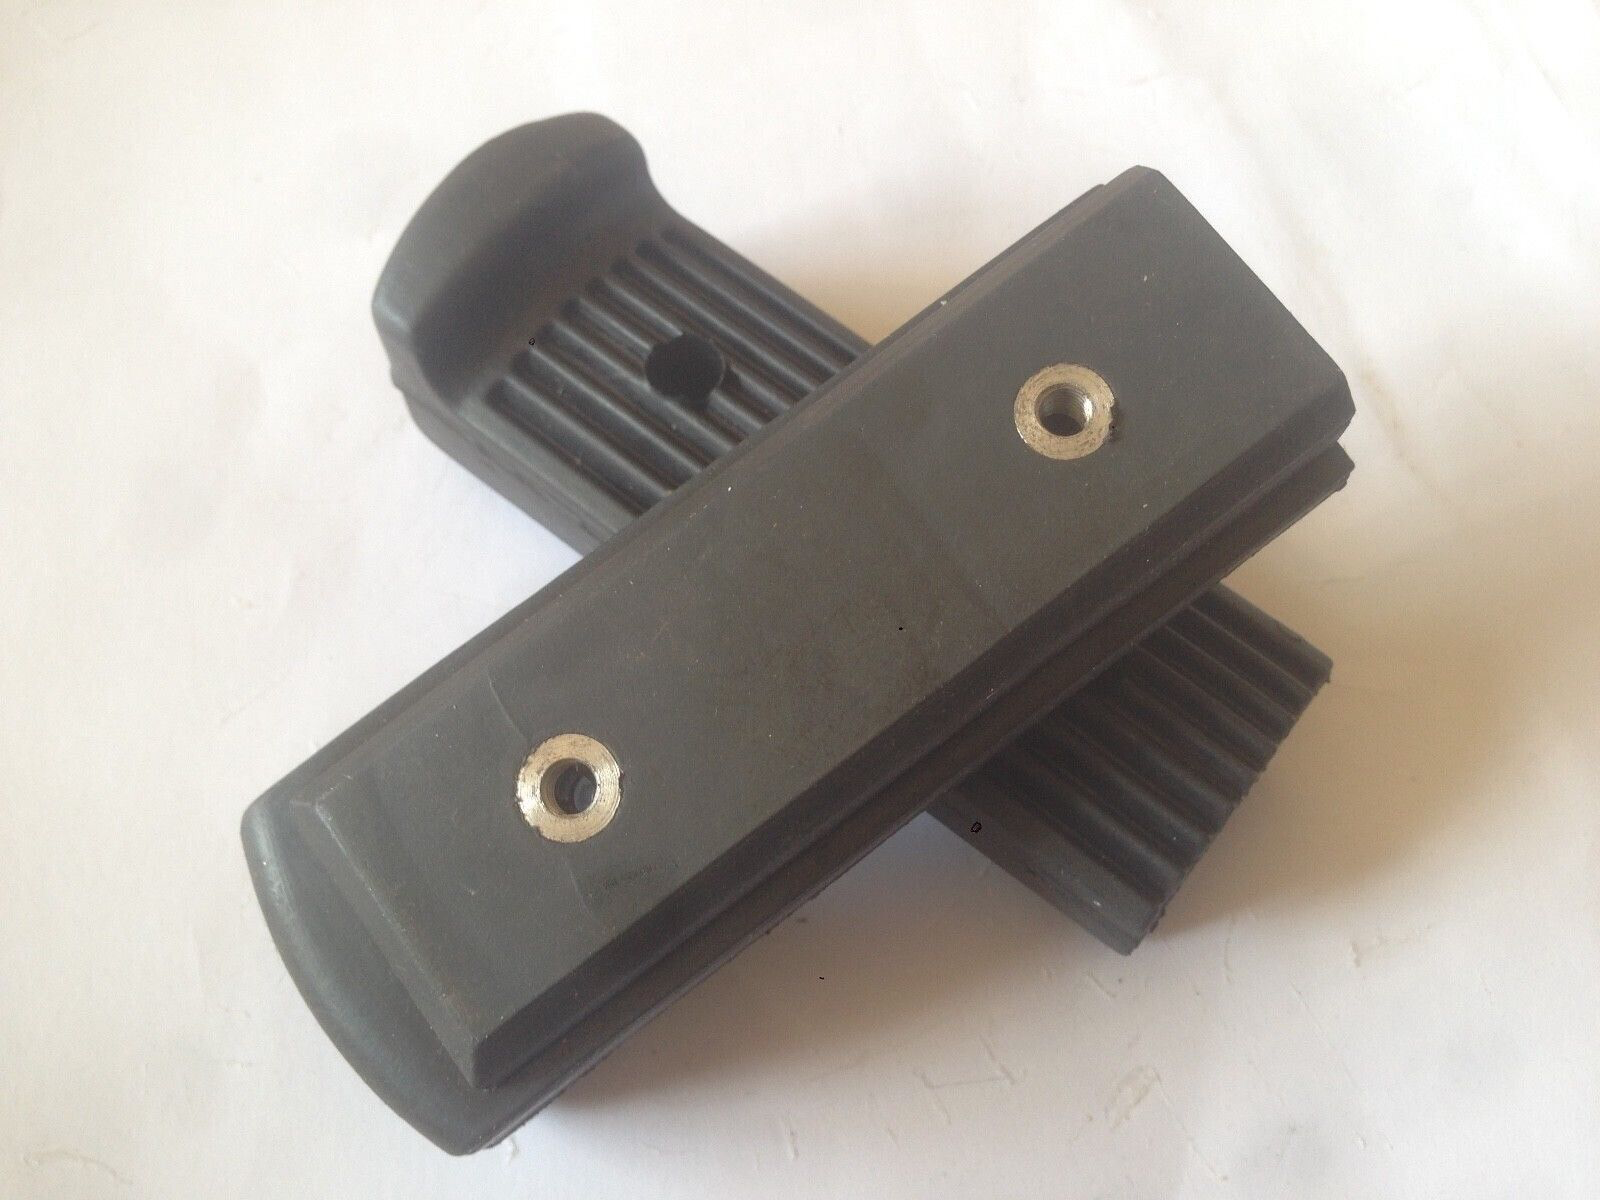
having replaced (and painted) the so-called ‘striking-lever’, the whole lot can now be hung back on the frame,

the adjuster slipped into place and the two large bolts done up enough to hold it all together.
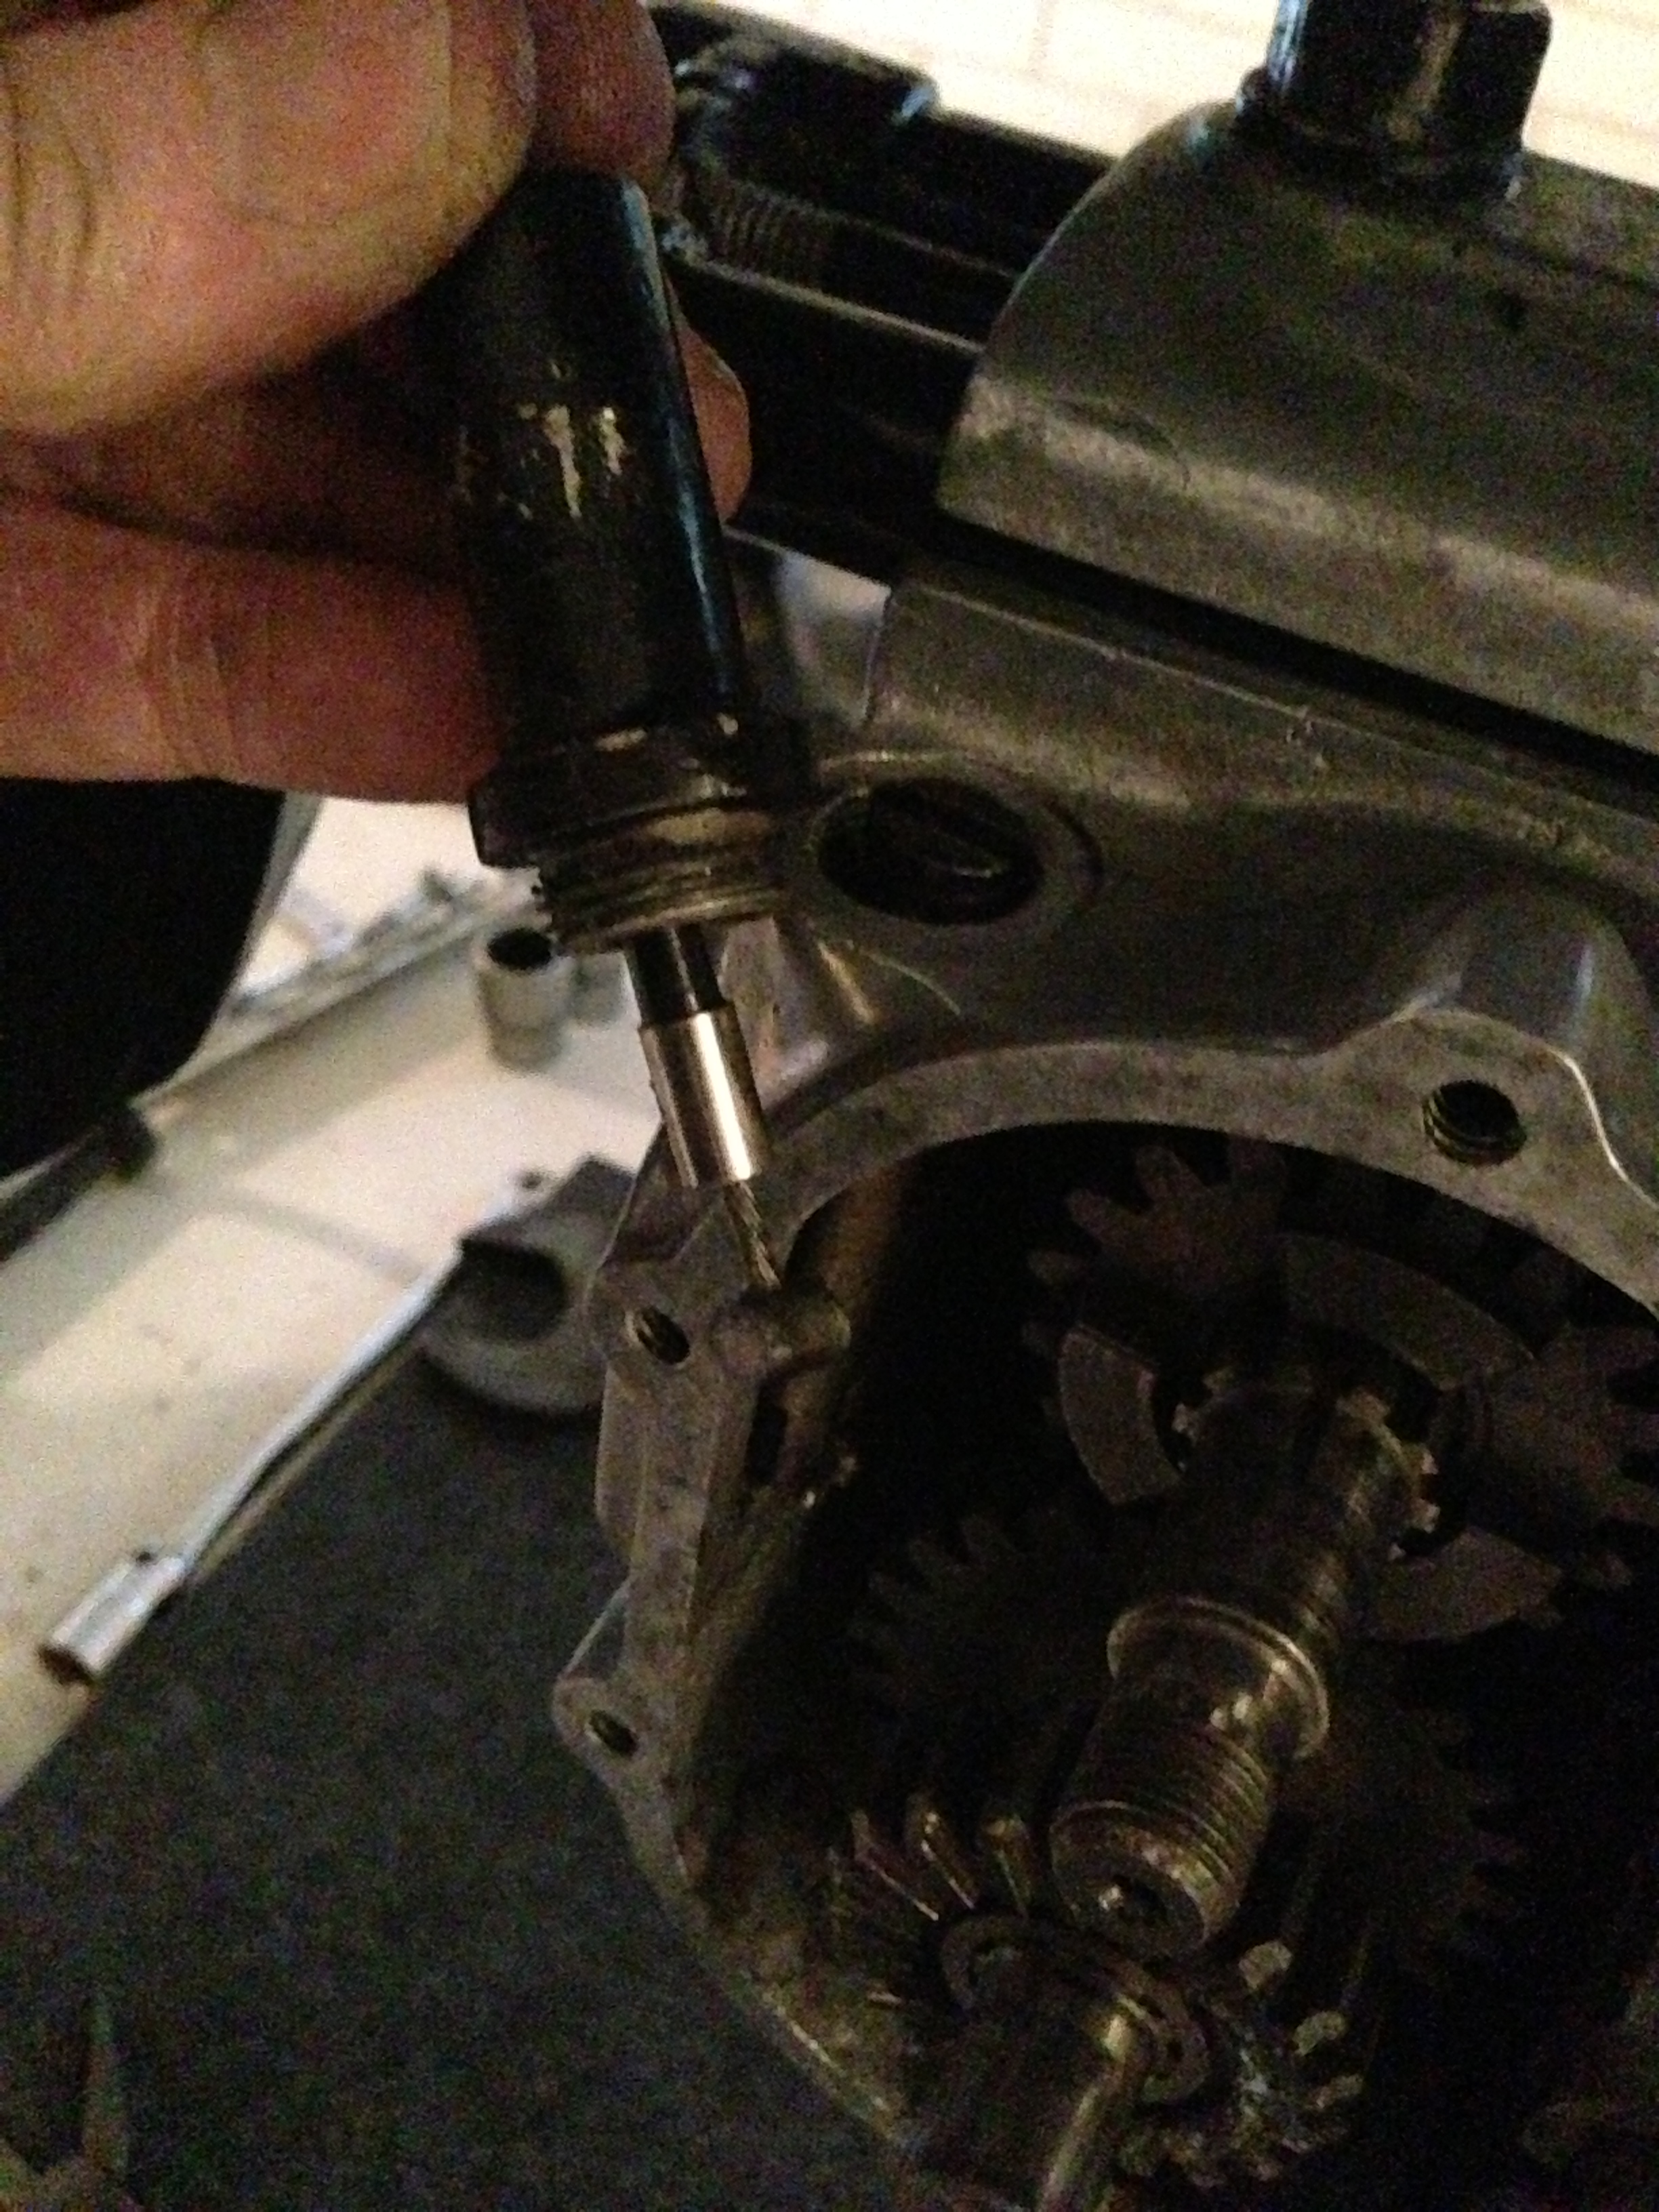
Now the clutch cable can be replaced in the doodad inside the box, but first gear has to come out for this, so that a ‘digit’ can be used to lift the end of the lever far enough out to slip the nipple of the cable through the slot into the hole…
Don’t forget to put the tower on the cable (as seen in the pictures above) before slotting it in (already in the slot here), or the clutch doesn’t really work that well and you might have to dismantle things later if you didn’t notice the ‘nutty slack’…
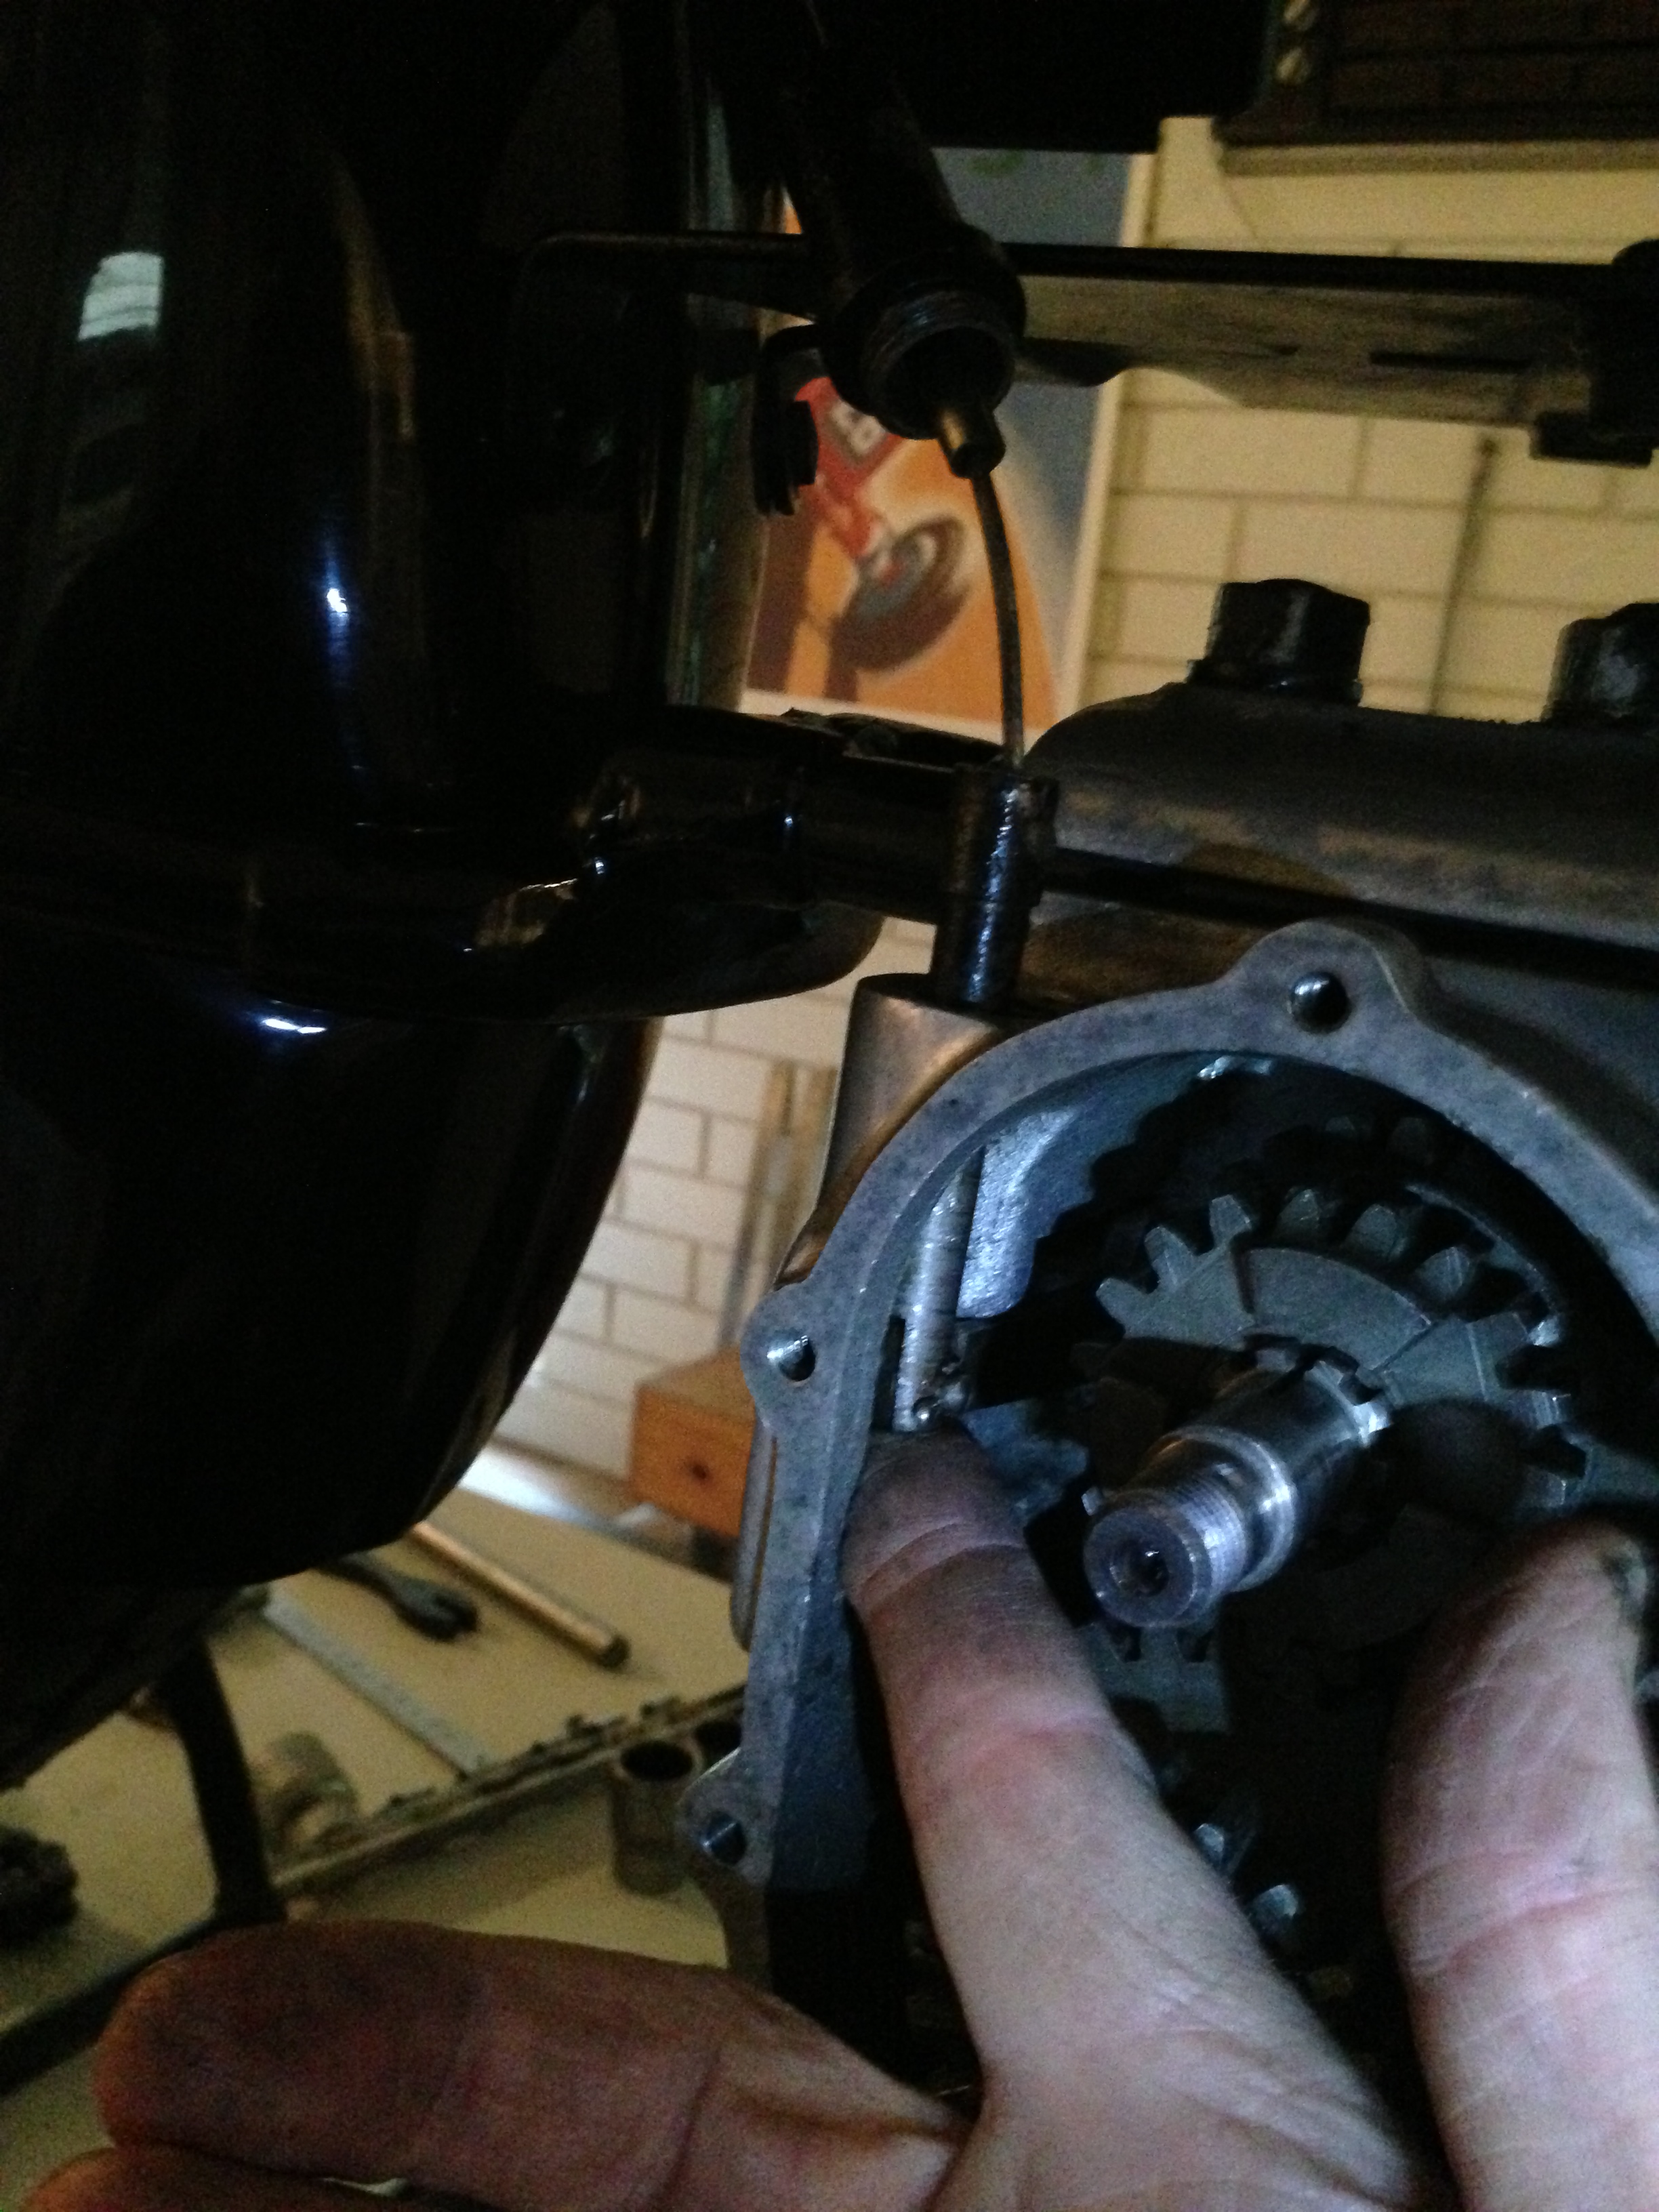
Here the cable in place, the lever back inside the gearbox ans the tower ready to screw back on. This invariably damages the paint on the tower -sorry, ‘cable-stop-holder’ (as there aren’t any flats on this one), so once tight, it is also rubbed over with emery and repainted black to stop corrosion.
More tomorrow!!
© peter gouws 2013