Let’s get this drive-side finished! YES!
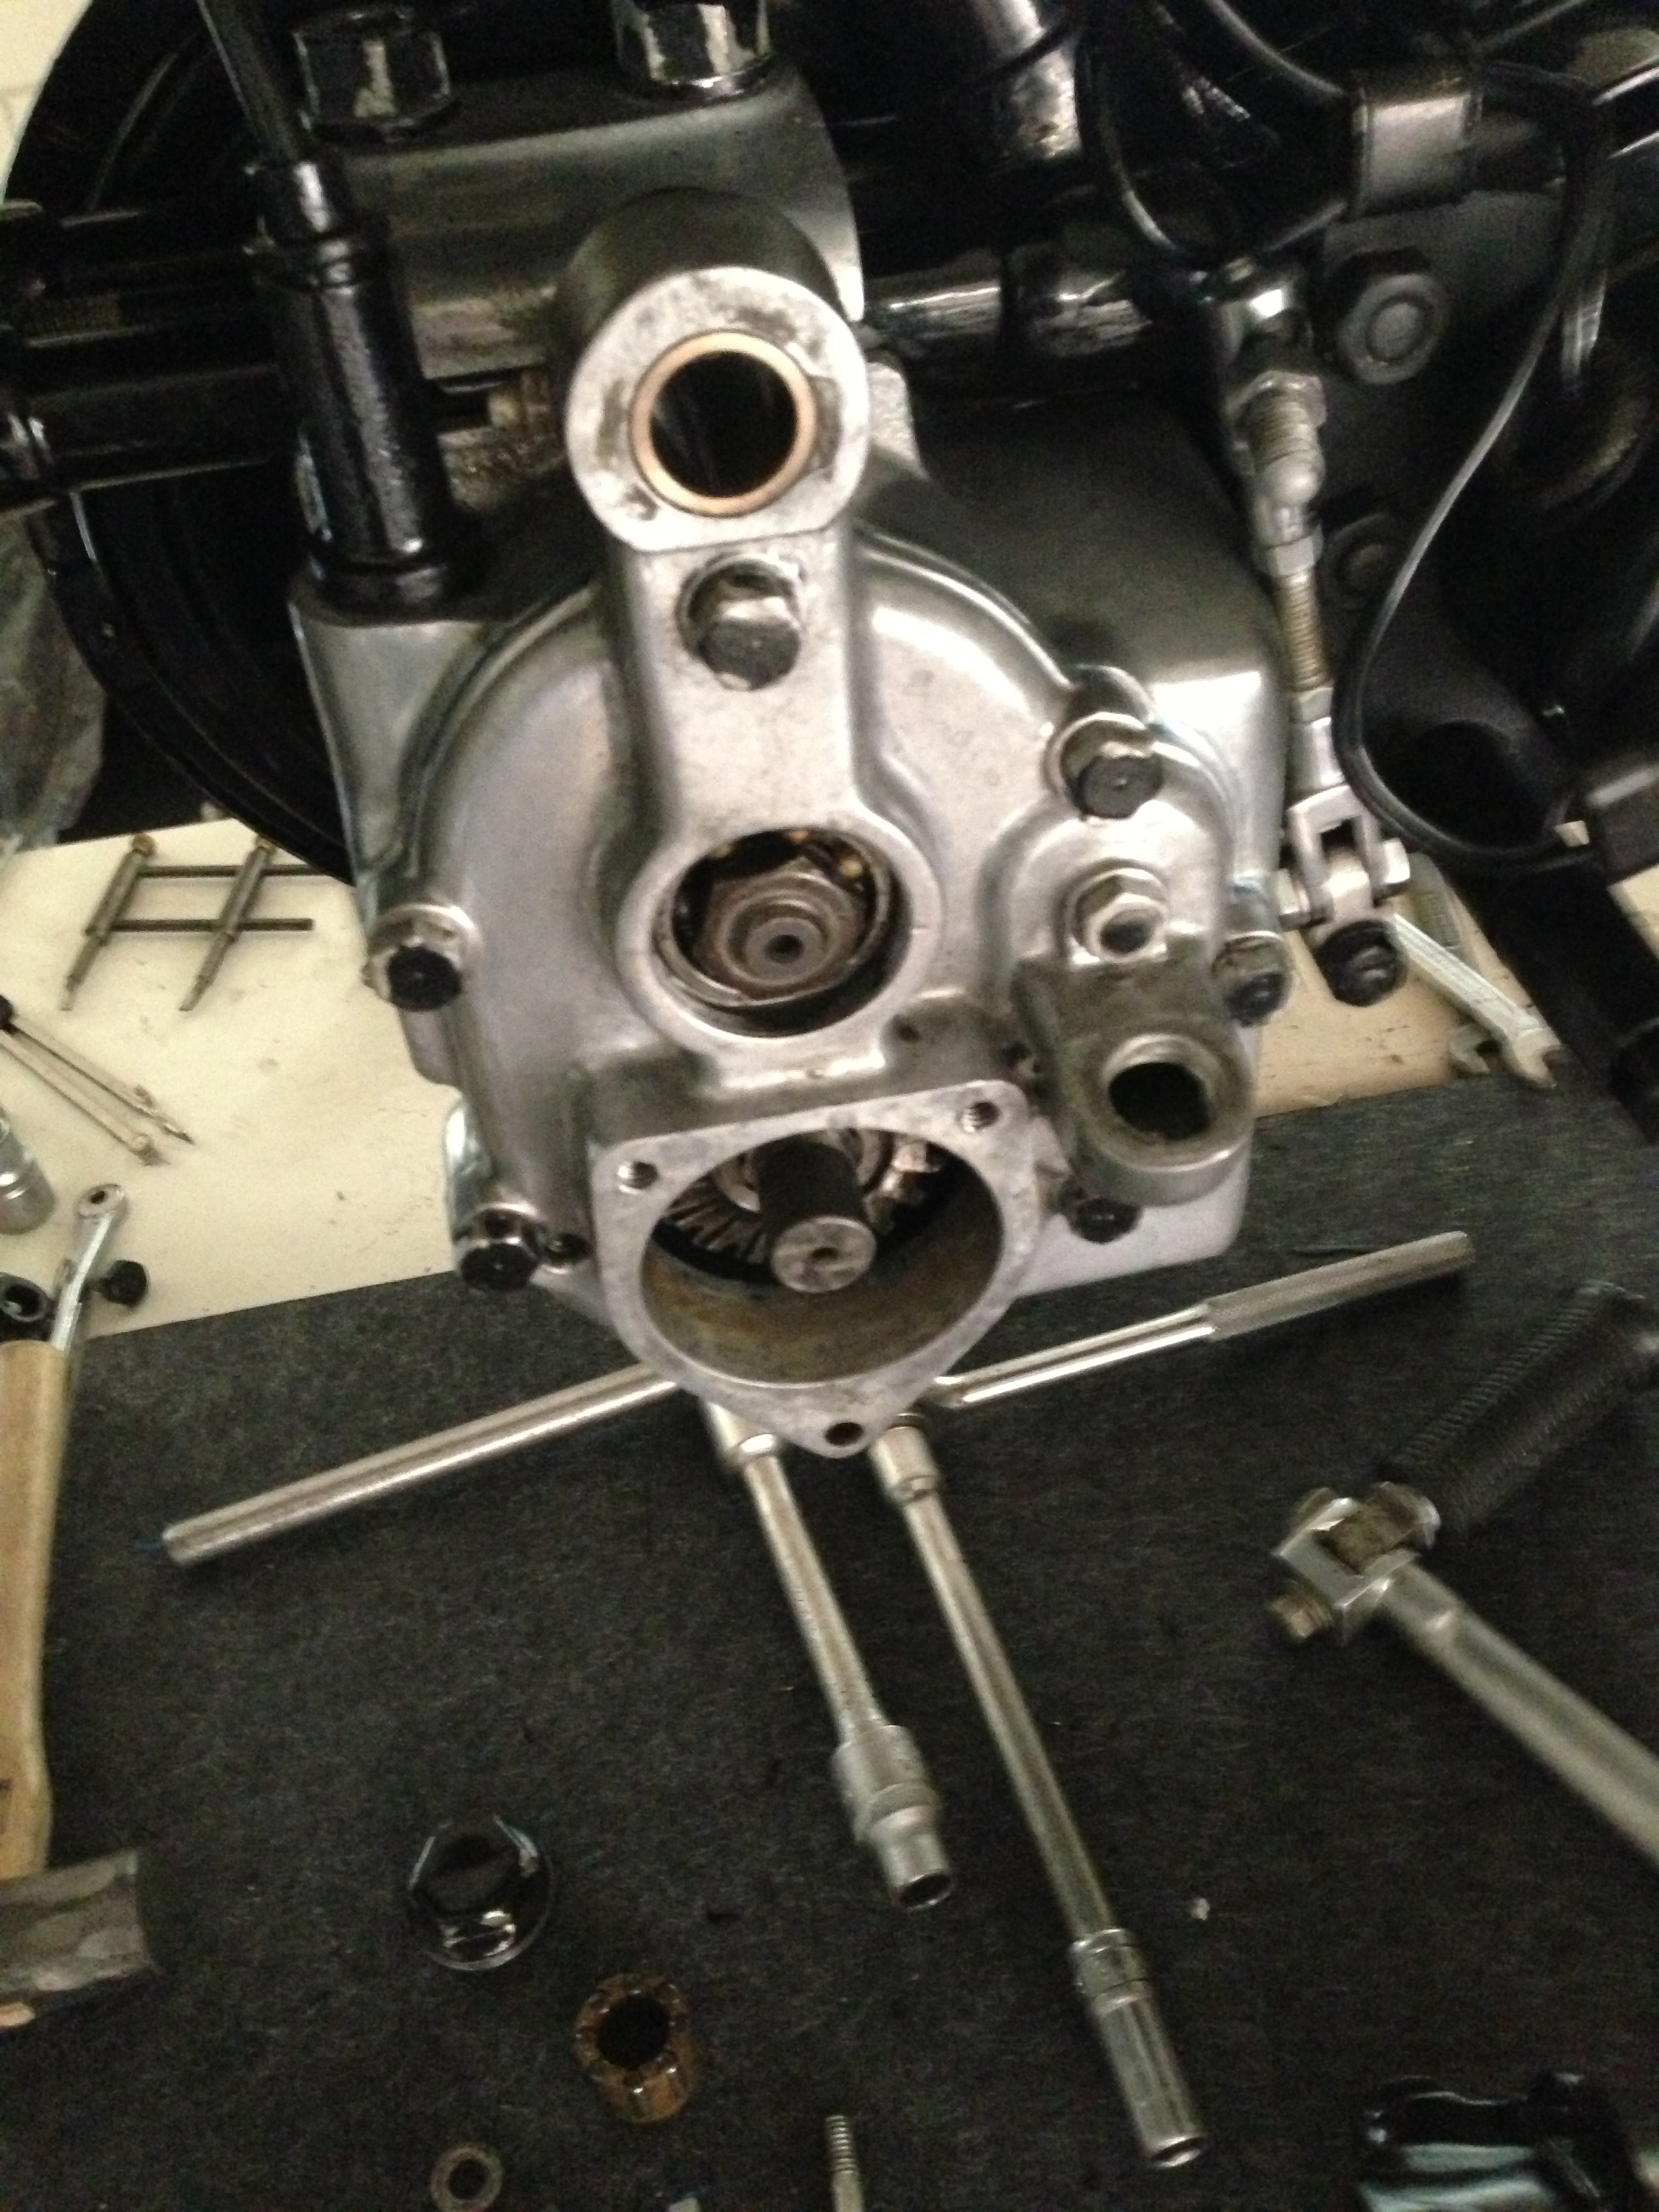
With just a small job to do on the gearbox, to stop the mainshaft falling out! Basically, the lid has to be put on the gearbox: so to start with, first gear is stuck, lubricated, on the end of the shaft: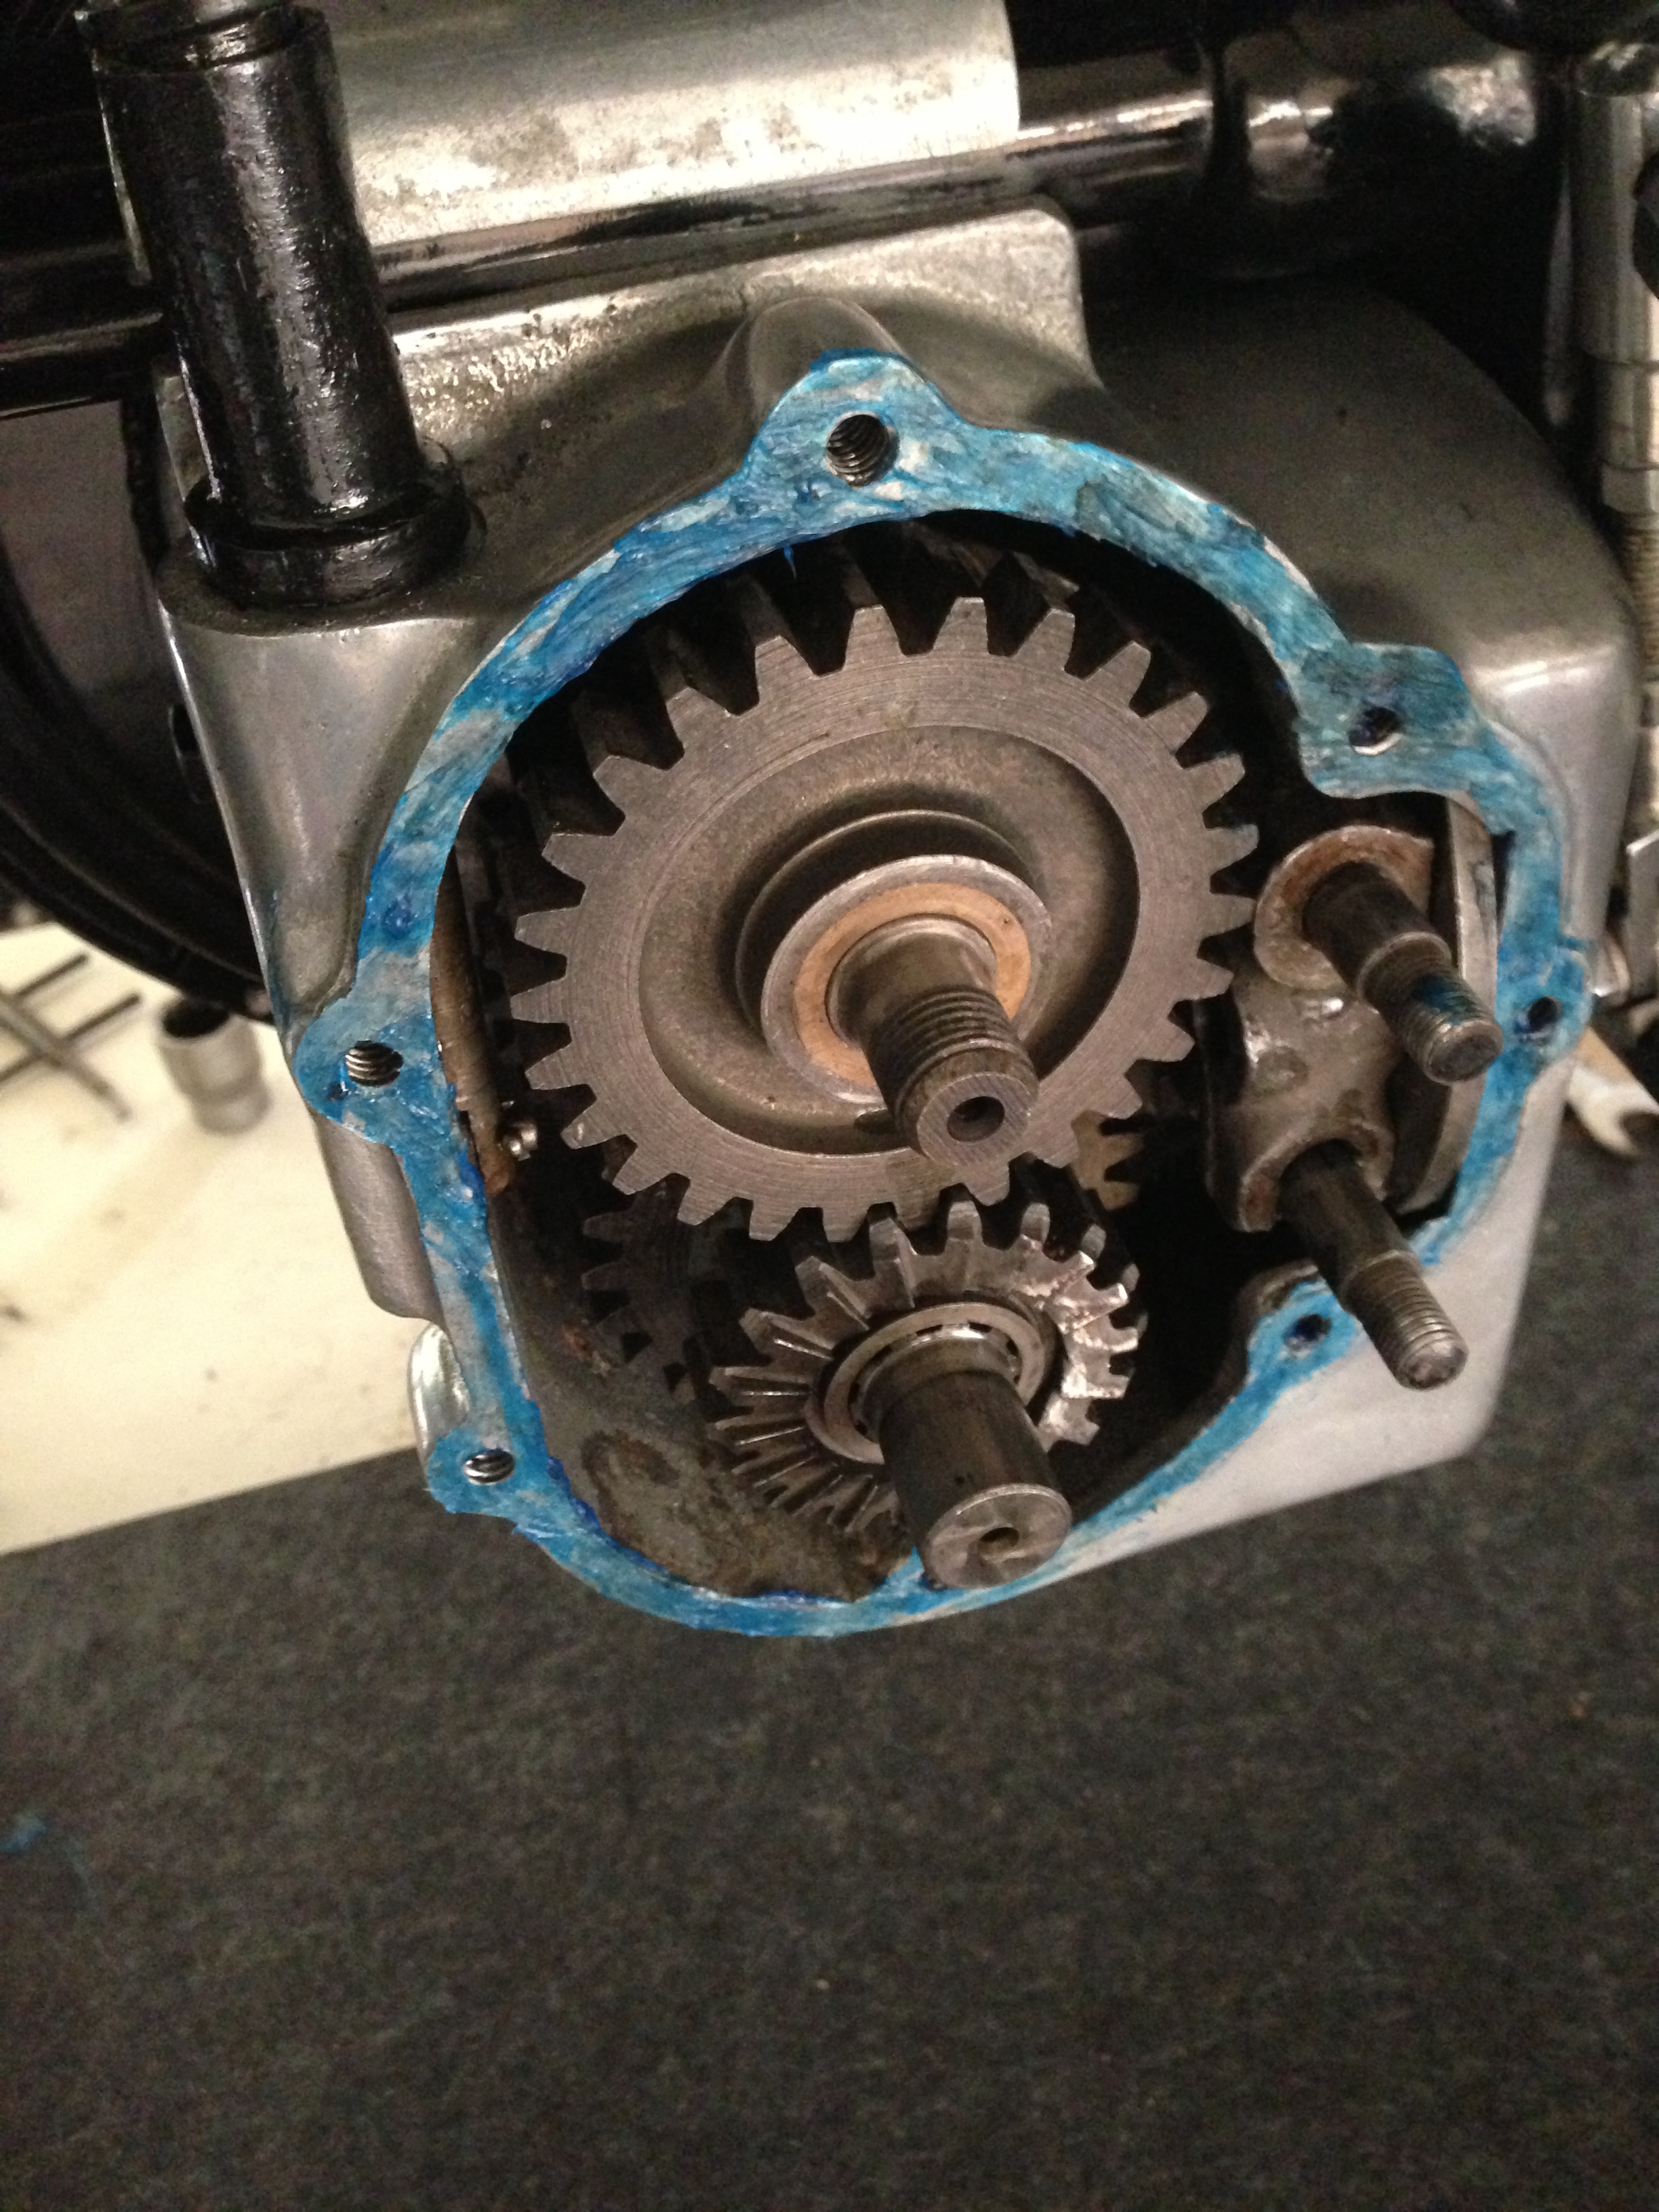
The gasket face is then cleaned up with alcohol and a smear of Hylomar applied all around.
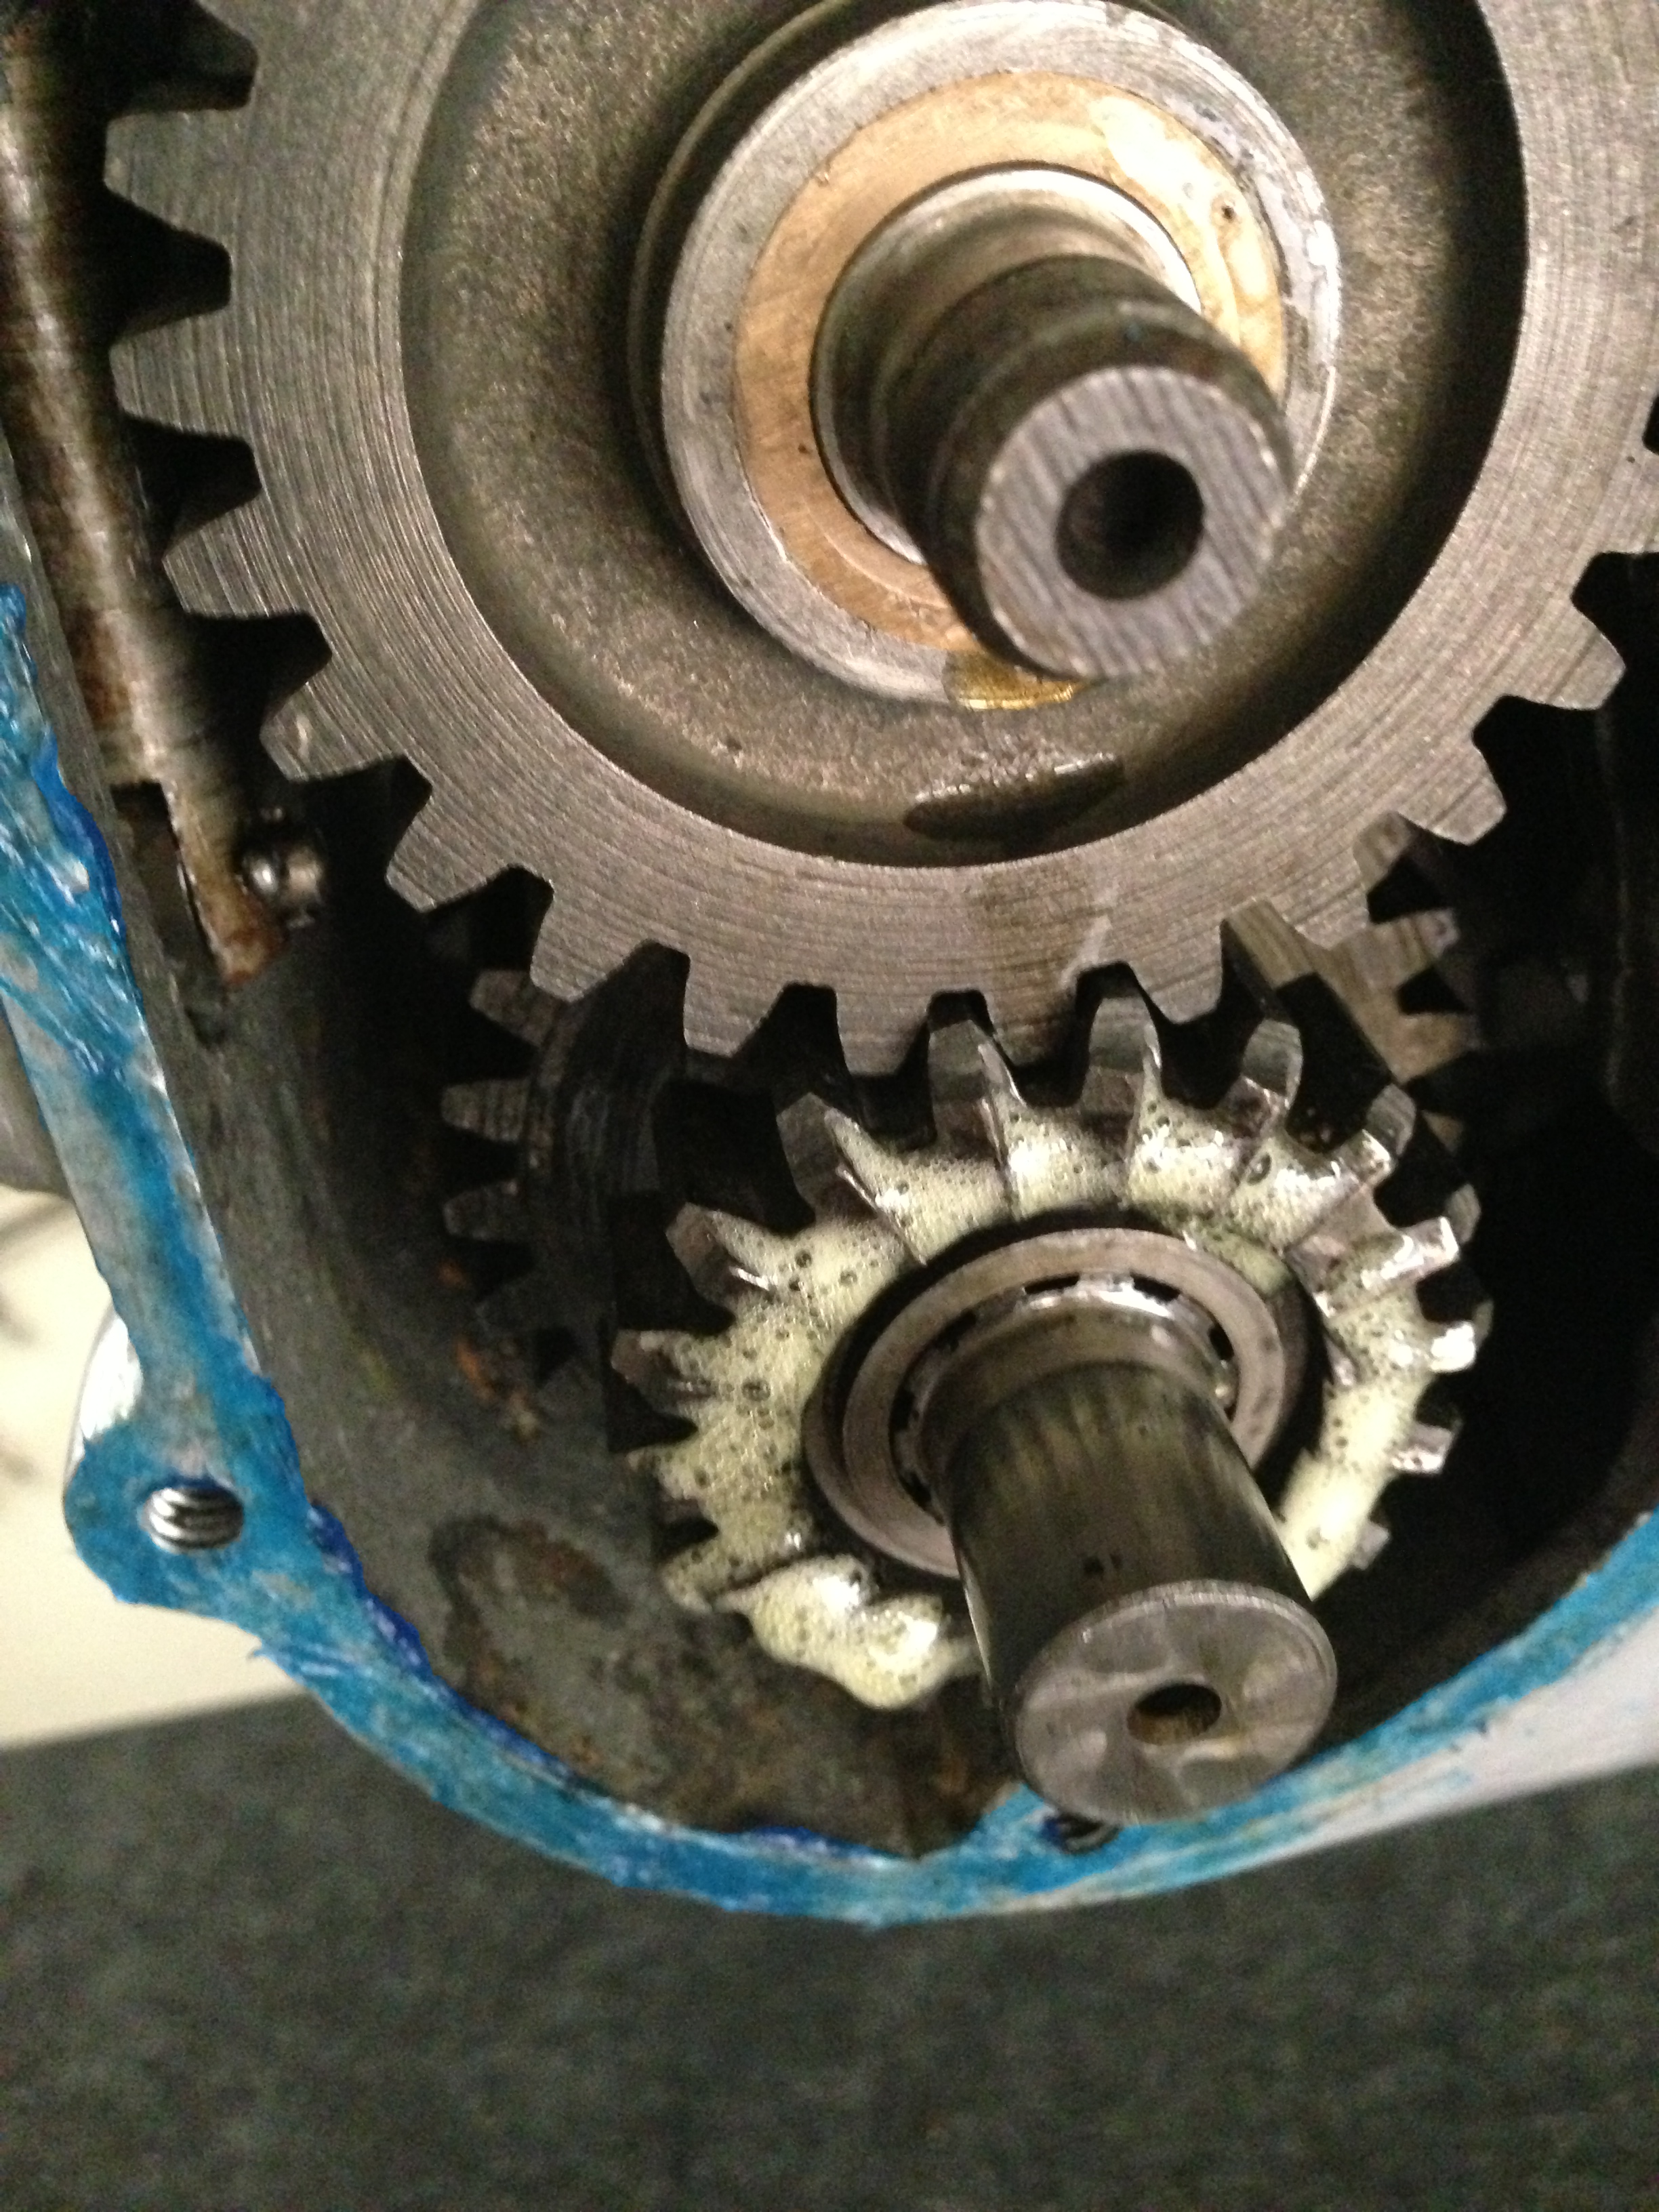
The revolting mess on the kickstart pawl is the ‘Assembly Lube’ that I use, which comes in an aerosol and exudes from a thin tube like those supplied with WD40. It comes out like that expanding foam used in the building trade for filling gaps… and then settles to a nice sticky cross between oil and grease. Wonderful stuff! Nice to protect bits and in case I forget to lubricate later, it penetrates nicely when warm, too.
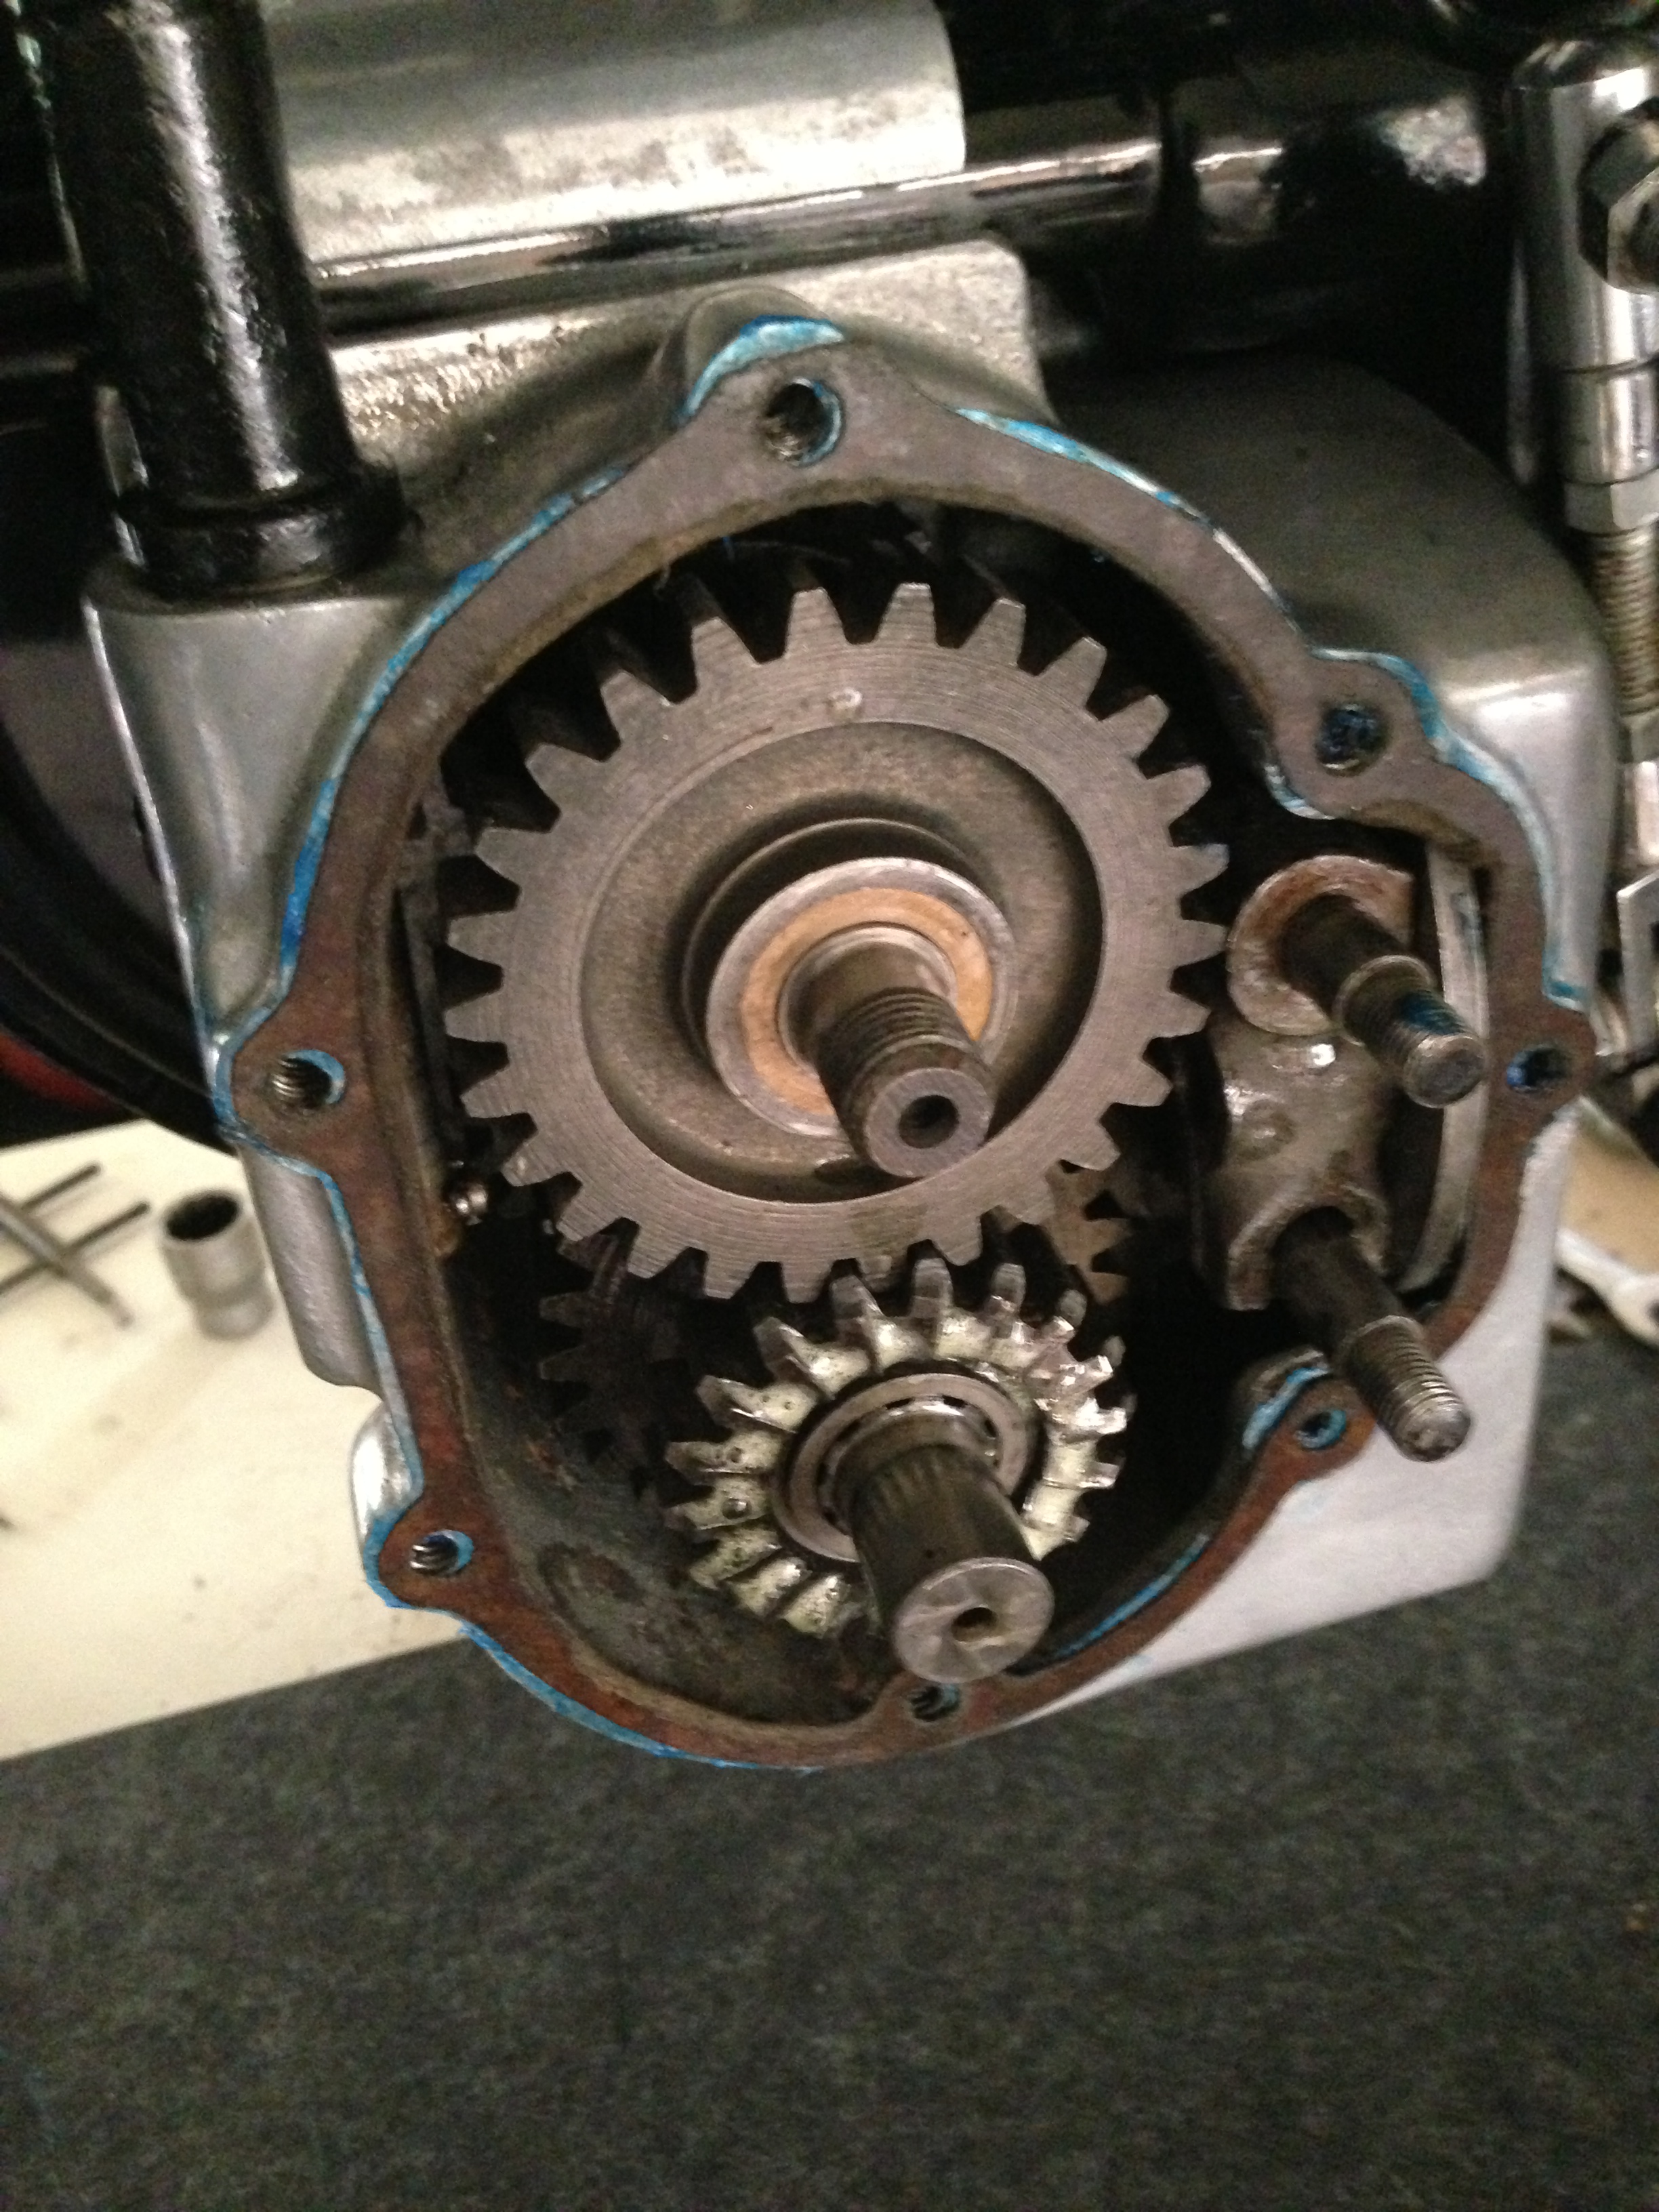
The cleaned up gasket will be re-used and just gets stuck on the goo as above.
On goes the lid (with Hylomar also on the inside face) and all the bolts are tightened and the nut put on the end of the mainshaft, the actual reason for reassembling this side and putting the lid on in the first place. The kickstart boss had to come off as I had stupidly taken the cotter-pin out of the kickstart lever before this all started… Something that I will never do again unless I have to, especially with the GTP. The top right of the three screws is even less accessible that on the later and larger ‘boxes, God help me! I’ve no idea how I’ll ever get it tight afterwards!! A good wipe around the joint with a rag soaked in Meths to remove any traces of ‘blue’ and the job can now wait until tomorrow to finish off.
Having replaced the box, it is now necessary to tighten the mountings and re-tighten the primary chain by moving the gearbox back to where it was before (I had to move it forward to wangle the crankshaft-pulley and sprocket on, remember?). Check tension through the hole in the PCC regularly when those big nuts are done up on the top of the gearbox-mount and use the adjuster just to keep tension as you tighten! They can exert considerable force and ruin the whole setup if the chain is over-tight! Once close to correct, a slight loosening of the big ones and tensioning through the adjuster and nip them up nice and tight, not forgetting to check again… Make sure that the tensioner is pulling up against the face of the frame to the rear; if not, despite the tightness of the large bolts, the primary chain could loosen again due to the pull on the top run of chain caused by the blinding acceleration of this powerful little engine! Joking aside, this is important on any bike!
Now to the other side, where the PCC and flywheel have already been reassembled. Now the rear chainguard has to be replaced. The rear chain is first fed over the rear sprocket and the loose end pulled to the front of the bike and placed on the drive-sprocket on the gearbox, returning it about halfway to the rear wheel. Thus, the chain link can be attached, when necessary, on the lower run of the chain. The guard (or should I say both of them – the two pieces have not been disturbed, as the paintwork would surely split and crack) cannot be fitted with the chain ‘done up’, so ithe top run is purposely pushed down into whatever recesses are naturally there, so that it is out of the way, but still on both sprockets. THEN, the rear of the chainguard is fed into the space between the frame and wheel, UPSIDE DOWN, and once clear of the diagonal frame member, can be uprighted by revolving it along it’s length clockwise, with a slight turning of the wheel, taking advantage of the space between the spokes. sounds strange, but works and no paint damaged, either. Saves a whole lot of dismantling going on! The chain link can now be fitted, with the round end facing to the back, as it is on the bottom run…
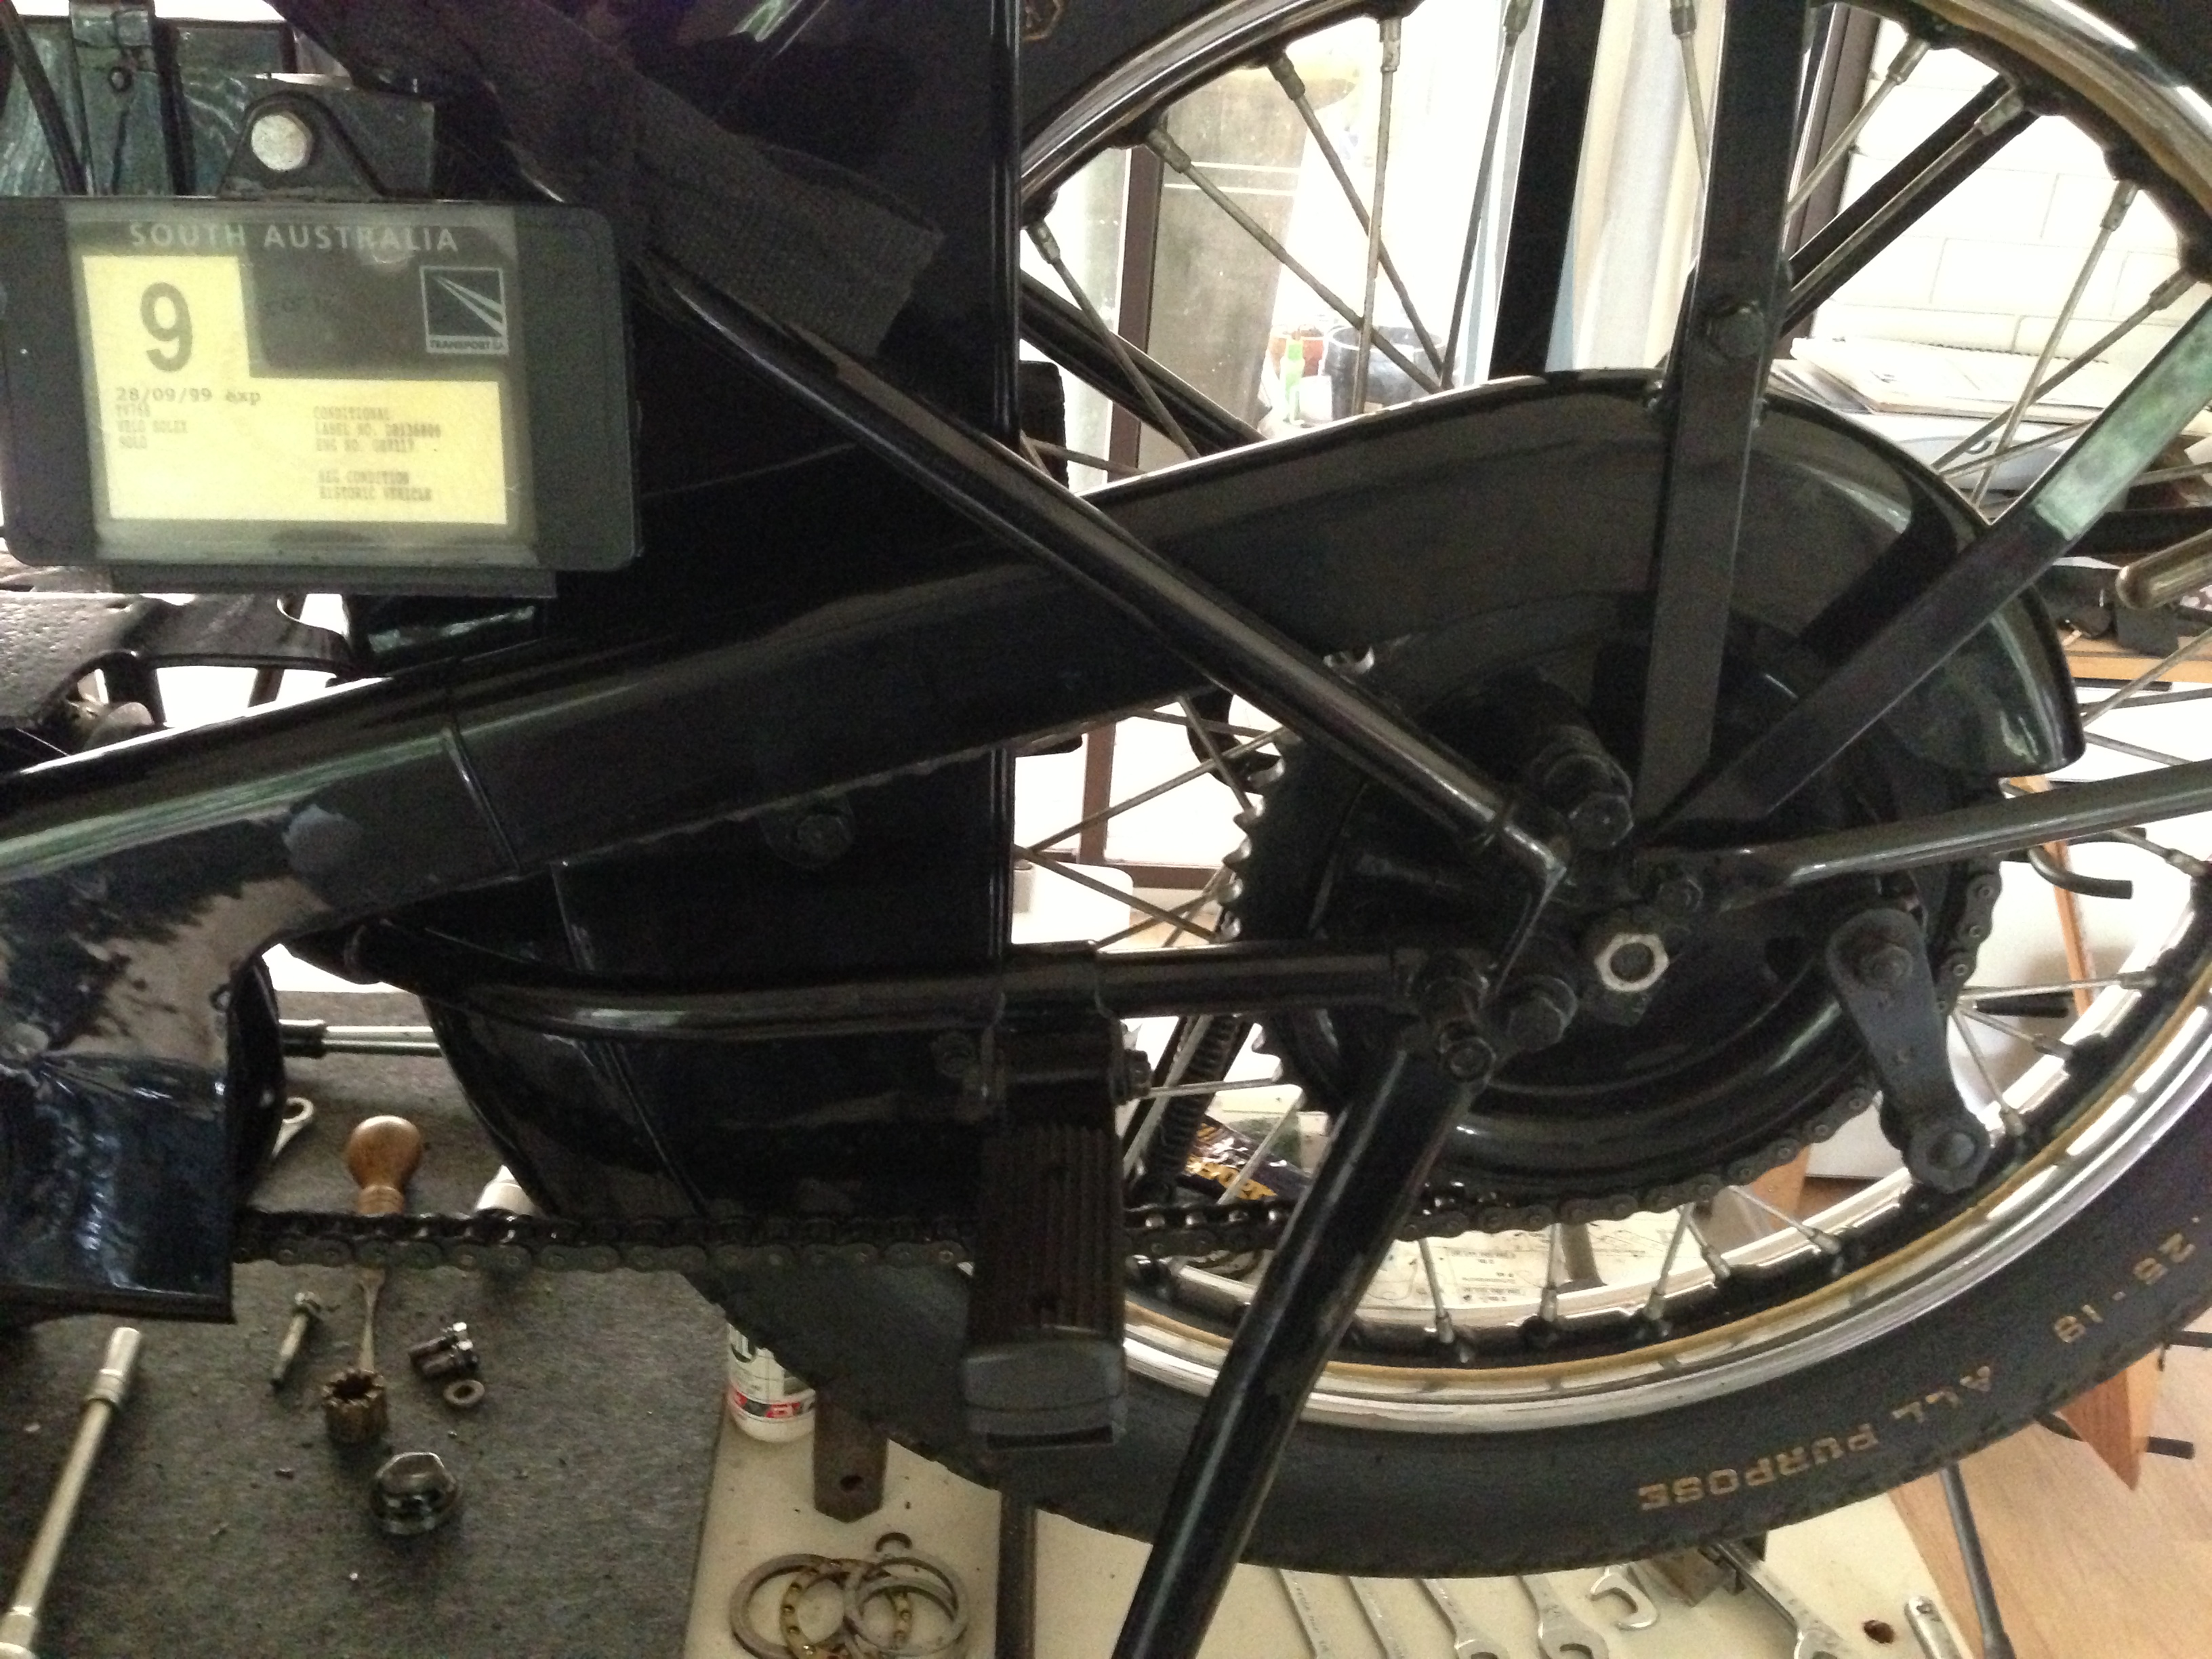
Now in place, the nuts and bolts at front and rear and holding it onto the mudguard can be put back with spring-washers and tightened.
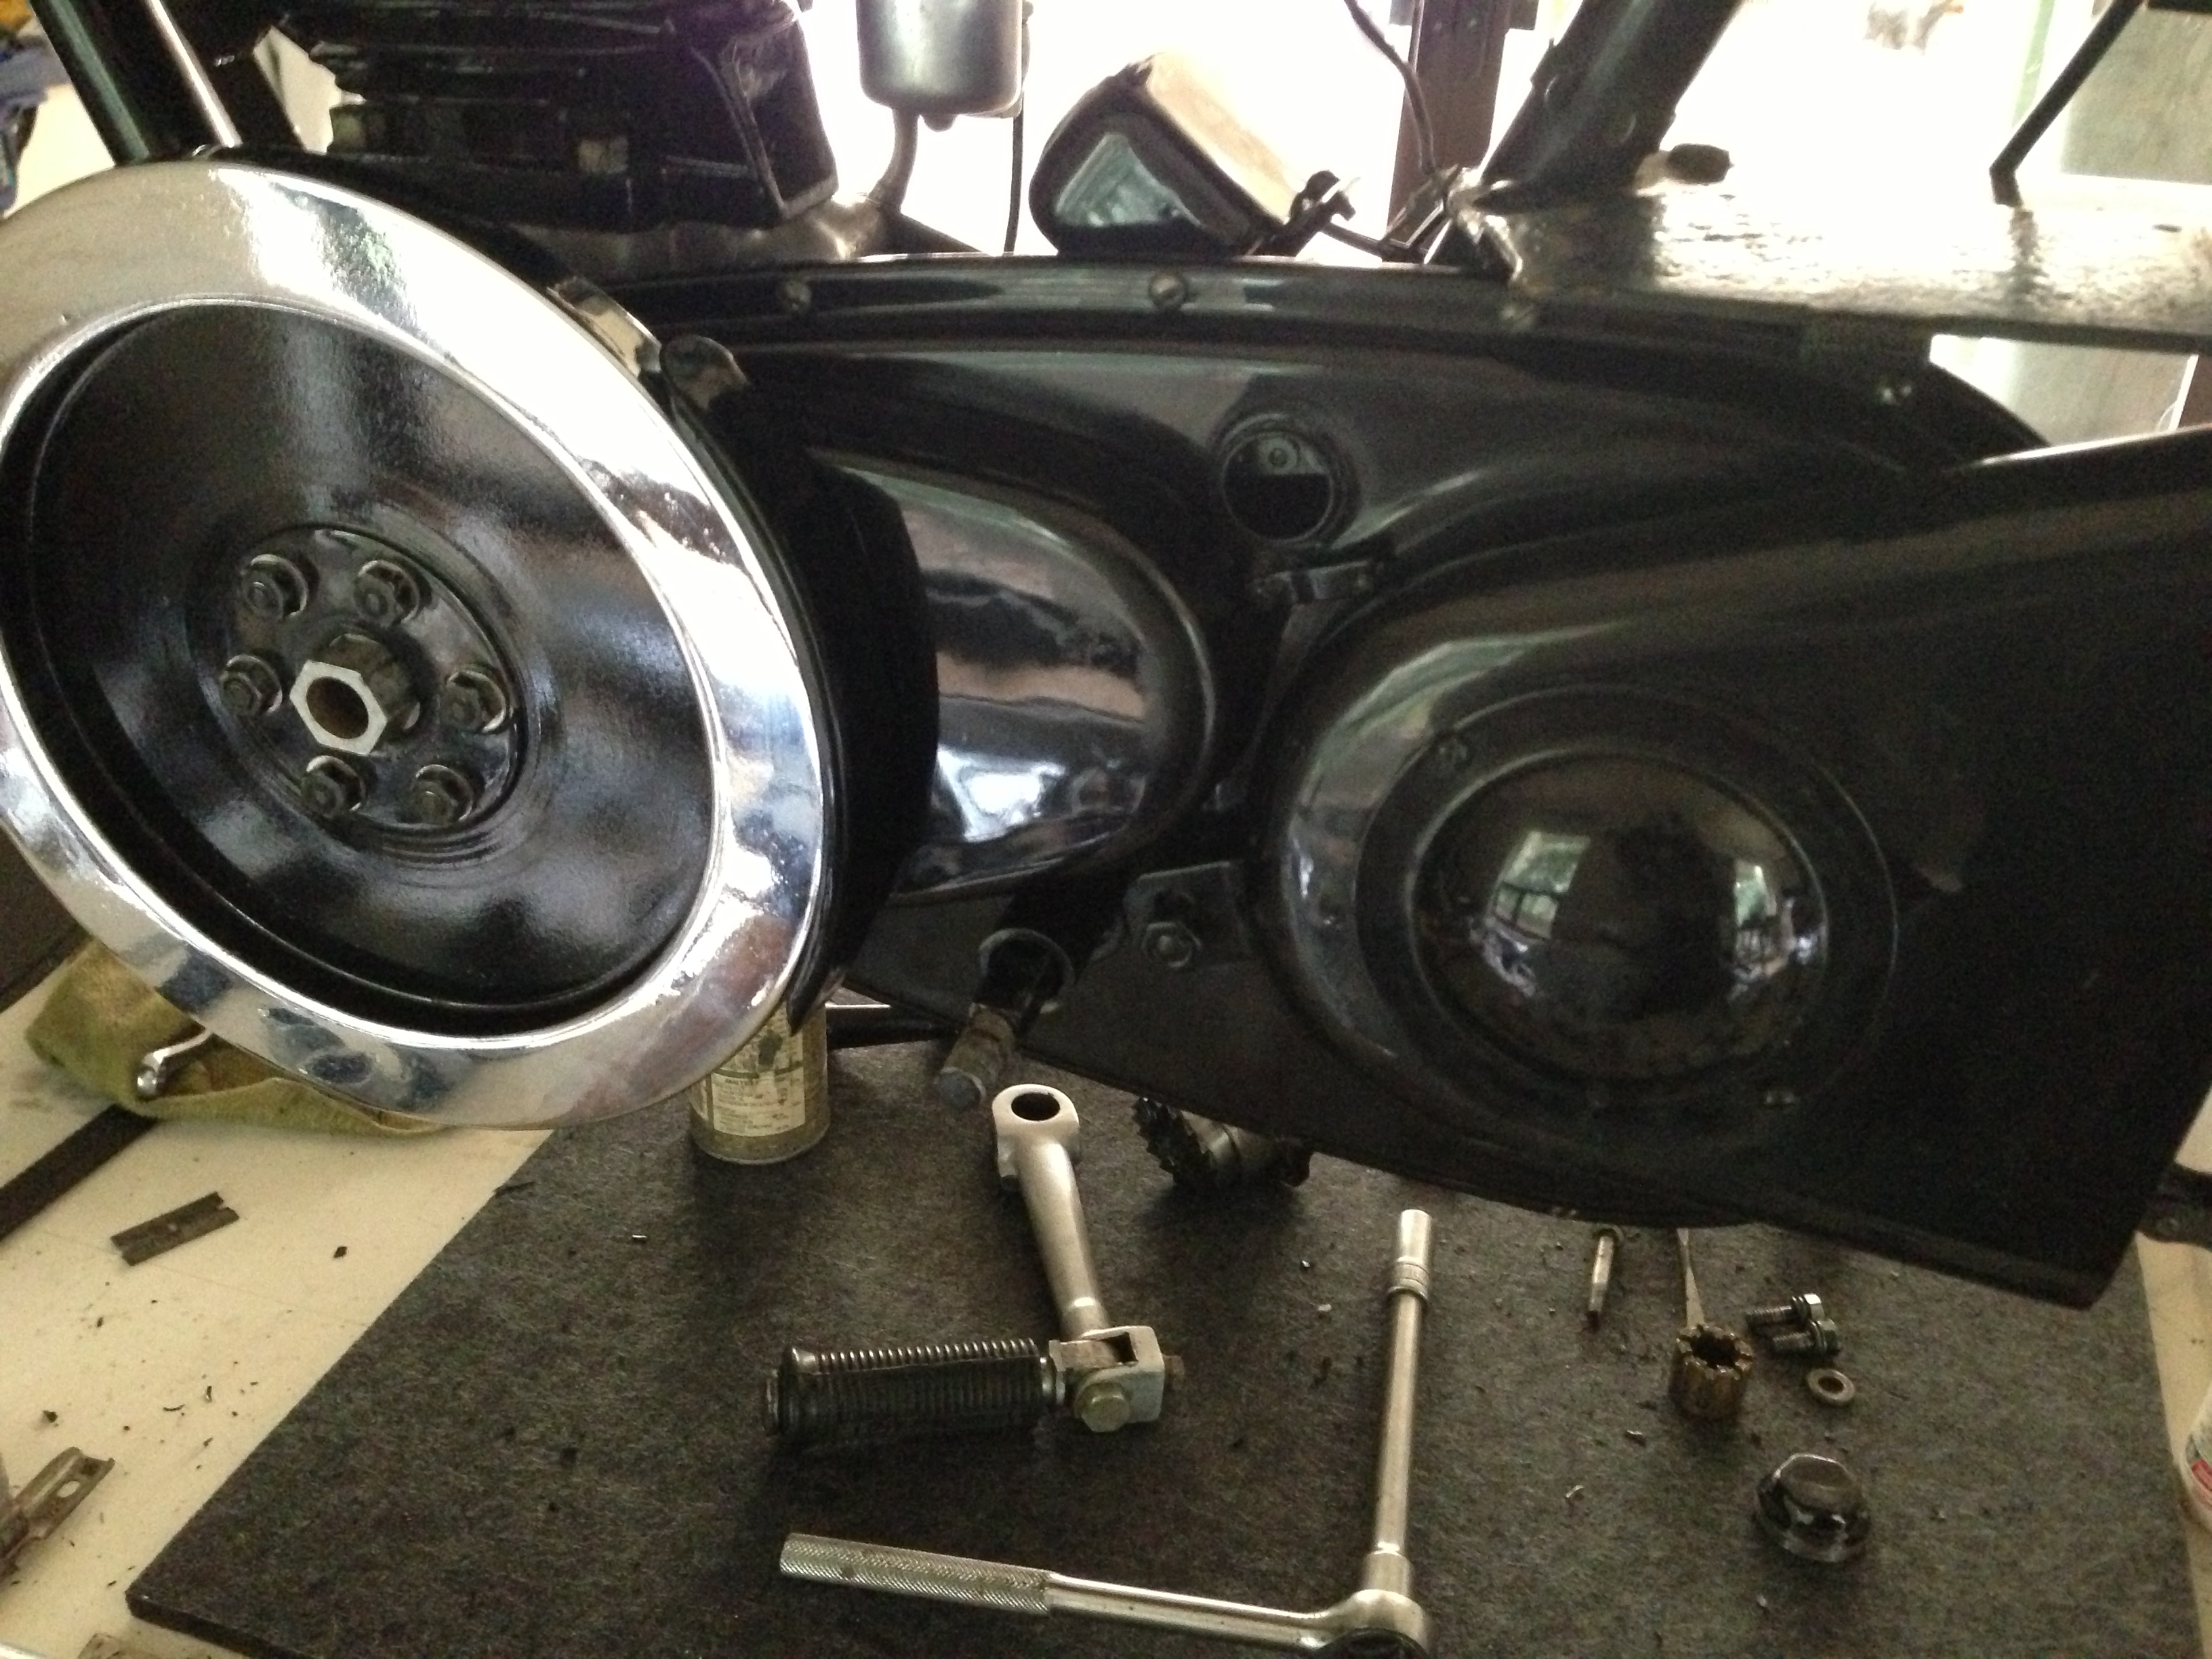
Here is the assembly all done up and the primary chain visible through it’s peek-hole in the casing!
Next comes the tube spacer on the square footrest-bolt, if not already fitted, then the exhaust can be attached. The one mounting goes on the bolt now, the front and back as before in the head and on the bolt on the rear drop-out casting.
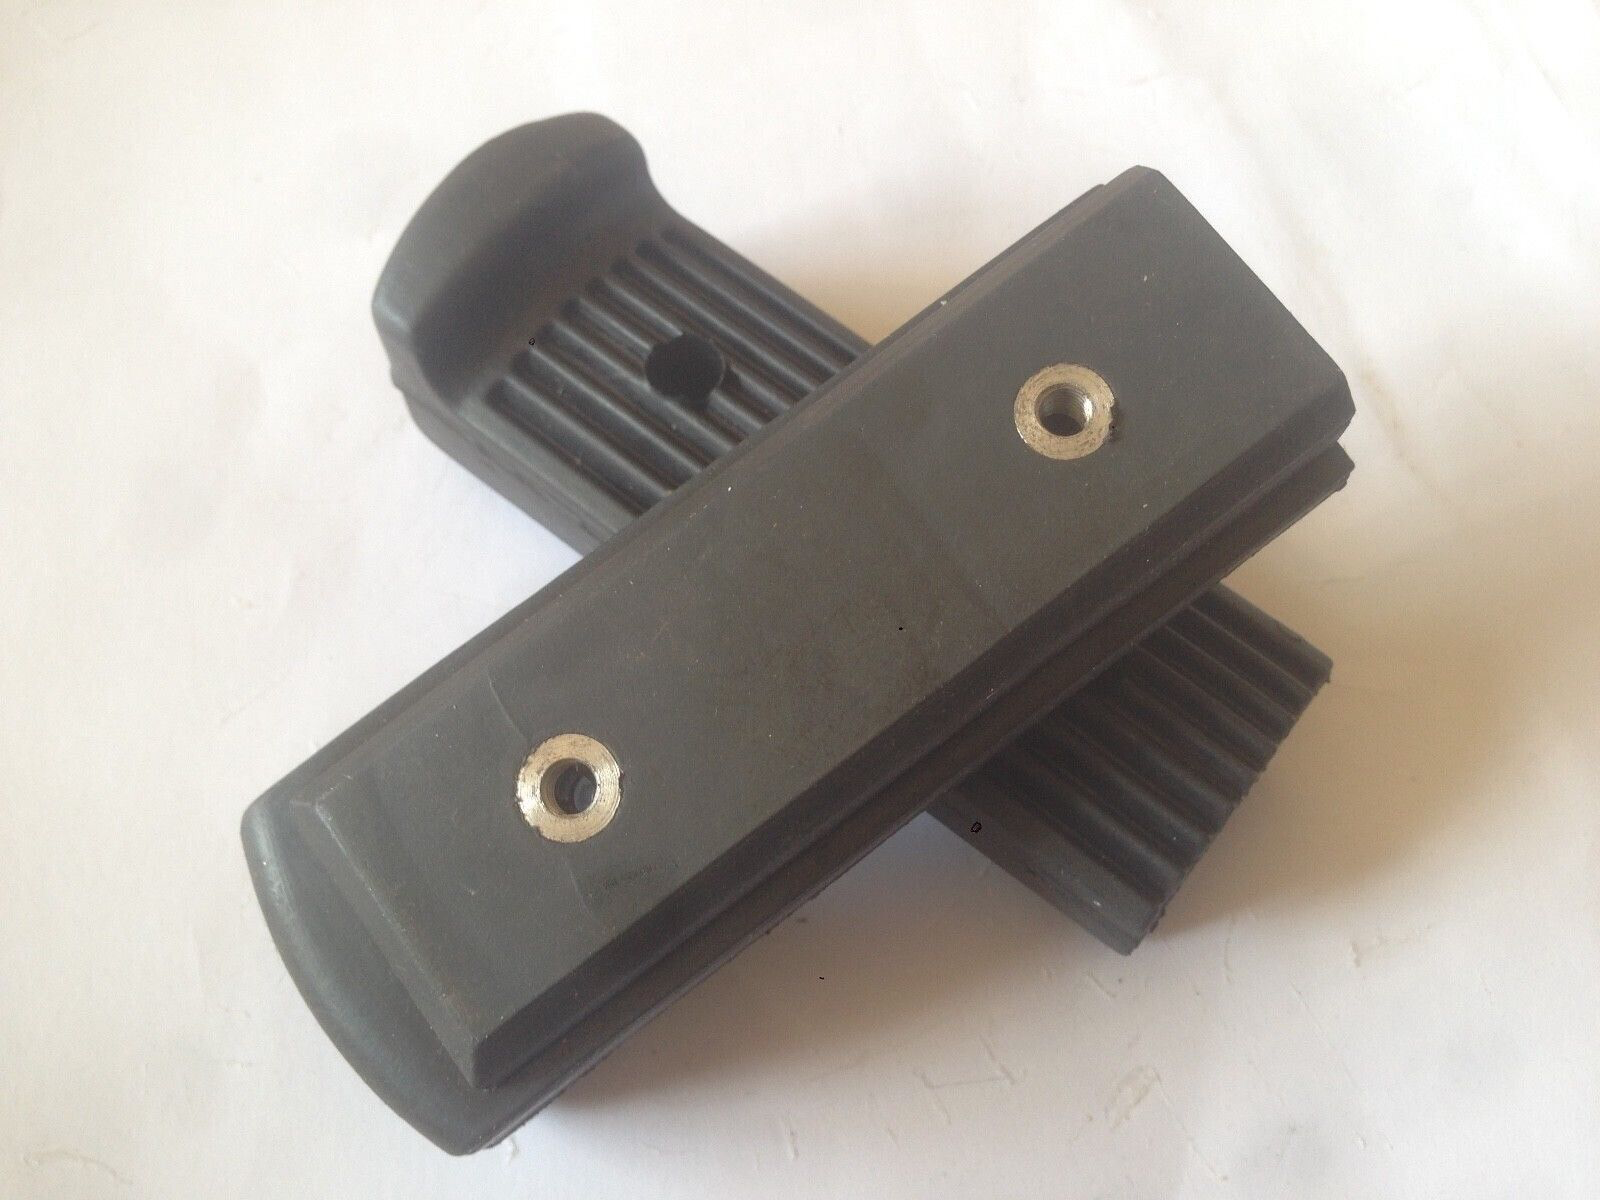
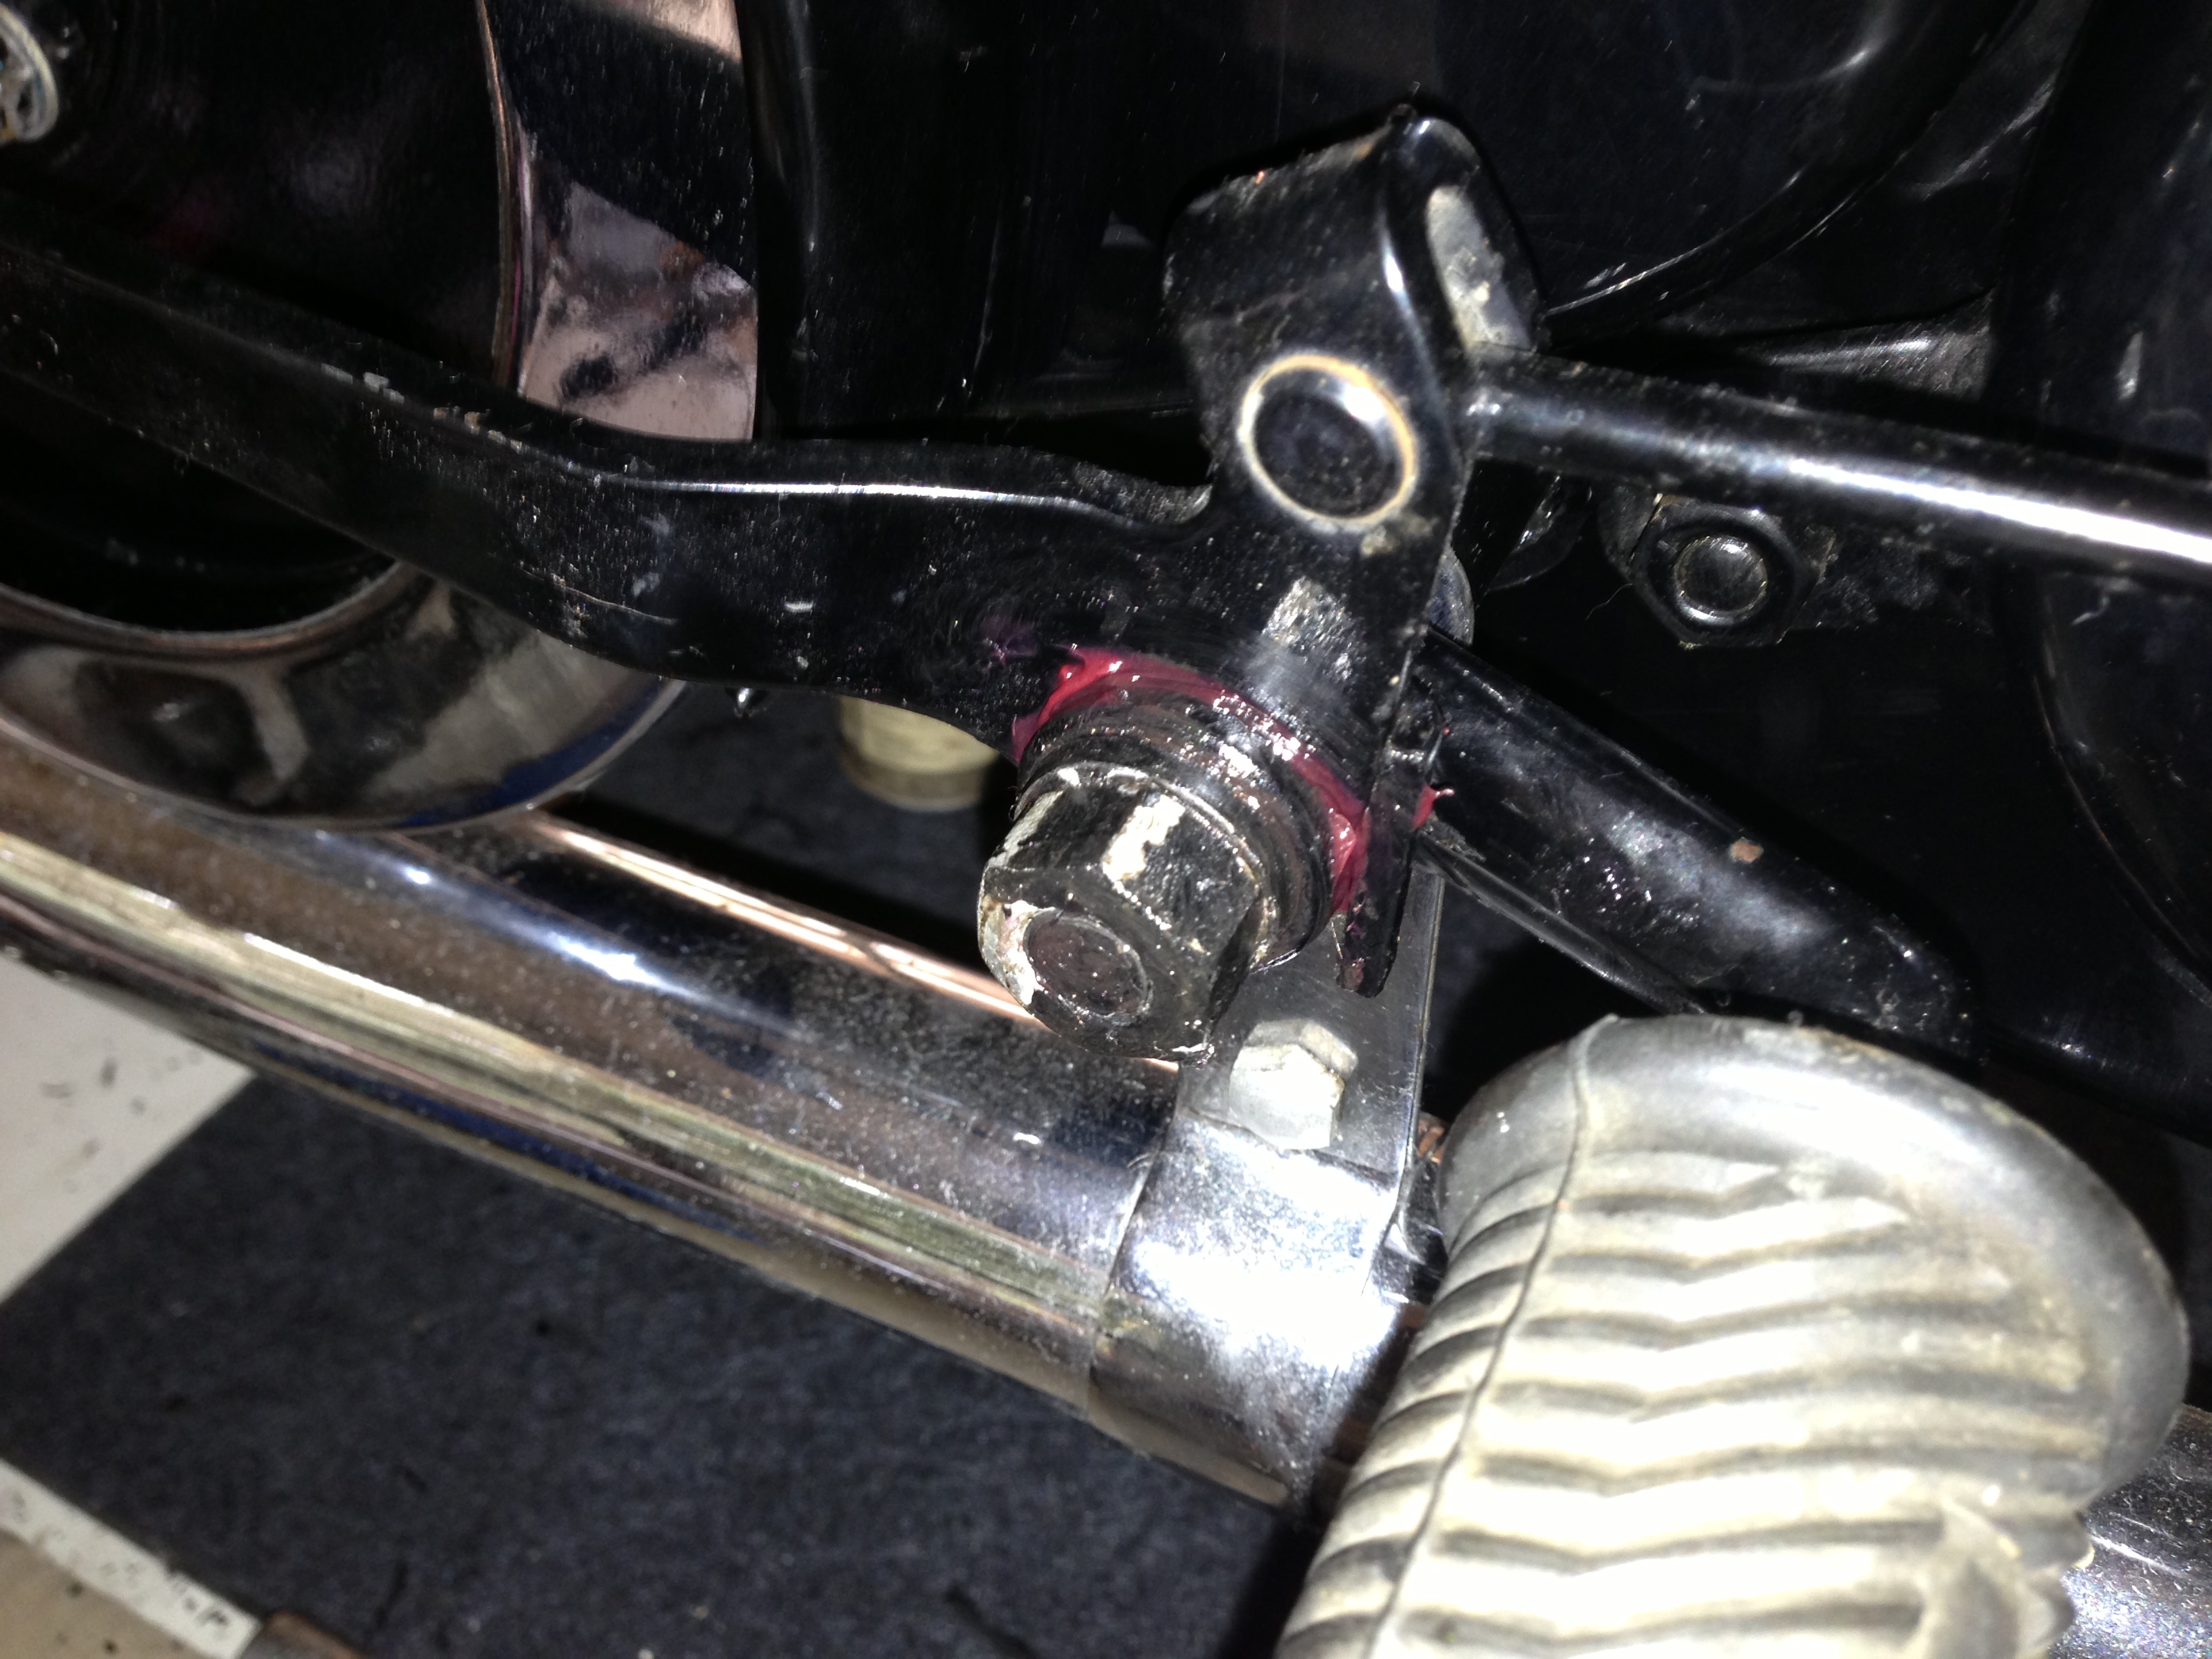
After that, the footrest itself, facing backwards (it doesn’t fit any other way without interfering with the brake-lever!), then the bent flat plate which acts as a stop for the brake-lever, the folded edge vertically on the RIGHT (as can be seen above), then the brake-lever itself (after putting the rod through the rear brake actuating lever-thingy) and the washer which doubles as a bush, liberally greased and placed through and on the gear lever hole, then the washer and nut on the end
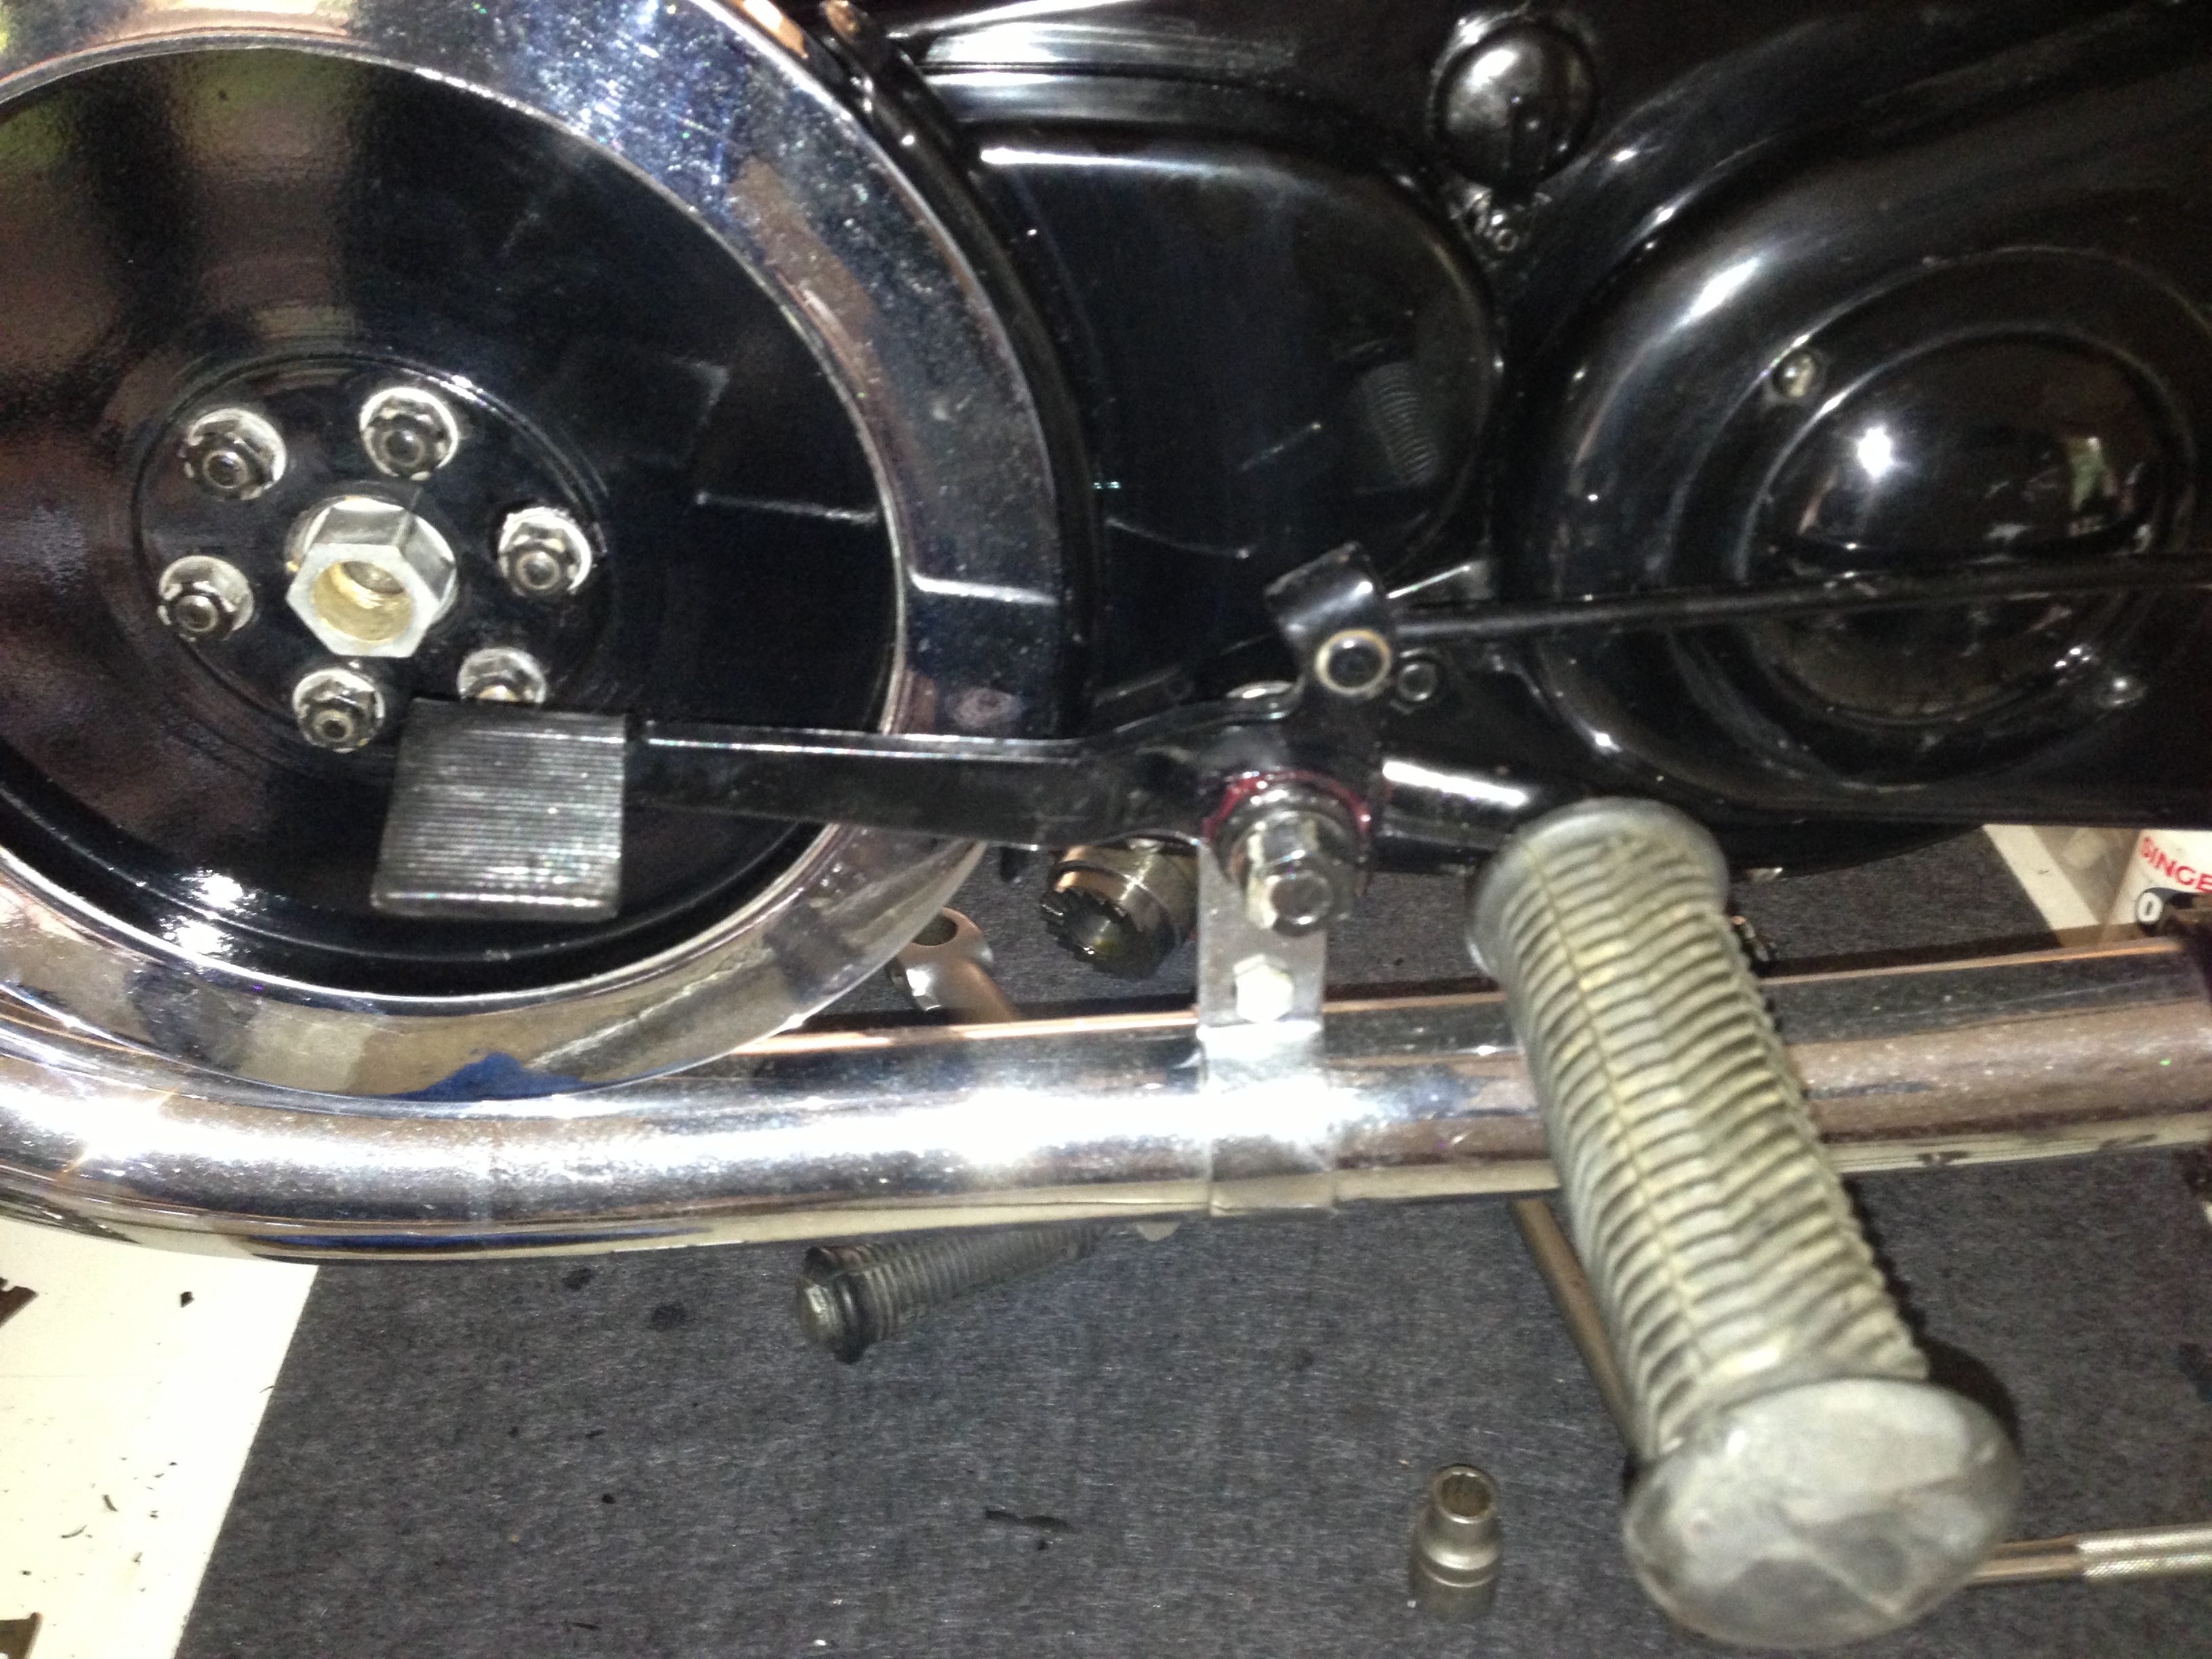
Here it can be seen that the brake-pedal actually ‘resides’ higher than the footrest, which I am nor particularly fond of… If it were my bike, I’d have to find a way to either raise the footpeg a bit or lower the angle of the pedal to be comfortable with it. All a question of what one is used to, I suppose!
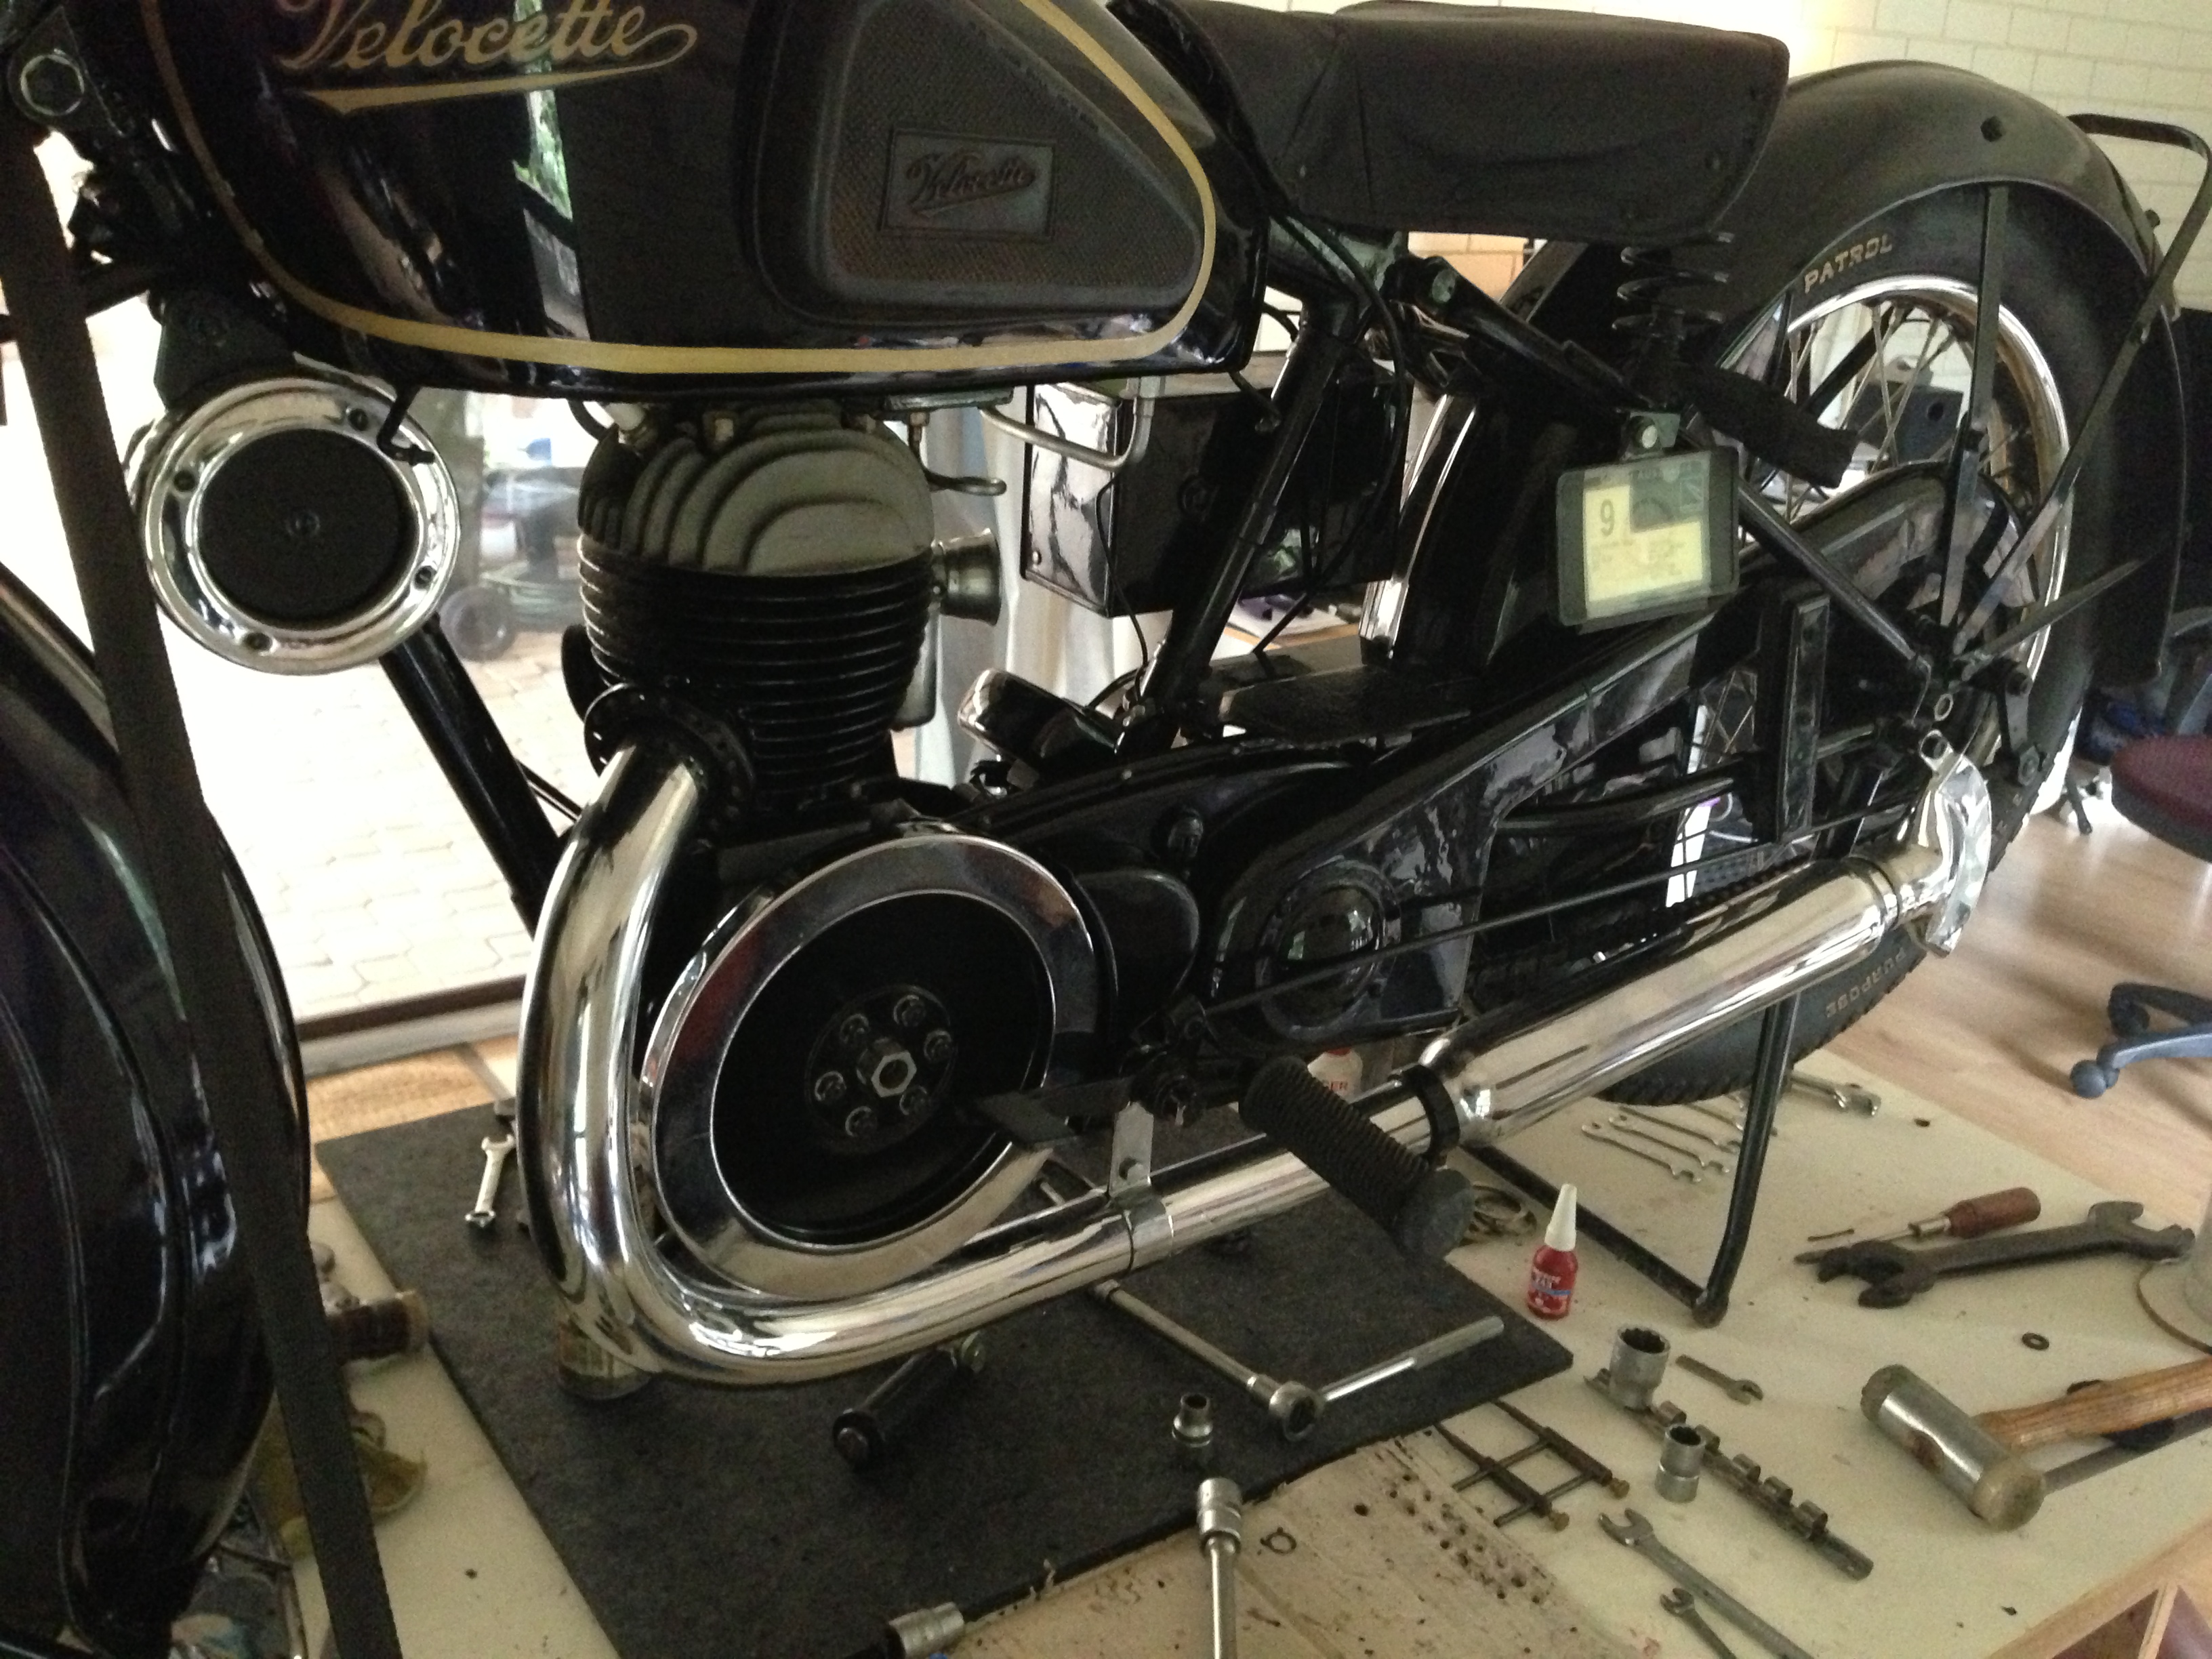
Voila! Drive-side done! Just a few bits of paint to touch up and that was it. Next, the kickstart assembly and footrest etc on the timing-side and all is done, apart from refitting the battery! What a shame! After tomorrow Pud will be able to come and pick it up! I would have loved to have kept the bike for a bit longer… maybe a test-drive… for a week or two, just to make sure everything is OK, you know, for safety’s sake… Have to have a chat with Pud about that! 🙂
© peter gouws 2013