It’s the real thing
My long absence has been due to many changes! Real change only comes about through real change, as we know, and plenty has been a-changing! I won’t bore you with the details (well, not all of them… and not yet!), suffice to say that things (and me) are on the move again.
Nuff of that… You may remember that I had landed a few parts form ‘Pud’, and now is the time to start getting on with fitting and fettling. Not forgetting that these parts are in their seventies, they are in pretty good condition for their age! Take the front brake-plate: Main thing is that it is FLAT! Actually, dead flat, no dings, no dents and no bits missing (Phew!). So to recap, the front brake-plate on these early (Pre-Dowty/Telescopic) models are not cast in aluminium alloy, but pressed steel items. More importantly, they had provision for a speedometer drive (which is,of course, on the later models, from the REAR wheel) and this , and the respective gears associated with it, are very difficult parts to get if you don’t have them! I was very fortunate in that the brake-plate was complete with all the bits. The gears for inside the hub and on the drive were new (yes, absolutely new old stock, still in their wrappers!), but the drive was a little ‘tired’. Having assembled it all and mounting the forks upside-down in my wood-vice, I noticed that, when run backwards, the hub turned silently, but forwards made an awful racket and slowed the rotation of the hub when spun considerably.
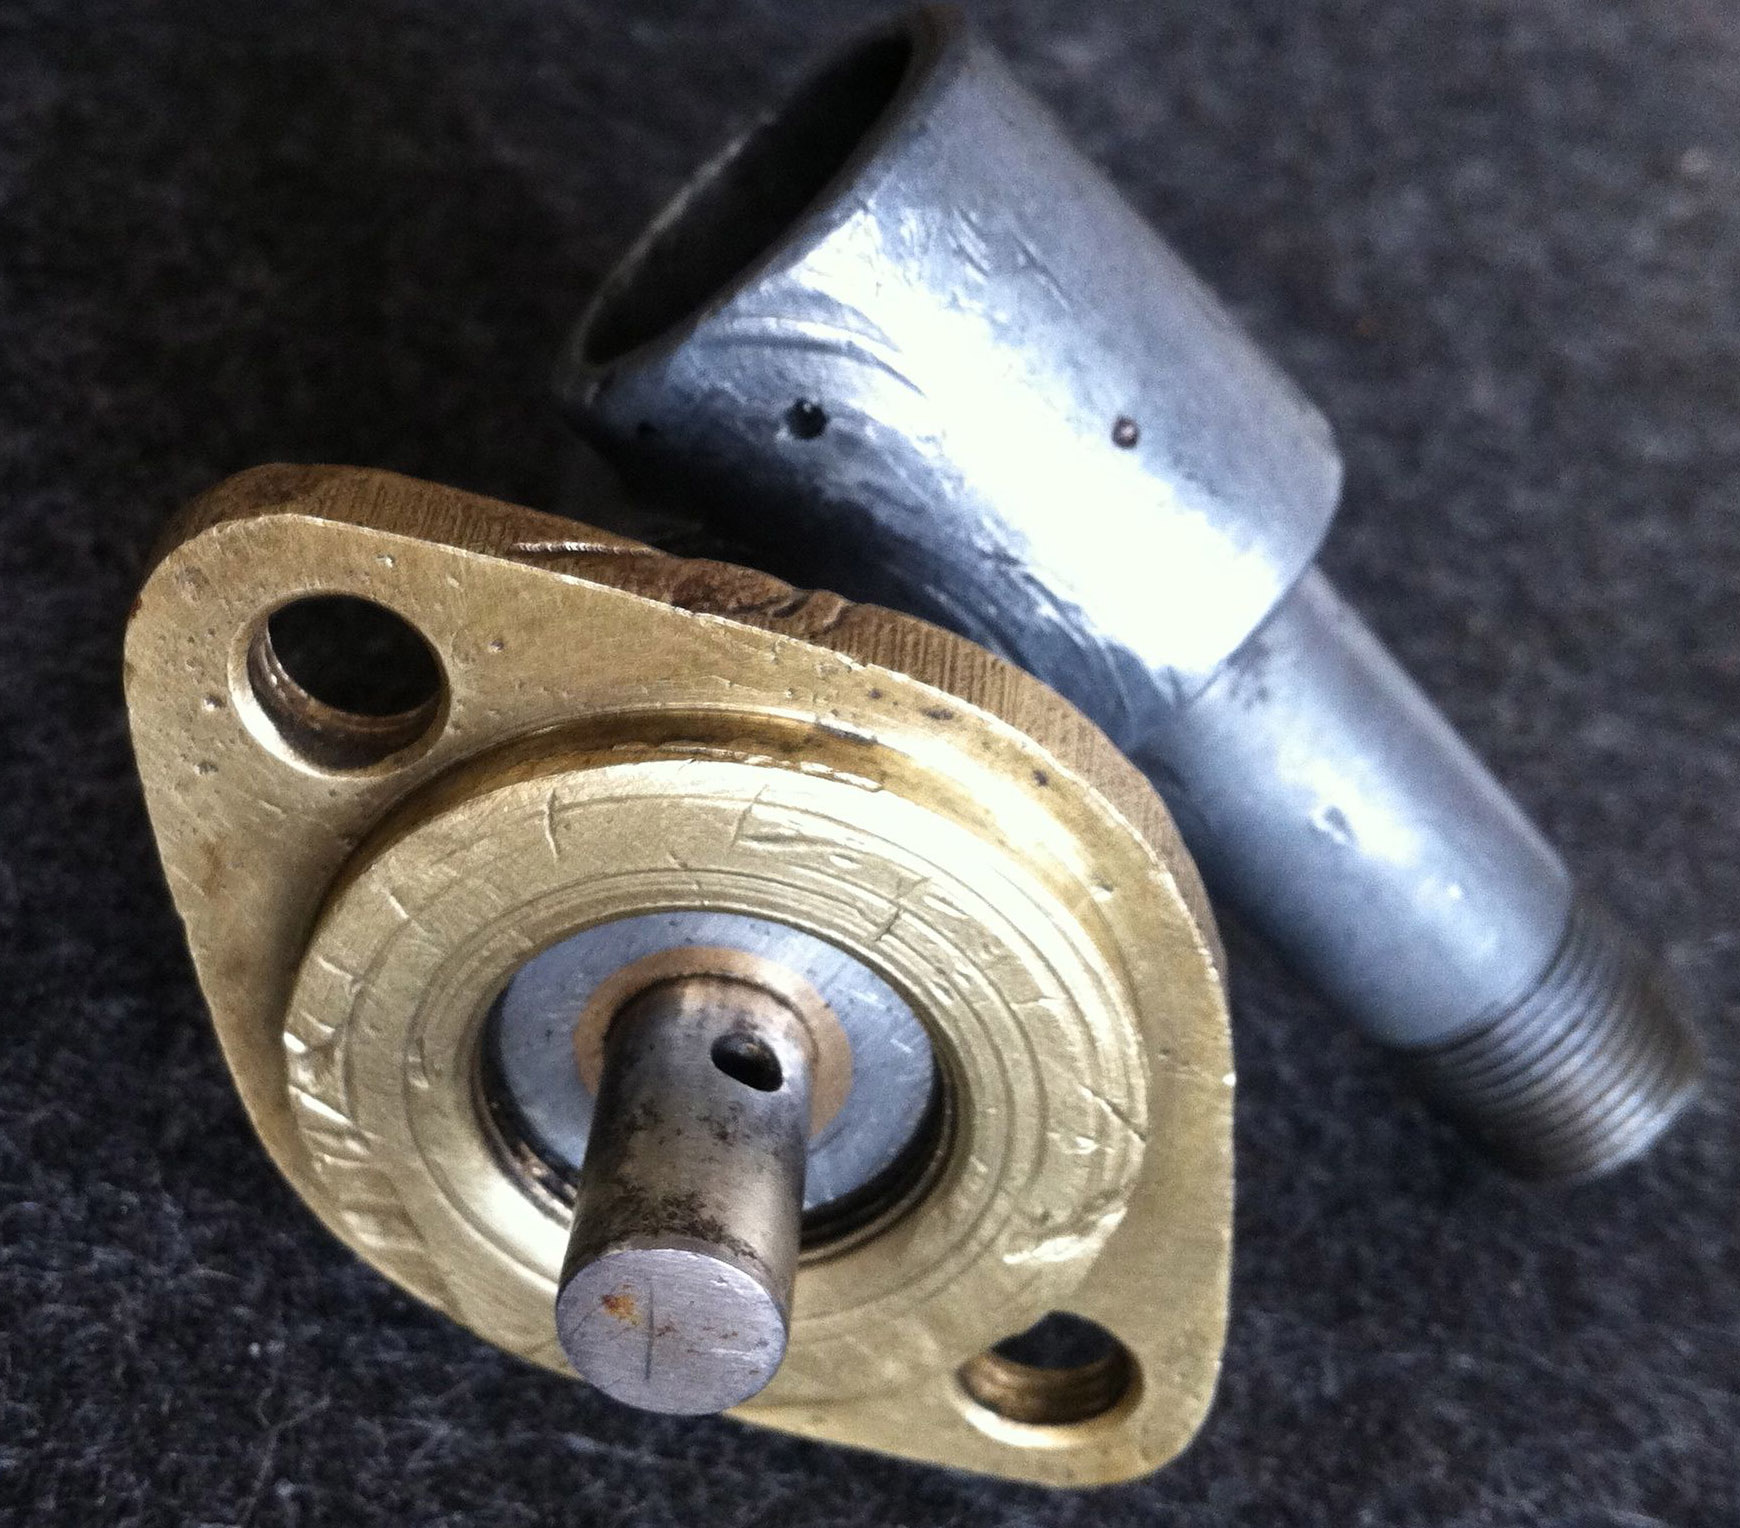
To get behind the reason I had to take the drive off, of course, which I duly did. The reason became immediately apparrent, as the shaft had worn the housing VERY oval (due to the forces imposed on it from driving the gear, and so was very much off the intended centre-line, causing it to drag. The only way to cure is to turn up a bush to return the spindle to it’s proper place. The body was bored out to clear the ovality and a bush pressed into place and then reamed out to fit the spindle. The result is here to be seen, the size of the bush indicative of the ovality!!
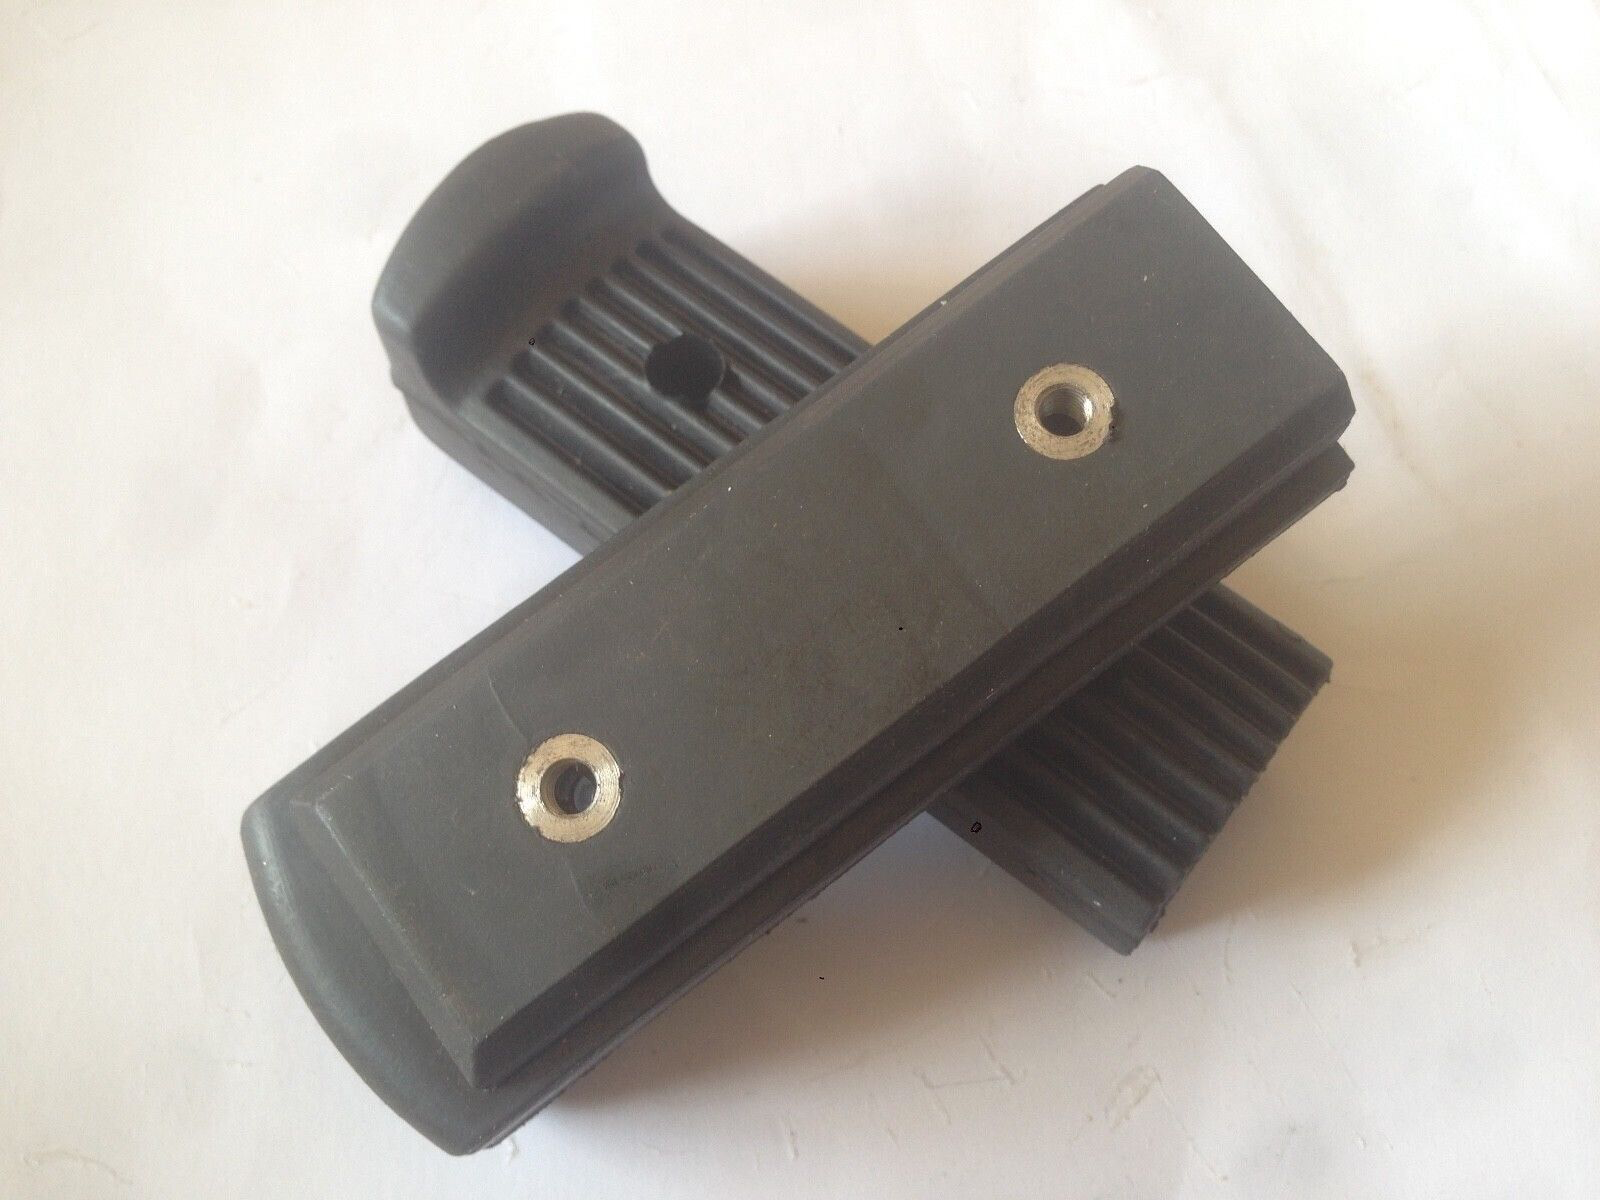
The next thing to clear up was the brake lever (brake actuating arm, sorry!) and whether I had the right one or not. Wayne had been so friendly as to send me a few parts, too, and so I had (among other things, more of that later) a brake lever for comparison. You may think this trivial, however, since the Velocette levers have a SQUARE fitting, this means only four ways of fitting. This may, in comparison to other makes, (which might have stars or other configurations), be a something to be aware of!
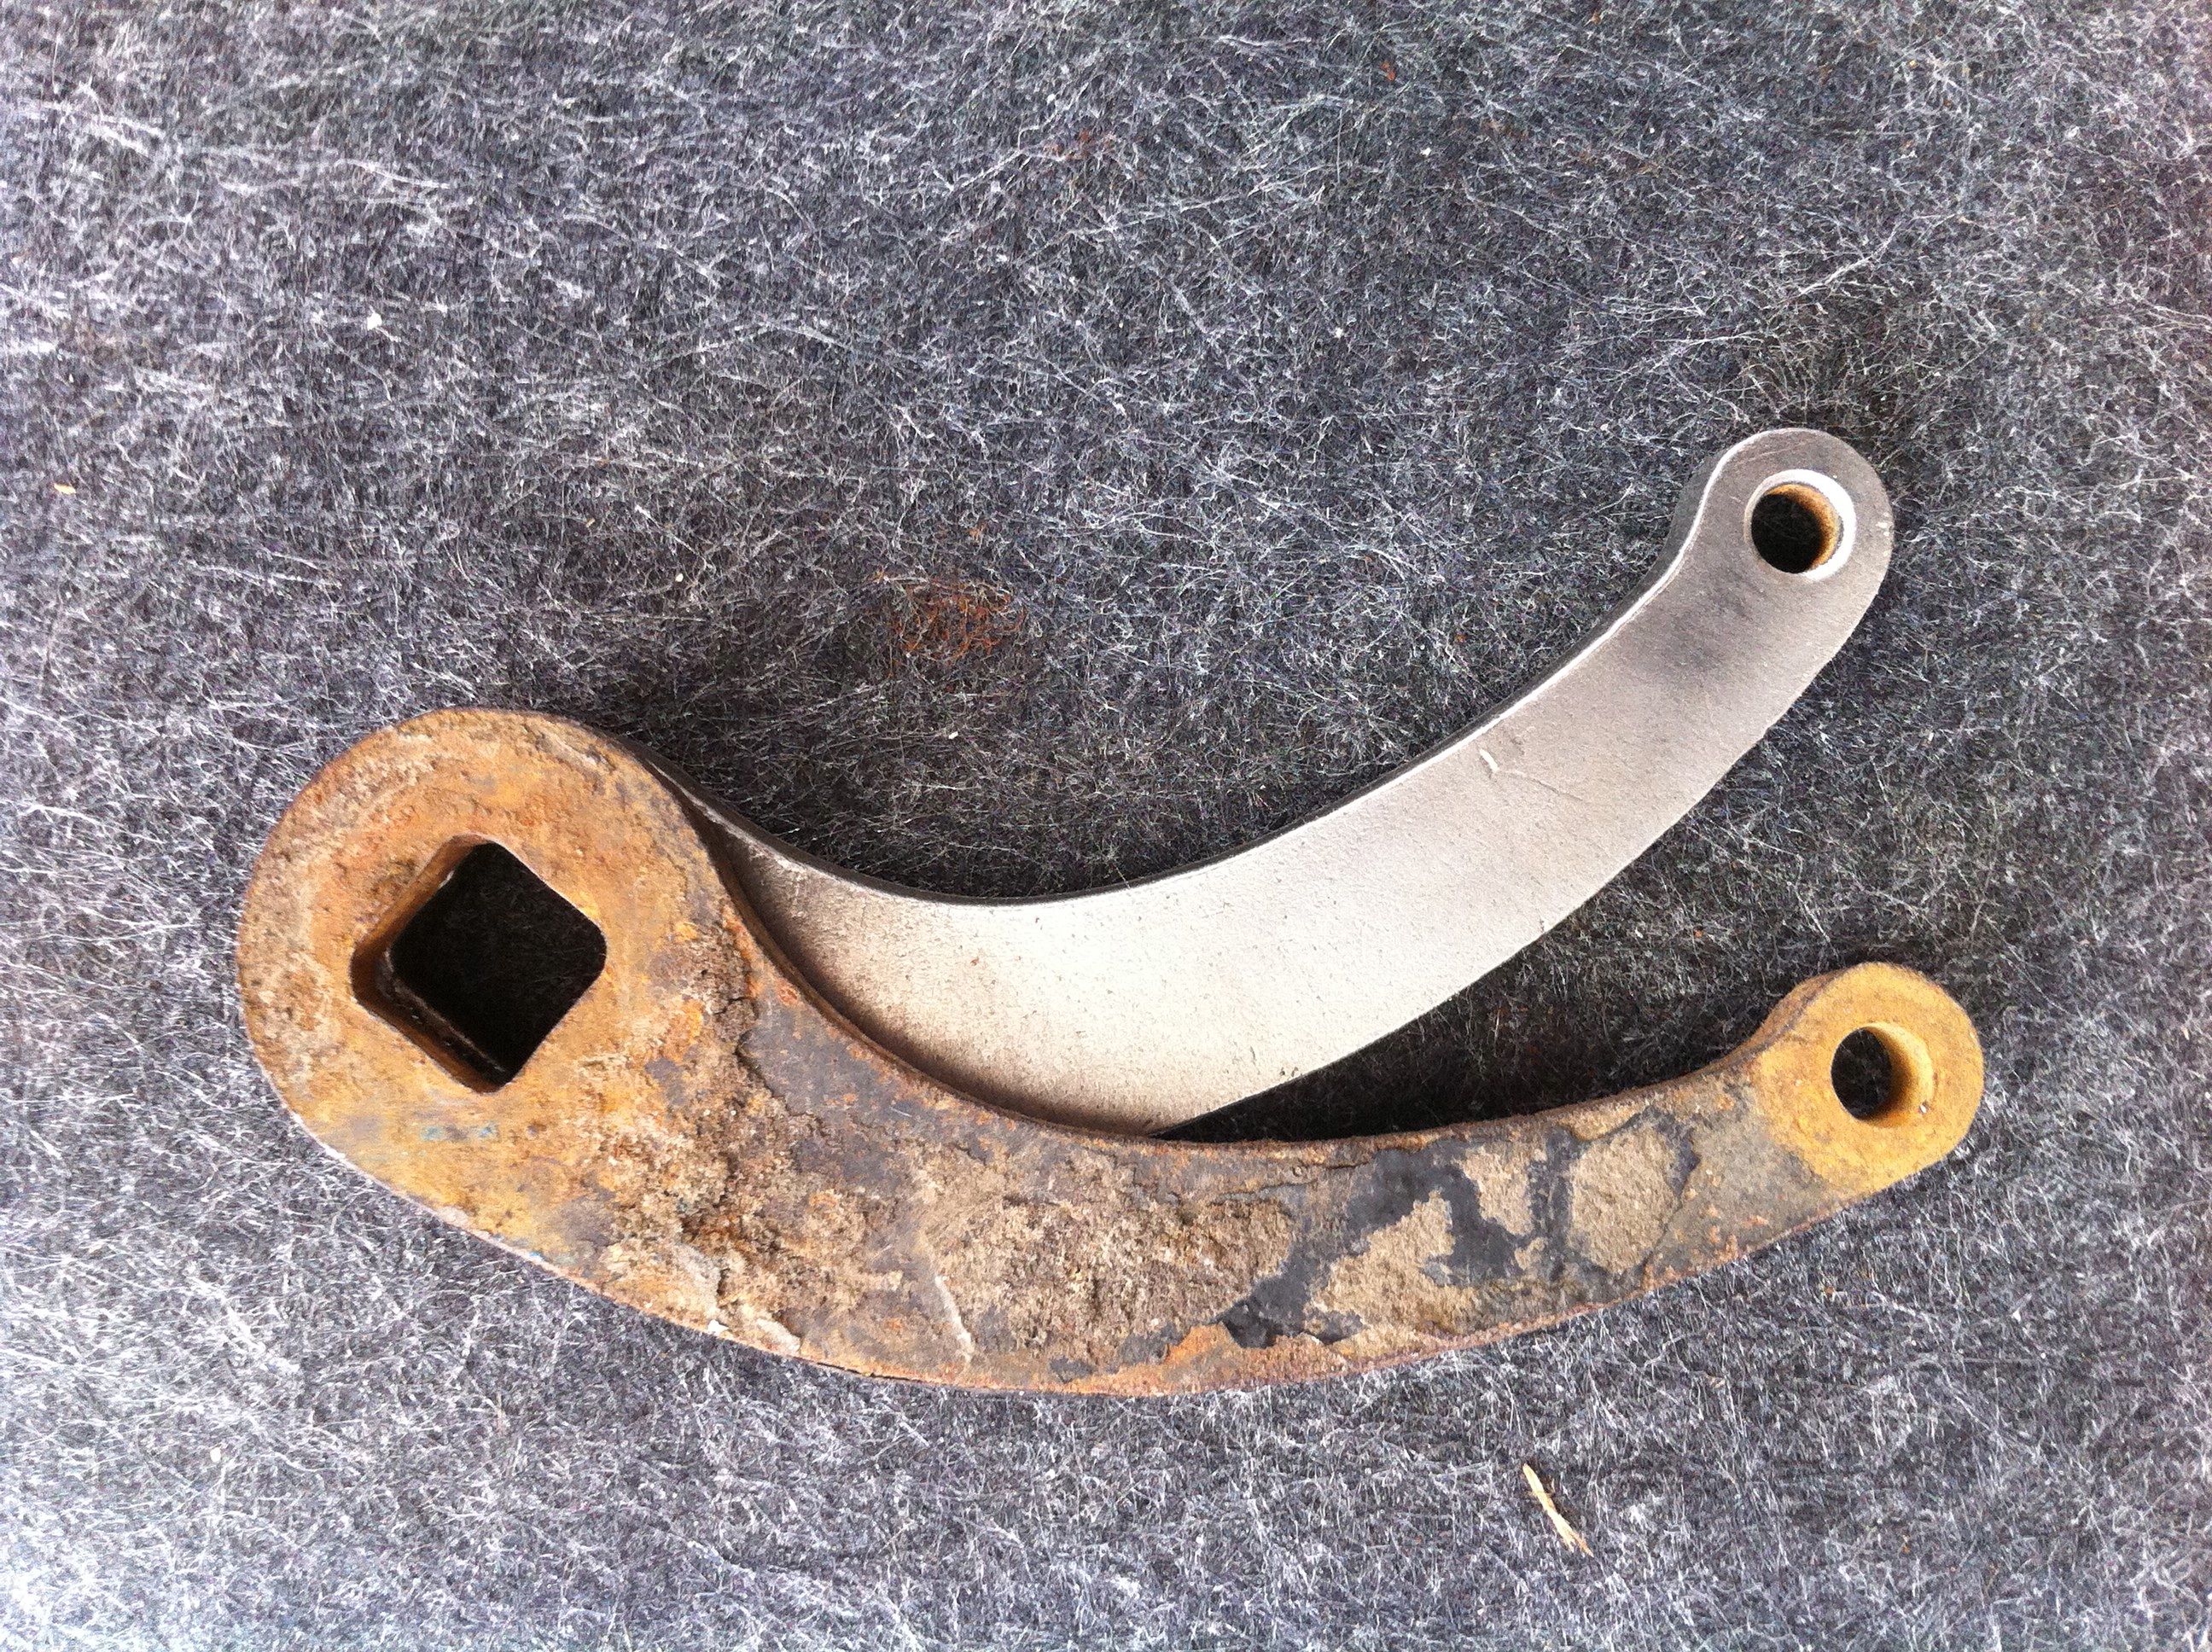
In this case, the construction is idiot-proof and much stronger to boot (assuming that you have the right part in the first place, which, if you had bought the bike when it was all in one piece and working, would be to expect!). Check out the difference below:
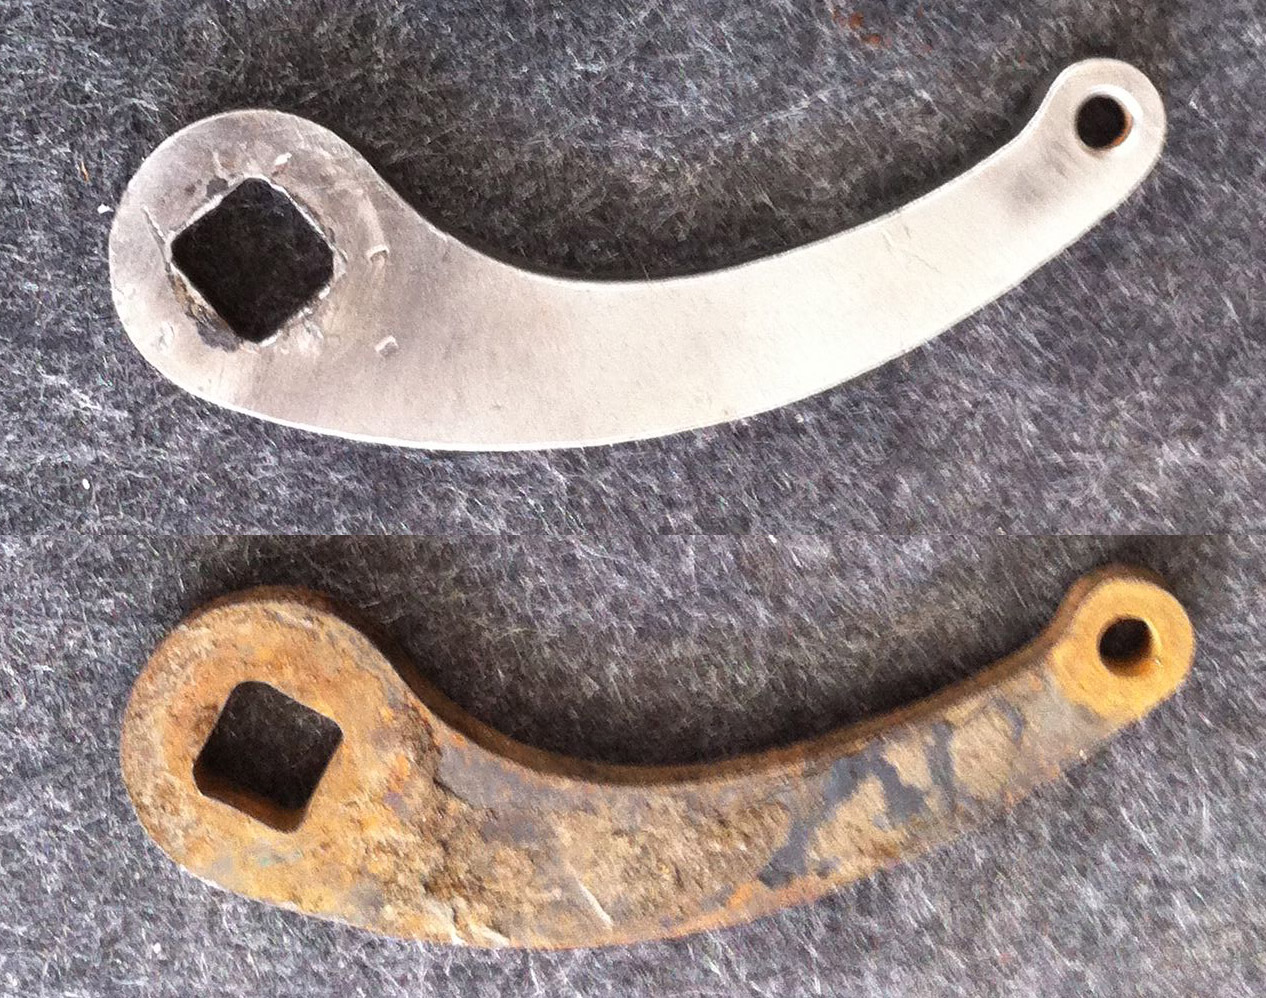
Actually made from ther same pressing, the only difference is the ANGLE of the square ‘ole at the end! The top one is correct for the model and year, the other one would fit any of the telescopic fork models. Just in case you were wondering, the top one one is not chromed, it looked exactly like the one below! It has been cleaned up using a ten-inch wire brush on a bench grinder, ready for powder-coating!
To emphasize the difference, I have taken a picture of both together, showing the difference rather more explicitly. To fit the wrong one would have dangerously disastrous results on the braking-power (what braking??) of the setup.
The correct angle of brake-lever to the cable stop is absolutely critical to braking performance and cannot be emphasised enough! and should look like this:

The angle between the lever pivot and the end should never be greater than 90 degrees, so should never go past the red arrow at the intersection on the drawing, or the braking-performance will reduce to almost nothing! Not very desirable, at any speed! By fitting the other brake lever, the angles would be all messed up and the brakes, quite simply, could not be made to work effectively.
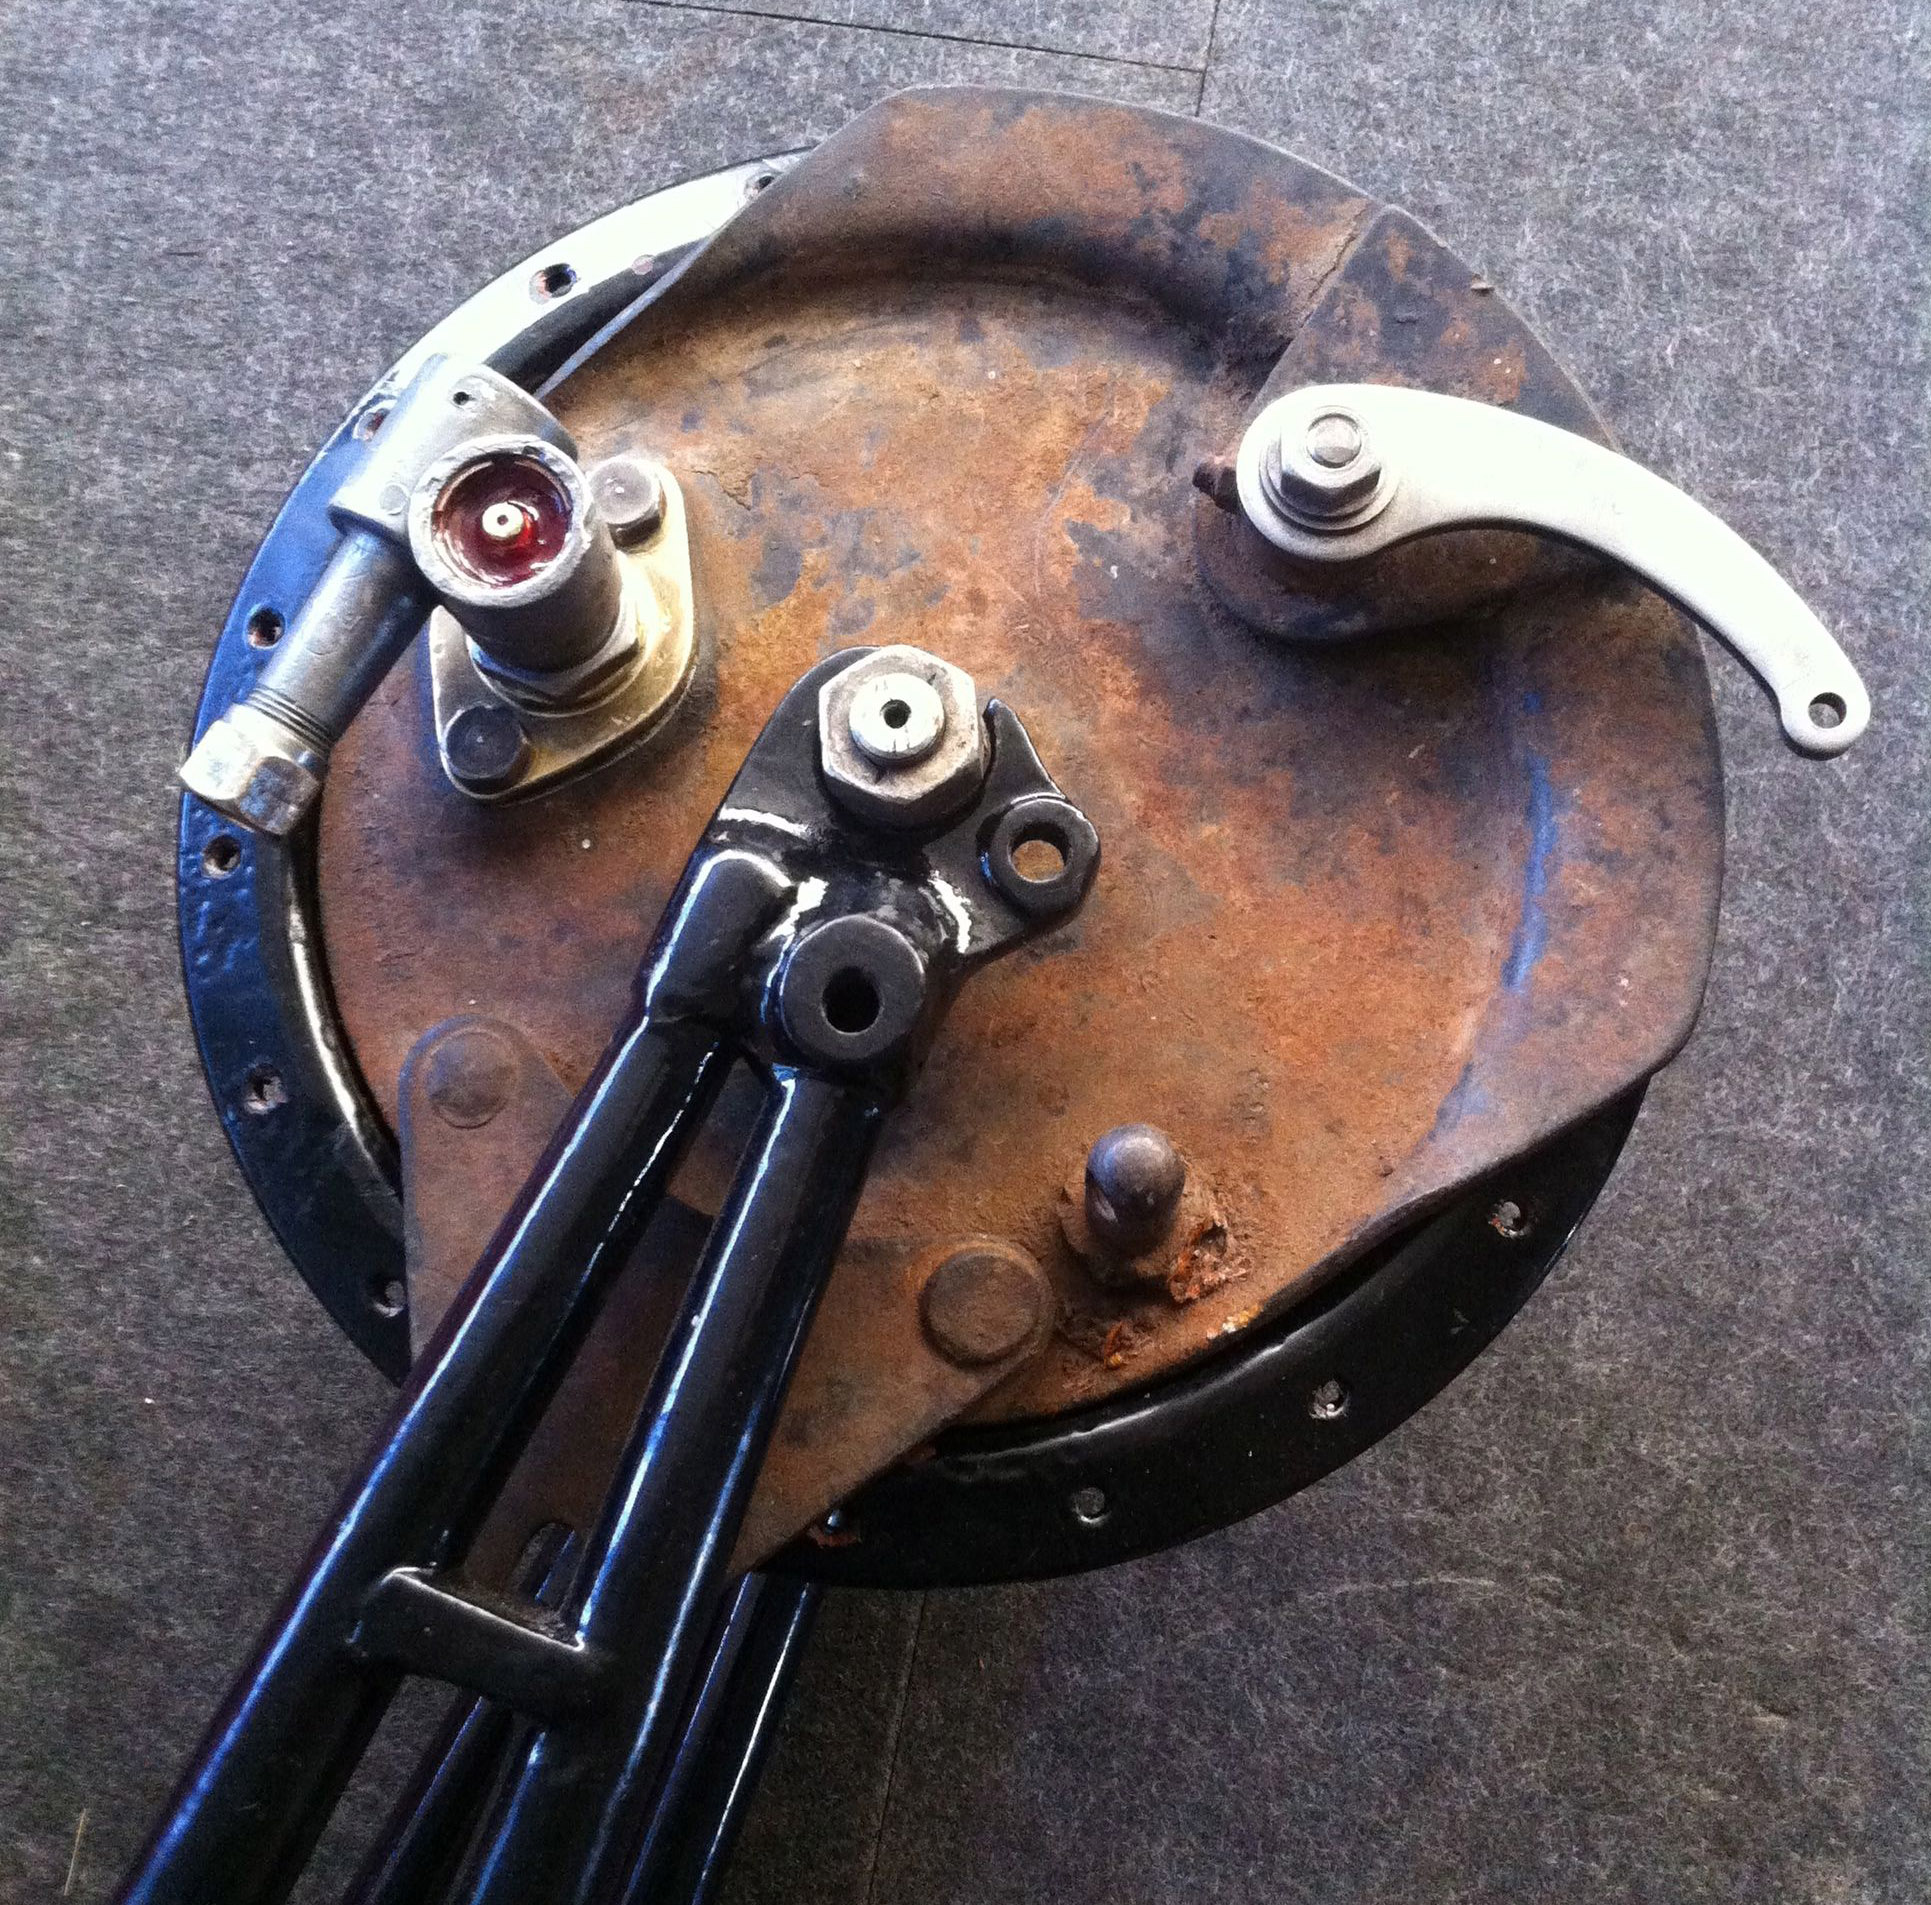
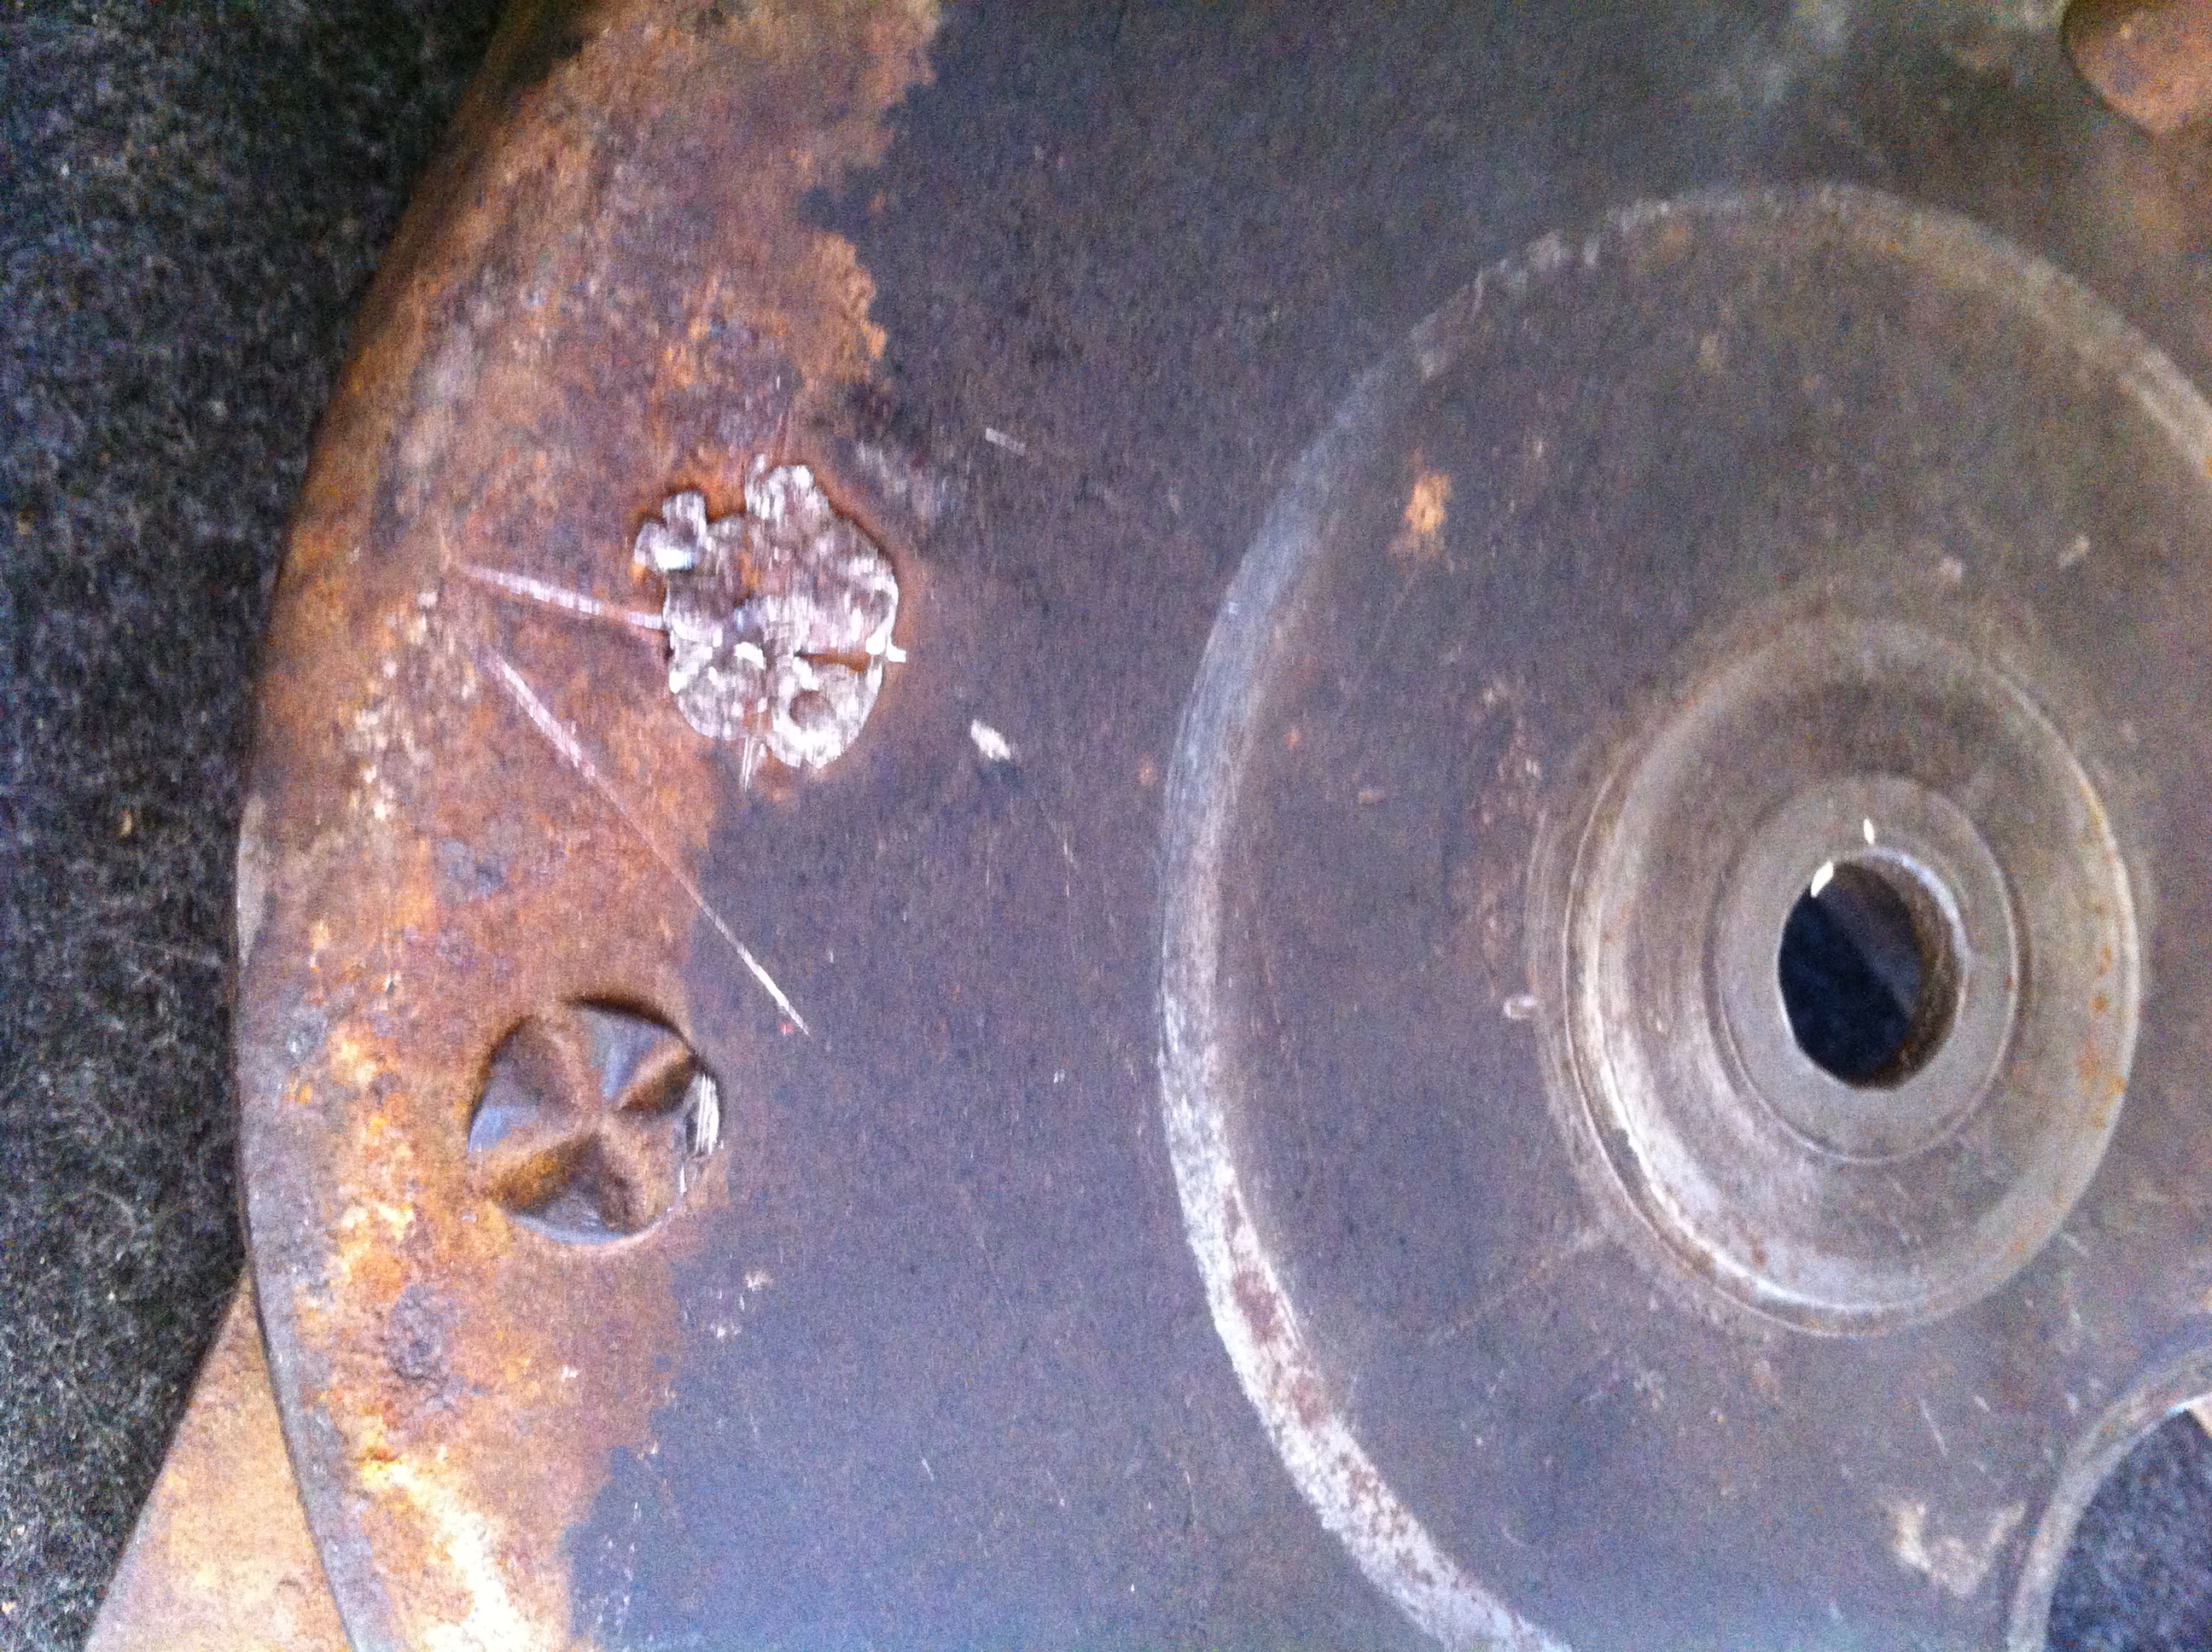
After cleaning up the plate, the cable stop pin is replaced and then has to lined up with the lever, so that the cable passes through at the right angle relative to the lever end (NOT the fork legs!!). SO, the lever was put in the ‘neutral’ position – you can see here that the square sides of the hole in the lever in this case point ‘squarely’ at the front-wheel-spindle, an easy reference-point – and I screwed a long bolt into the cable-stop to get the angle right for the direction of pull on the lever. This I would normally do by ‘sight’, but for the purpose of illustration, this does show the principle rather well!
This lining up is necessary to avoid any sharp angles in the twisted wire cables as the brakes are applied at the handlebar-lever, otherwise the cables will be bent and deteriorate rapidly, eventually breaking one by one!
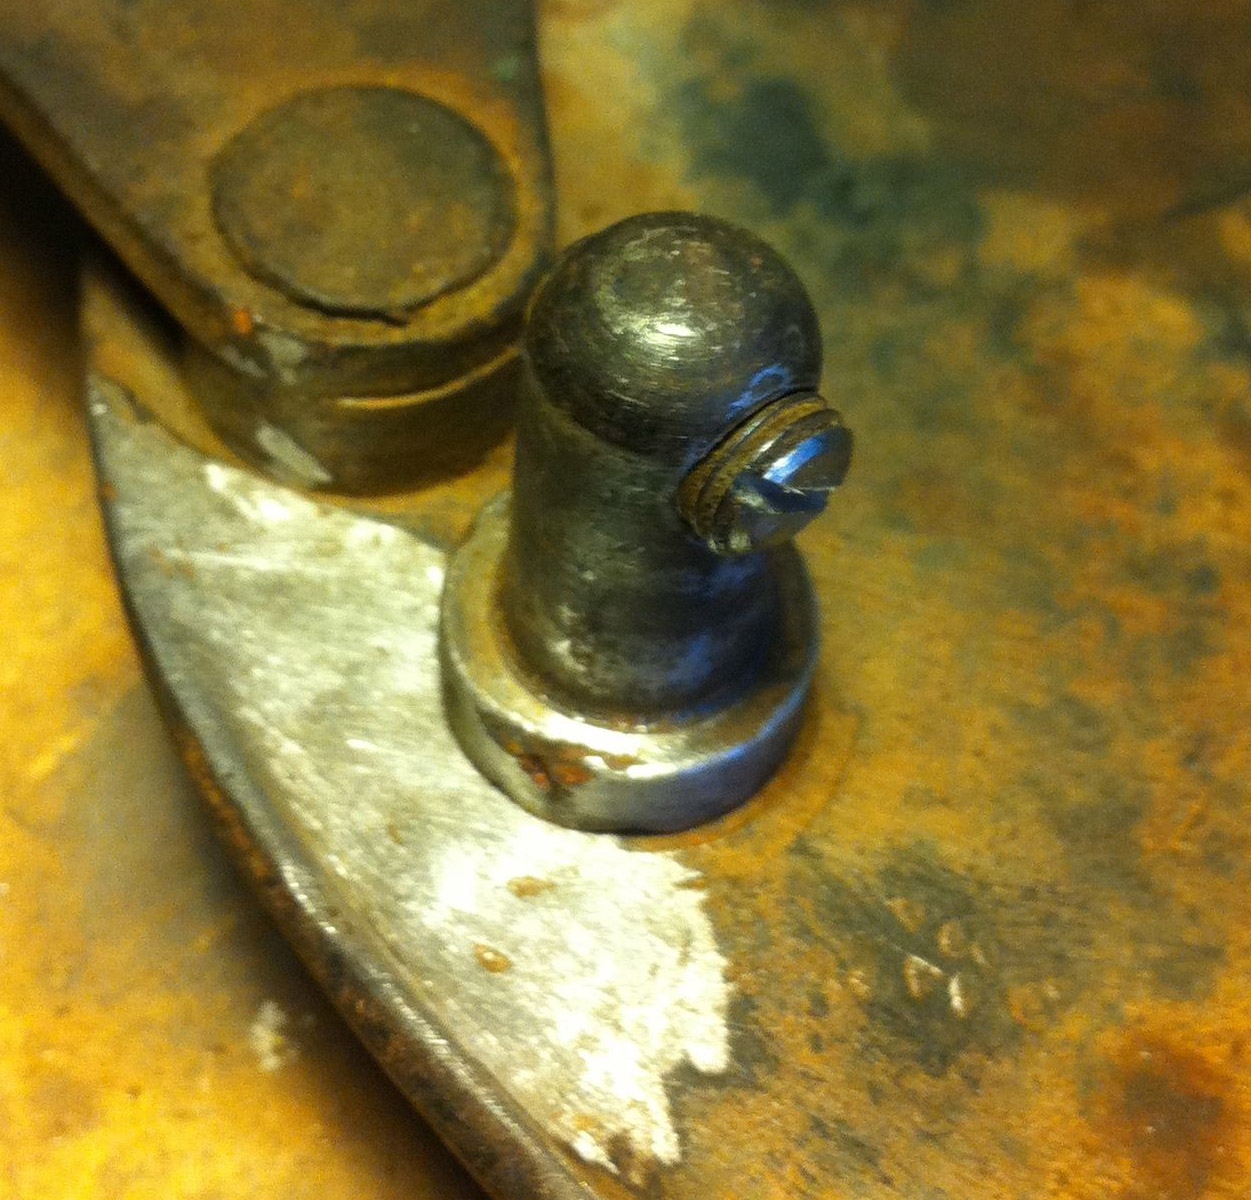
In the picture below, the only ‘damage’ to the plate can also be plainly seen: The cable-stop, which is simply stamped from the back to fix it into the plate, has obviously come loose at some time and someone has tried (unsuccessfully) to weld it in place. An ugly attempt, but, thankfully, not too much damage was done so as to make it irreparable.
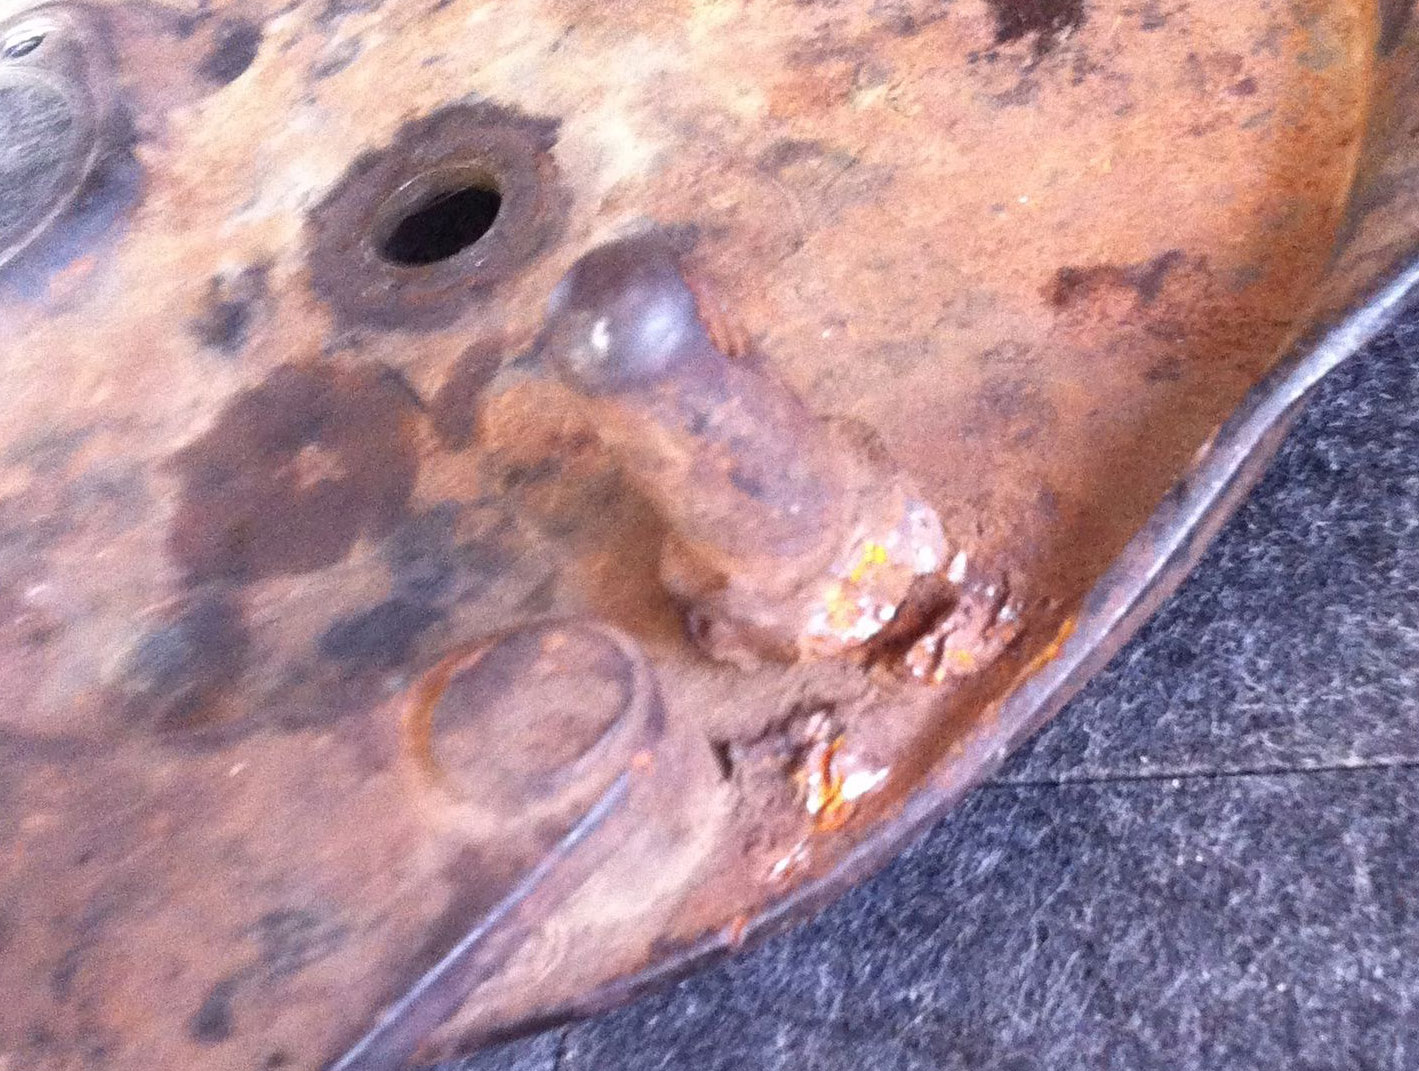
‘Orrible mess, but, with a bit of judicious grinding with a Dremel or similar (I use a flexible drive), the welding spots can be removed almost completely, once the pin has been removed – it was still loose, anyway!
So much for that, now the pin has to be fixed in this position from the back, using a punch, as was originally done at the factory. I could, of course, have resorted to welding from the back, but what for? It probably held for 50 years before it needed ‘fixing’ in the first place, and I hope that I don’t last another 50 years… I also doubt that that the next 50 will be as vigorous as the first years of this bike’s life, so I see no reason to change it now. Not everyone has access to welding anyway, and this is just to show that it can also be repaired or fixed, even without welding!
OK, so I agree, it’s not pretty, but it WILL work for a long time yet (and if not…there’s always the welder… 🙂 !)

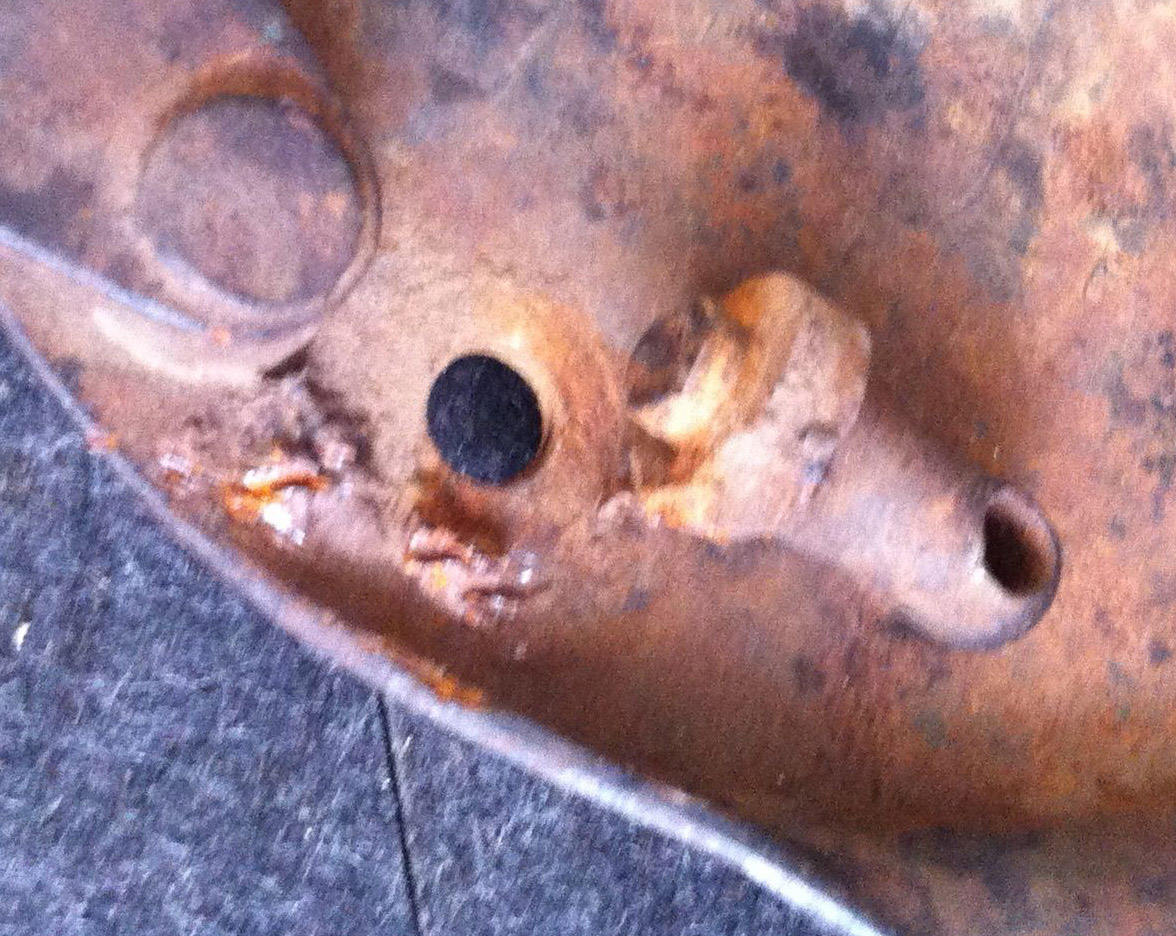
The plate doesn’t look at all bad, but the pin still has a few electric-arc dings left by the welding-attempt, but I see no reason to fill these, after all, it’s not pretending to be a new bike. (being a belt-and-braces sort of chap, I’ll probably take the pin apart again and silver-solder it into place before painting…)
So that sums up the work on the brake-plate to get it ready for painting, so now all that remains is to plug the cable-stop and the brake-cam-spindle holes and then take to the powder-coaters with the other things! He gats a bunch of stuff, including saddle springs and a correct rear hub to blast and paint BLACK (as I am constantly reminded since my last posting, that Velocette’s are BLACK, Velocette’s are BLACK….)
I will be back soon with lots more to tell! Enjoy!
© peter gouws 2012