And with it, a new project!
But first the old must be let go, to embrace the new…
…and consequently so is the break in transmission…The break over Christmas and the New Year is handy to catch up with friends and family, regardless of religious beliefs, and I enjoy taking the time out and respect that others might be doing the same. Over the ‘Festive Season’ there have, however, been a few developments, the most important being that the KSS is now paid for (today, actually!), so that I will be taking delivery as soon as that can be arranged (soon, soon!)
There were still a few things to organise at this end, securing some light in the garage, installing one side of the garage with translucent panels, organising some Oxy-kit, building a bench to build the bike on (just finished yesterday)…. The time before Christmas was taken up with selling loads of camera-gear and most of the rest of the left over Land-Rover bits I still had to help finance the whole thing (well, getting it here, the actual project is a long way off being ‘financed’, I am out of work, remember!) and, of course, to sell the MAC, without which I hadn’t a chance of getting the KSS. I, unfortunately, made a considerable loss on the MAC, which was cunningly offset by the sale of the other personal effects I had to sell. To compensate for that loss, I still have to find more things to get rid of in my spring-clean, to focus on the present task (and pay for a few parts!). I hope the new owner of the MAC has many hours and miles of pleasure from the MAC, he seemed like a really nice bloke, who would actually RIDE the bike, which is, after all, the intention of the invention!
The bench was made almost entirely of scraps (I don’t see that I have to spend North of $500 on a bench, when most of the materials are here to make something at least adequate to build a bike on and save my back!) SO, there was a good length (nearly 5 Metres) of ironbark 2 x 4 for fencing (cut in half for the sides of the frame) and a large piece of Jarrah for the ends. Also ‘lying around’ were some lengths of steam-impregnated pine which I used for legs and other odd bits, as you will see…In the end, I think total cost/outlay was about $70, anyone could build one from scratch for about $120 with materials bought from hardware stores/timber supplies.
A bench to work on has to be high enough to take the bending out of most of the assembly and ‘fettling’ and finishing, wiring etc. once the bike goes back together. I am about six foot, so ended up with 70cm high, as that was what the material I had allowed…and was what I had ‘reckoned’ with, anyway. That should be okay for most over about five foot six. Any taller, and you might have to adjust the height accordingly upwards… Just high enough to put tools and things down on comfortably and not too high that when the bike is on there, that nothing is reachable. Most bikes are give-or-take 1metre high at the handlebars, so 170cm is OK for working in the headlamp nacelle, too and for handlebar levers etc.
Construction of the bench ahd to be sturdy, but not necessarily an artwork. As a Patternmaker, I would have taken hours to draw and refine the design and carry it through to perfection, but, let’s face it, this is a work-platform, not more, not less and so has to sturdy, period. OK, it has to be more-or-less level and sort of square-ish, too, but apart from that, all it has to do is hold the weight of the bike, be long and wide enough and not fall down on the job. Useful would also be provision for some sort of a ramp to get the bike off, when it is finished. Don’t forget, when the bike arrives, it will in this case be stripped completely to its component parts and will be assembled on the stand. No constant rolling on and off. Those ‘expensive’ stands allow movement when a bike is on them and different heights etc, which is great for a workshop constantly loading customers’ bikes on and off for a service, but for a rebuild, we are talking assemble on, and maybe once or twice back up for a tweak, do a permanent bench-height is OK, so long as is ti stable enough.
Dimensions? I ended up with just less than 2400mm x 737 x 700 high. Seems really long when building, but when a bike goes on there… I refrained from any fancy Japanese joinery and stuck it together, albeit by 40 degree heat and exclusively with hand-saw and hammer/chisels and a DeWalt battery-powered drill, in two days. The only things that I had to buy were the 10mm coach-bolt fixings ($35) and the top/sides in MDF, which I bought for $31 from a local hardware ‘chain-store’, all cut to size, thank you!
Here are a few pics to show how I did it (you might choose a different path) and the finished product which is very solid, being glued-and-screwed, even if all the timber is not 100% square…it was cheap and cheerful!
I could have gone and bought myself a Hospital Bed, of course, that does work very well, with a little bit of ‘conversion’ and has the added advantage that it can be taken up and down AND can be wheeled around….And doesn’t need quite so much space or effort (balancing) to get a bike on or off!
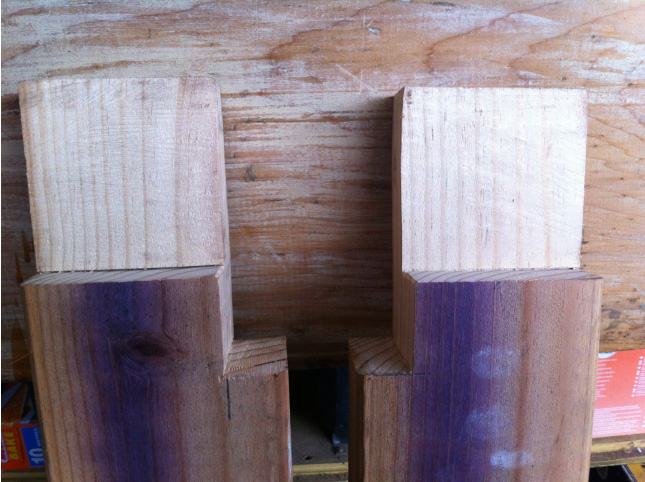
Joints sawn ready to fit Joint 1
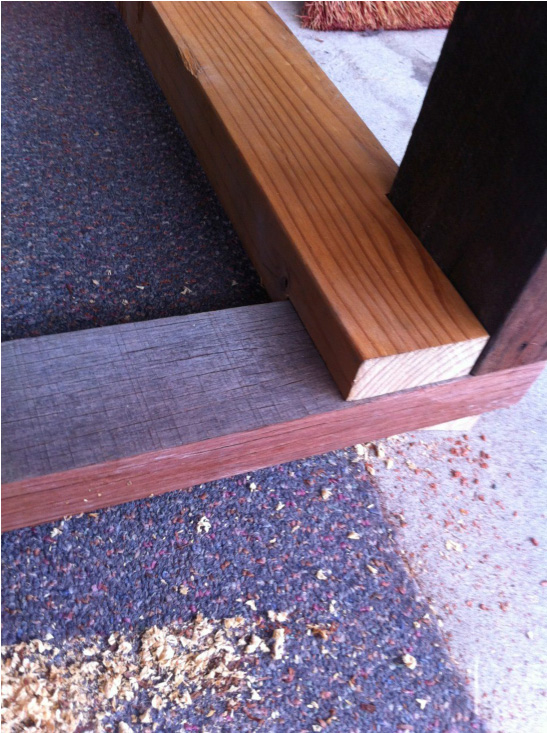
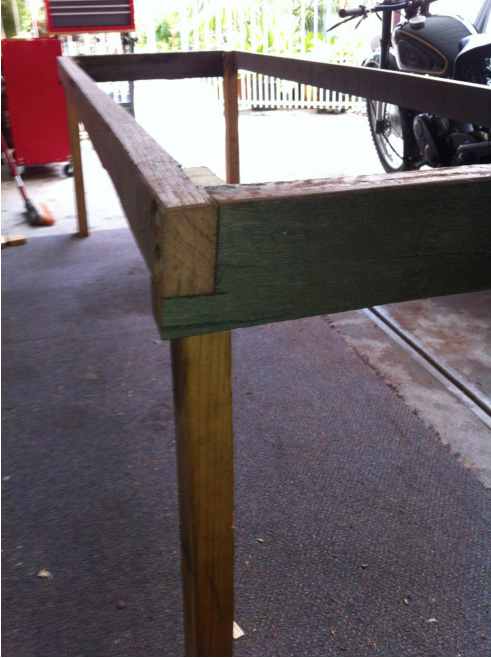
Another corner… All together, joints had to be cut…
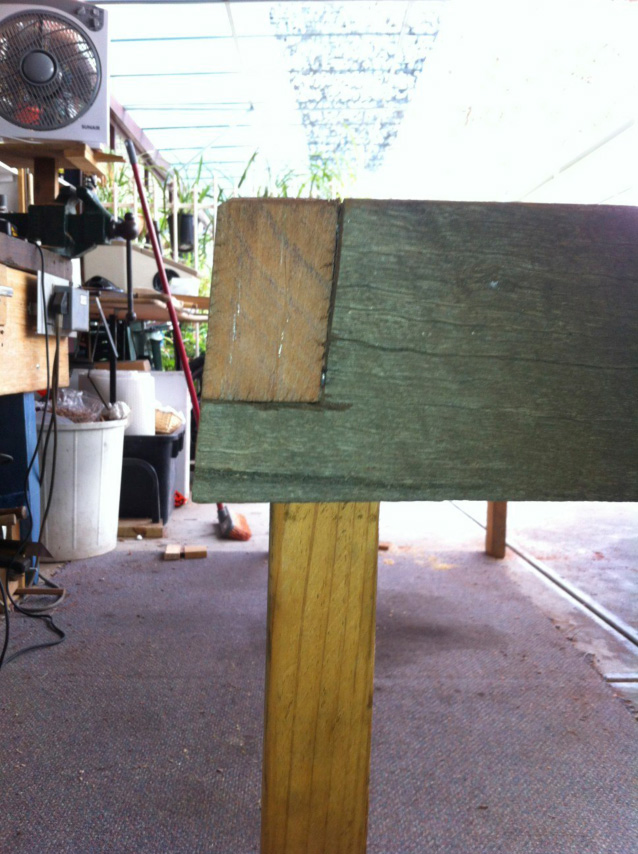
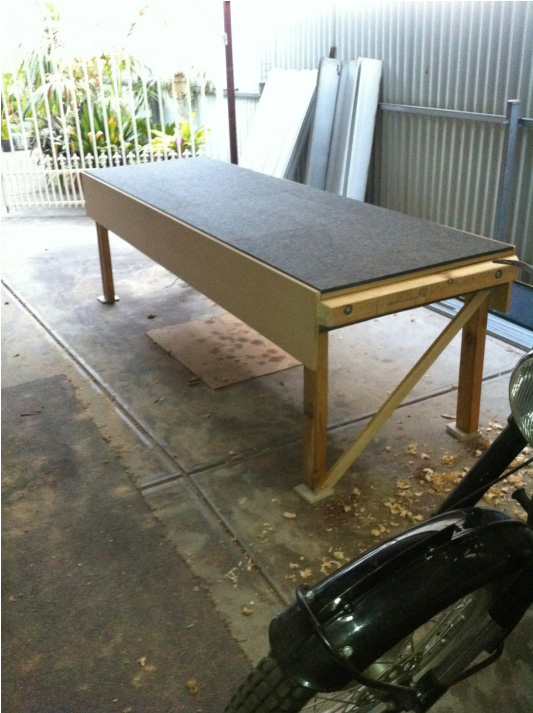
to accommodate the twisted wood All finished!
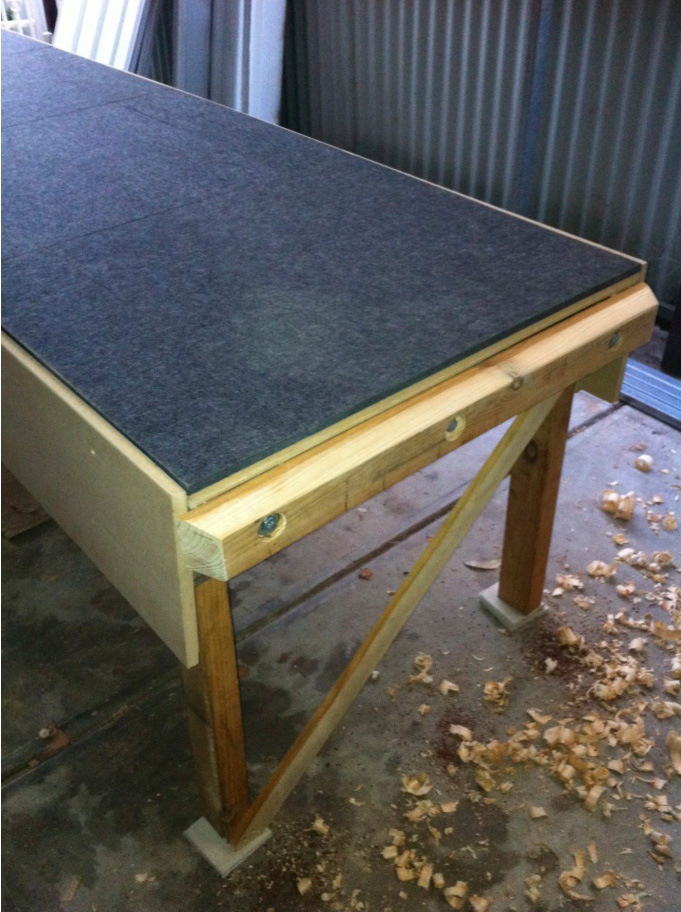
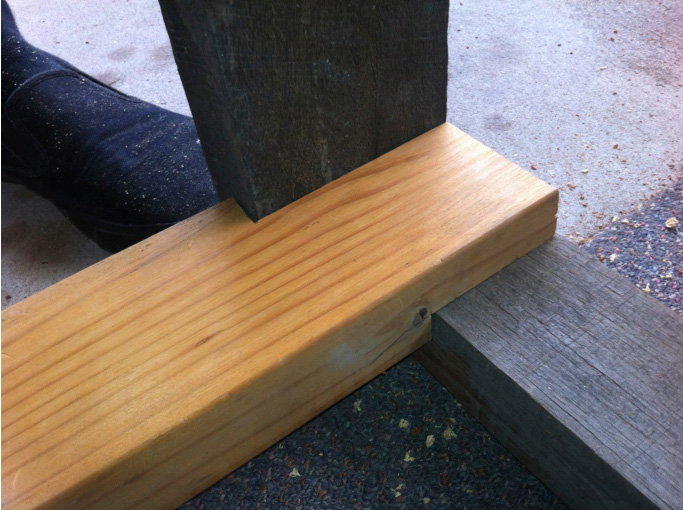
The lip for the ramp, not yet drilled for retaining pins on the ramp itself.
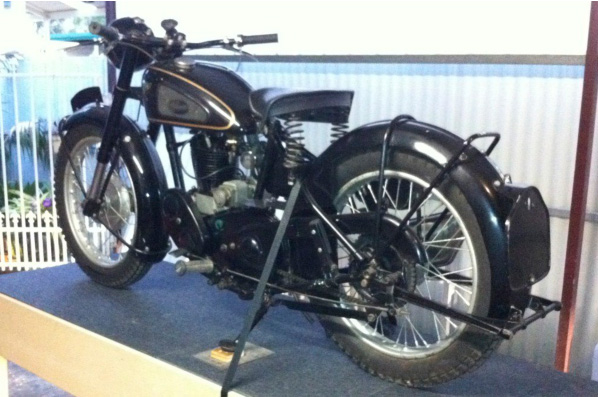
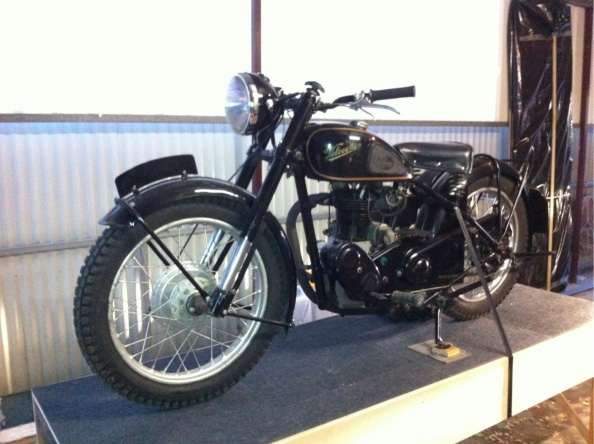
Last picture of the MAC before Pick-Up 🙁
©peter gouws 2012