Today has seen much go on in the workshop. but not much that I can actually document, well… not pictorially, anyway! AS time goes on, I suppose I could try out my video-skills and show how I was doing something AS I am doing it…will have to give that a go!
I started off doing a bit of tin-bashing this morning. The chain-guard was a bit bent at the rear-wheel end, the 8-inch shell was badly dinged at both mounts (thankfully underneath and not so visible!)and the rear number-plate bracket (or mount or whatever) was in a sorry state and will have to be straightened and brazed to be re-usable. I don’t really want to replace everything with with ‘new’ parts and I want the bike to be as far as possible assembled from parts manufactured at or around the time of manufacture (give or take a decade or two!) If its rescue-able, I’ll rescue it!
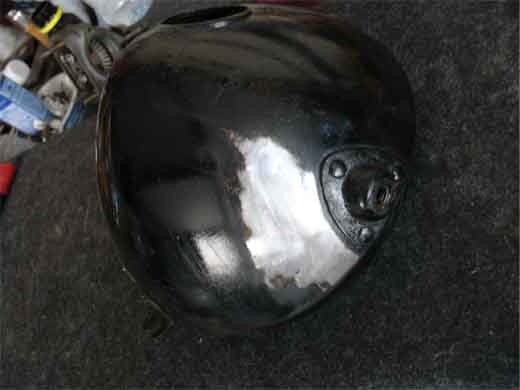
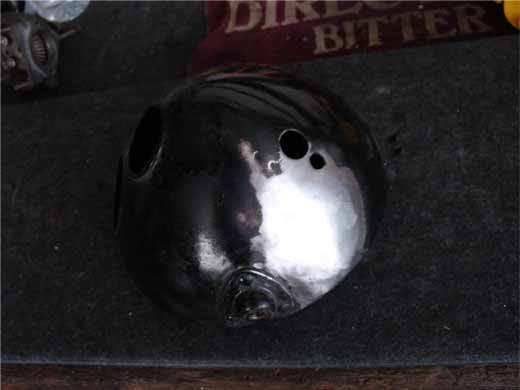
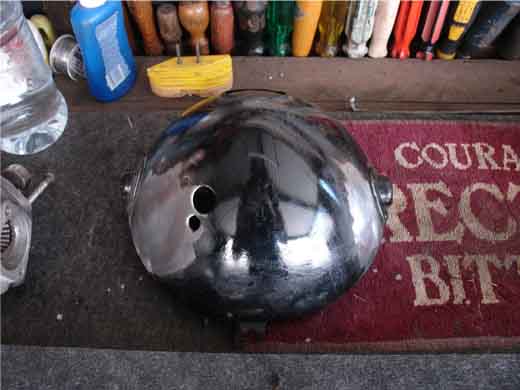
The headlamp shell is lovely and only a bit dinged, so I set about it with a mallet, a tin-basher’s hammer and a flat steel block to get the dings out of it. Wasn’t as bad as I thought and the final result was CAREFULLY cleaned of paint with a flap disk in an angle-grinder. Watch out here! These things go at a terrific speed and can do a lot of damage! The coarseness of the disk for paint-removal allows it to dig in more to the metal than is conducive to a good finish (and no, paint or primer won’t fill it in without careful application and rubbing down…) and could actually remove more than you ‘want’, leaving the base-metal very thin and in fact effectively undoing the efforts of your painstaking un-denting…you have been warned!
So, the paint was removed and the resulting surface sanded with 320-grit to check for un-evenness. Looks pretty good for me…will be at least good enough for the walnut-shell-blasting and wet-paint-treatment!
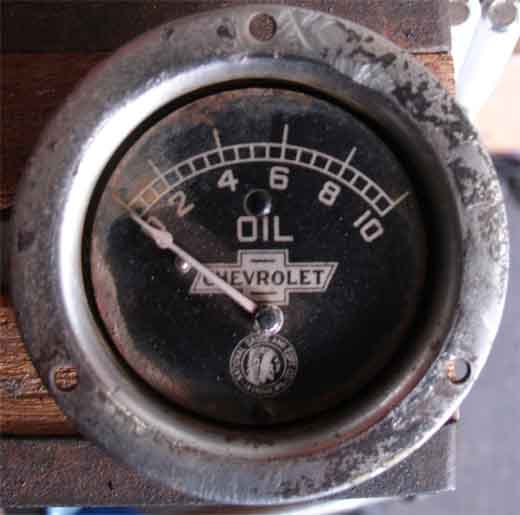
Oh, I bought a 10psi Oil gauge last week (very proud of it!) which I shall be restoring and using for the bike either as a permanent fixture or just for occasional use, see what happens…The whole thing was rusted to f away to be almost useless.
The shell was very rusty but usable (albeit without the fixing-ring around the front which will be ‘modified’ later… The ring fixing the lens (which was very faded plexiglass and rather scratched) was pushed into the housing…rusted into the housing (correction) and had to be ground out. The fixing-screws on the back, ditto! Never mind, this is just what I want! (Really!) The face will be re-done (maybe with a scurrilous ‘Velocette’ logo replacing the “Chevrolet” now present, maybe not?), the front ring with the three mounting-holes will be ‘removed’ and a thread cut into the housing to take a new lens-ring, which I will have to turn up in stainless (getting things chromed is such a pain!) Lighting will be supplied with 12volt LEDs commonly used in the kitchen-cupboard-industry for discrete down-lighting! Very flat and self-adhesive! Bright, too! (since I am definitely going for 12volt, this is absolutely not an issue and will be shown in detail when I have the clock finished) Here it is, as it is now with the lens-ring removed, showing the face, which is rather attractive and definitely ‘period’ enough!
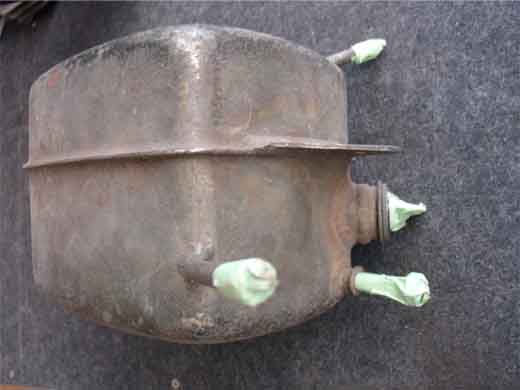
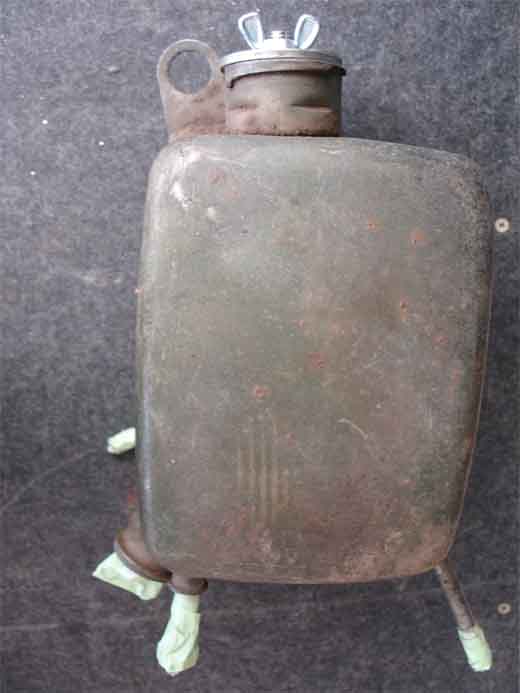
Oil-tank preparation was next, closing off the open ends of the small tubes with green masking-tape and the larger holes with a suitably bent threaded rod and wingnuts, using suitable washers. What you can’t see, is that the washers on the ‘outside’ (i.e. the visible ones) have washers under them the size of the opening…so that when I tighten the nuts, that the rod and washer don’t wander towards where the tension is. If the rod is straight (which in this case it is clearly NOT), this is not a problem. Have a look and you will see what I mean…
The one hole is stopped with a convenient bolt and everything is wrapped in tape, so that the blaster/painter can see what is what! The oil tank is not perfect and will show a few ripples and dents, but after 70 years, what do you expect? This is not a new bike, after all!
Important is that you ASK your painter what he wants and that you TELL him what you need. That way, especially if you tell him what you are giving him, there will be no misunderstandings and you will have a long and happy relationship! (once you have done one, the next one won’t be far behind, believe me, so keep him ‘warm’!!)
On that subject, be sure that what you deliver is not covered in crap. Grease is the worst you can do to a ‘sand-‘blaster, so CLEAN what you send them BEFORE you deliver it! PLEASE! Have a heart for the man, and he will be grateful. If not, you might end up with an horrendous bill, a refusal to deal with you, or both, probably in that order! Case in point? The chain-guard!
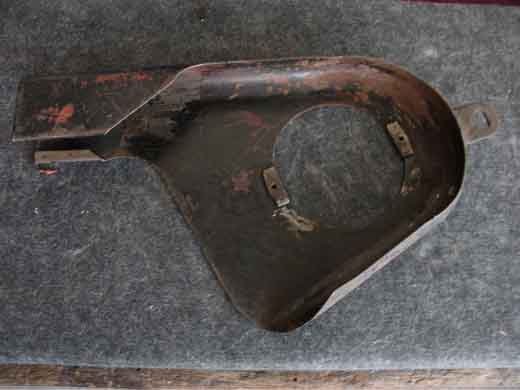
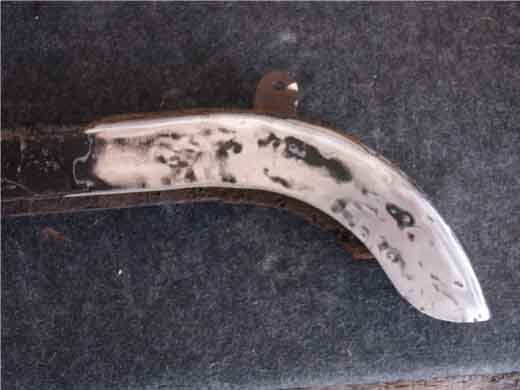
The chain-guard is caked with grease and crud from front to back on the inside (I wonder why?) and needs to be thoroughly cleaned before sending to the finishers. A thorough wire-brushing will be enough, if done properly…
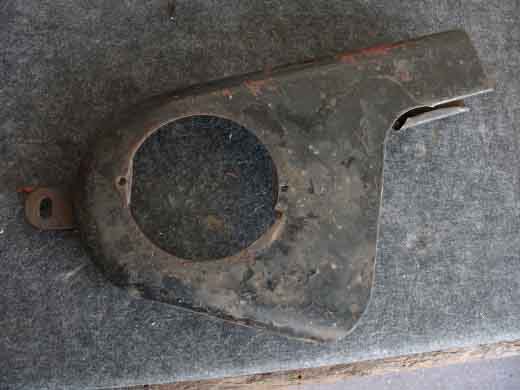
Front-face is not such a problem. The back-end of the rear-section was considerably ‘chewed’ and had to be ‘bettered’, before painting. I had a go and think that what I have done will be enough, even though not perfect. Might have another go…
Again here the light going over with the flap-wheel and angle-grinder to remove paint and see where the dents still are. I might be tempted to lead-fill, but I think not, at this stage.
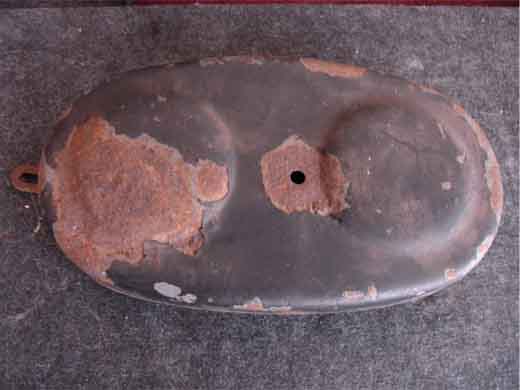
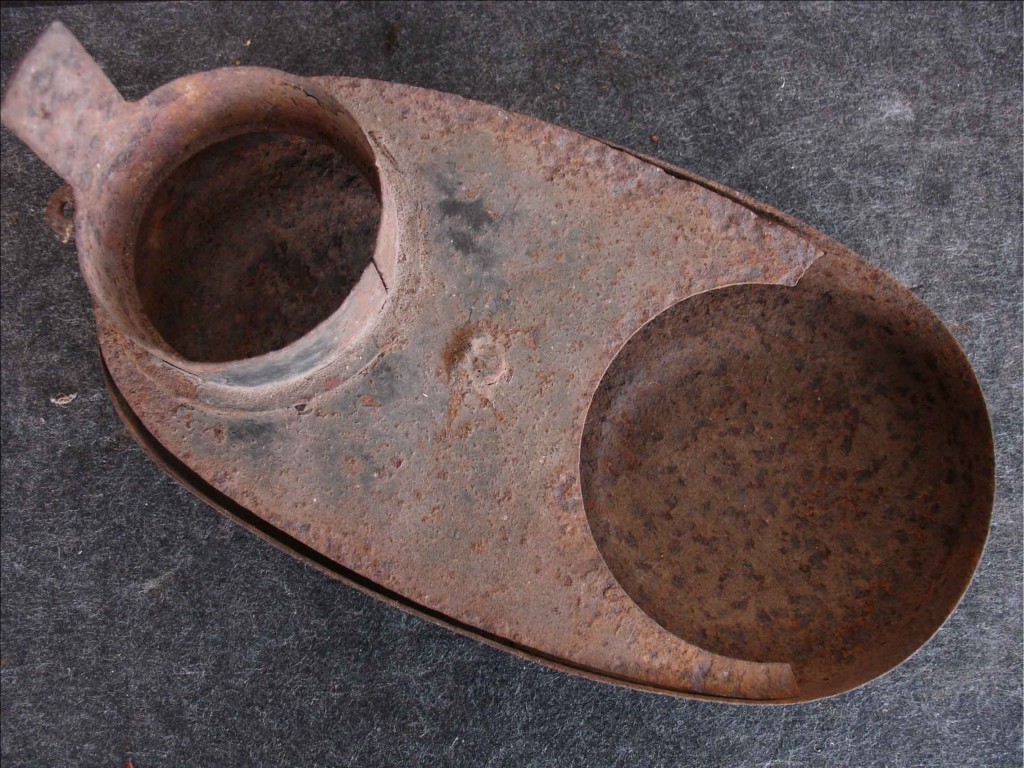
Now the question remains: The cover for the Dynamo-drive is pretty far gone, do I try to recover, or do I go for a replacement?? The inside part will have to be repaired with a new piece added on and the outside is pretty pitted, is it really worth it??
I do hate to throw anything away, and so I would tend towards repair (at whatever cost). What do YOU think?? (Click on it to enlarge…)
© peter gouws 2012
