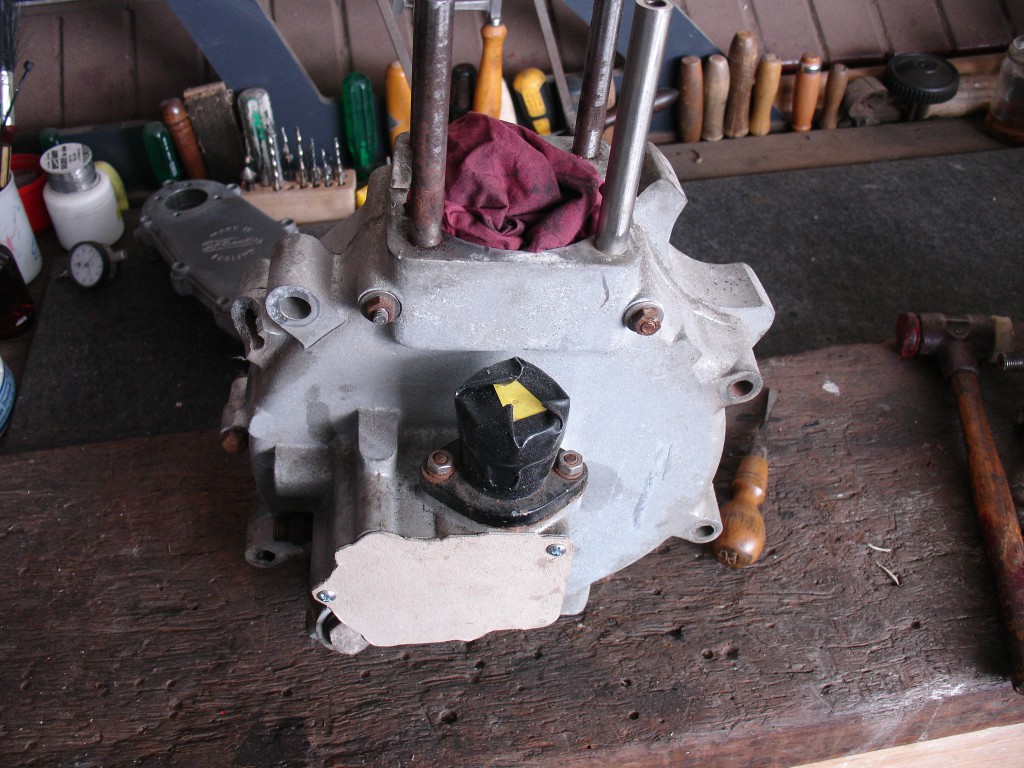
Look mum, no engine!
Well, it was going to be a warm one again today, so after dropping Nancy off at work at four this morning, I decided to make myself a coffee, don my overalls (against the bl#%$#y mosquitos) and venture into the workshop…
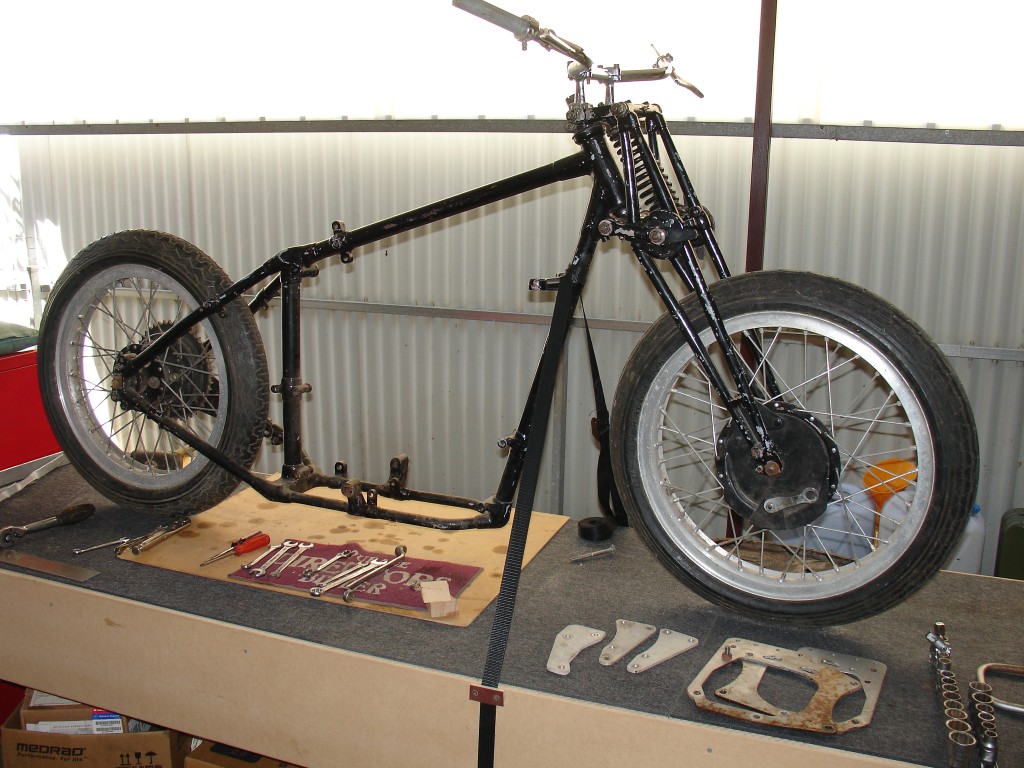
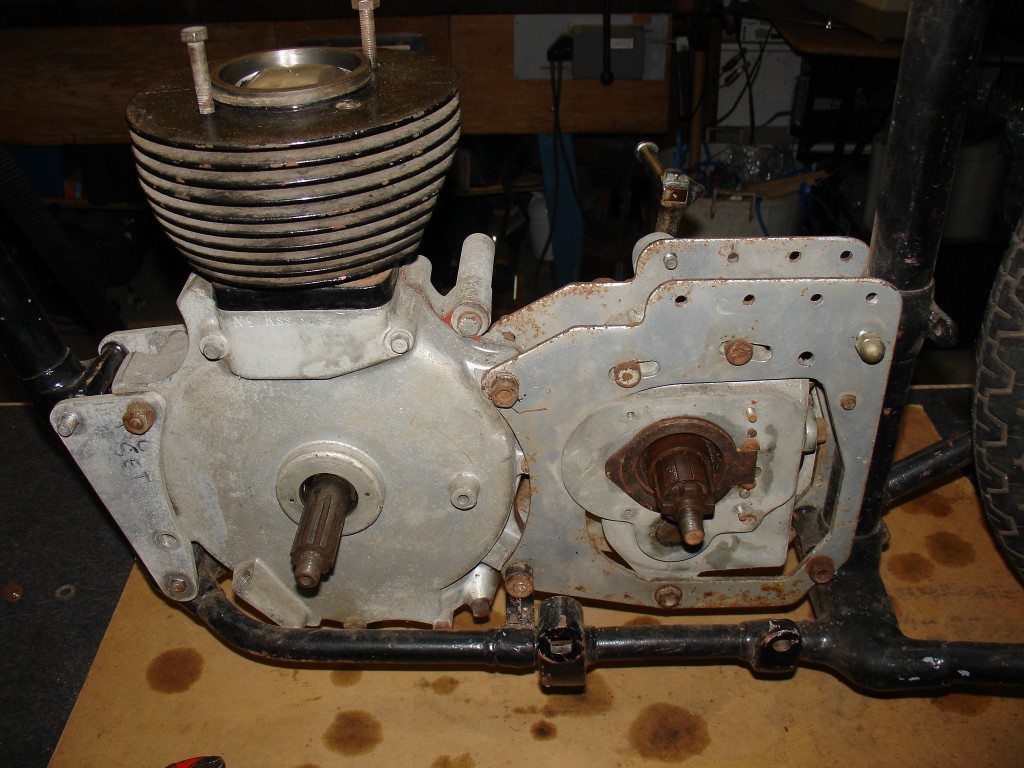
This is as far as I had gone before, the head being safely wrapped up and stowed away under the bench for later attention. (I am still awaiting the arrival of a second almost complete engine that I am hoping will help rectify at least some of the problems with this one).
The immediate problem is to remove the engine and gearbox (as a unit) from the frame, after which I can have a closer look at those and maybe send them off to be painted or finished in one way or another, ready to be set up again to commence re-assembly at some stage. At the moment I would rather wait and see what I am still missing and get at least the tinware together to the painters as a group, though the frame and forks will probably end up with ‘two-pack’ or powder-coating rather than a ‘normal’ coat of ‘paint’.
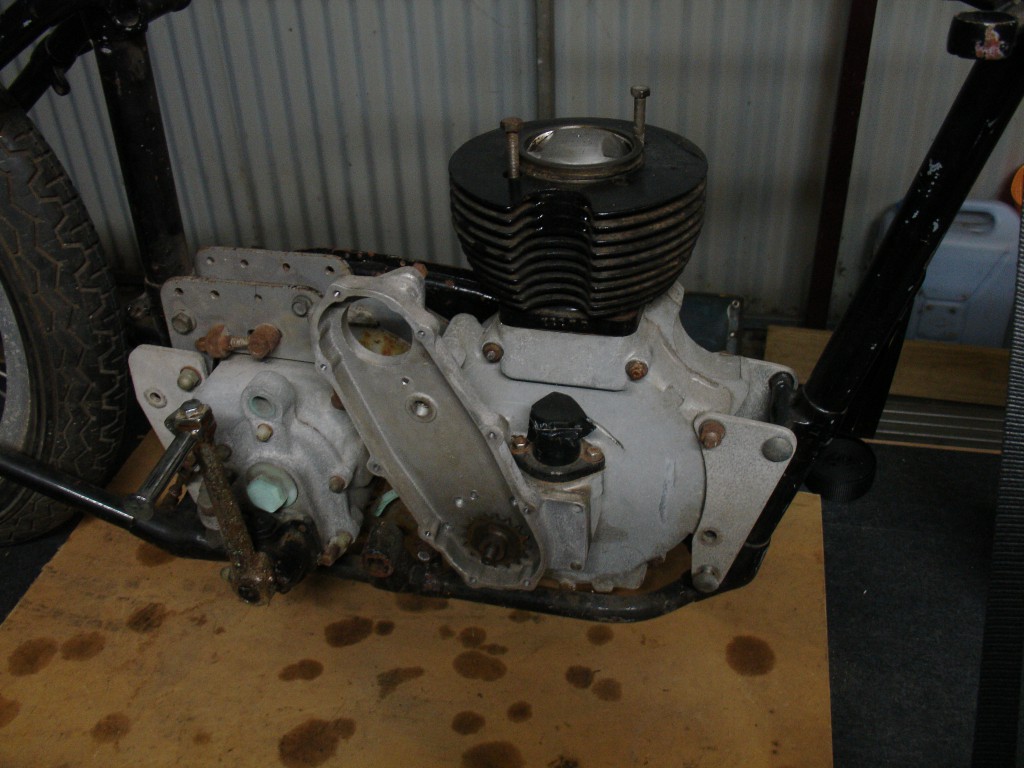
So, there are a number of nuts and bolts to remove (making as little noise as possible, it’s four in the morning, remember!)
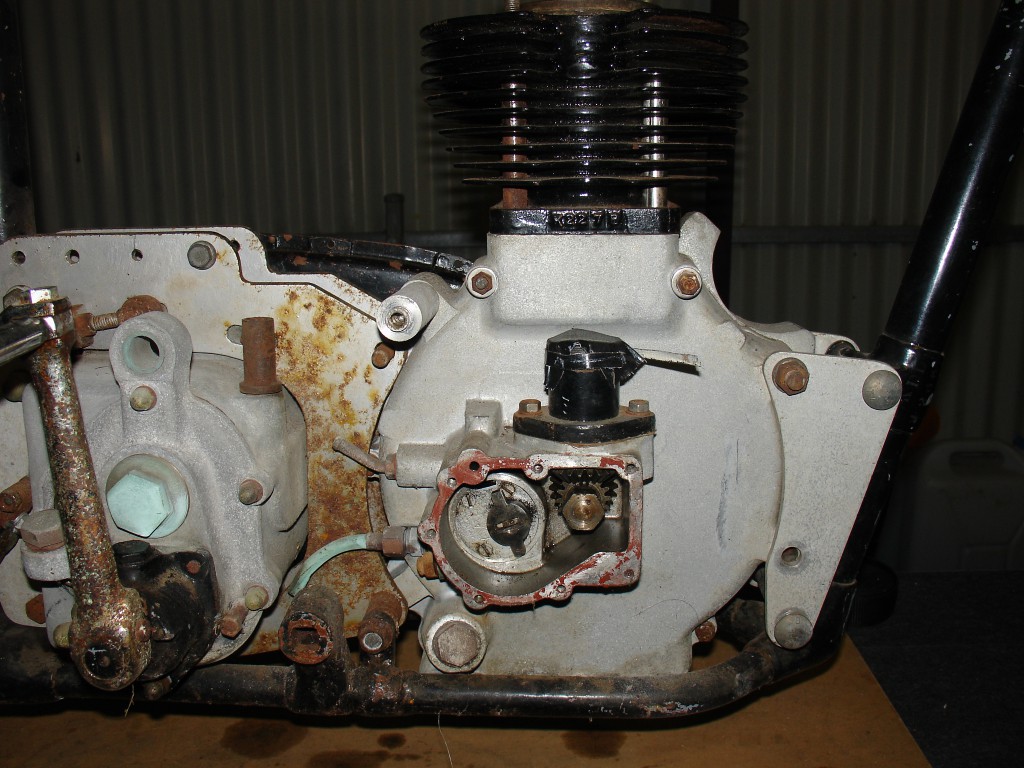
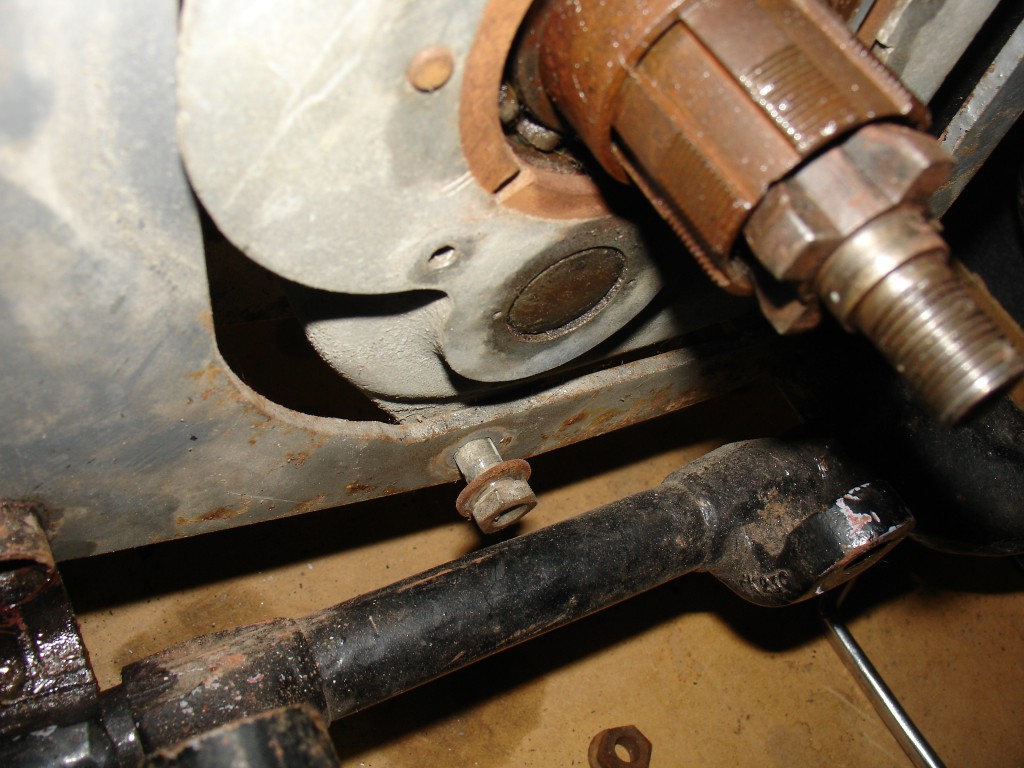
First of all the timing inner cover comes off (anyway, so that it doesn’t get damaged) and then the others one by one, whereby the one in the middle under the gearbox will not come out while the plates are still in the frame and the bolt that can be seen in the picture just to the right of the footrest mount is very stiff and will require some gentle persuasion…
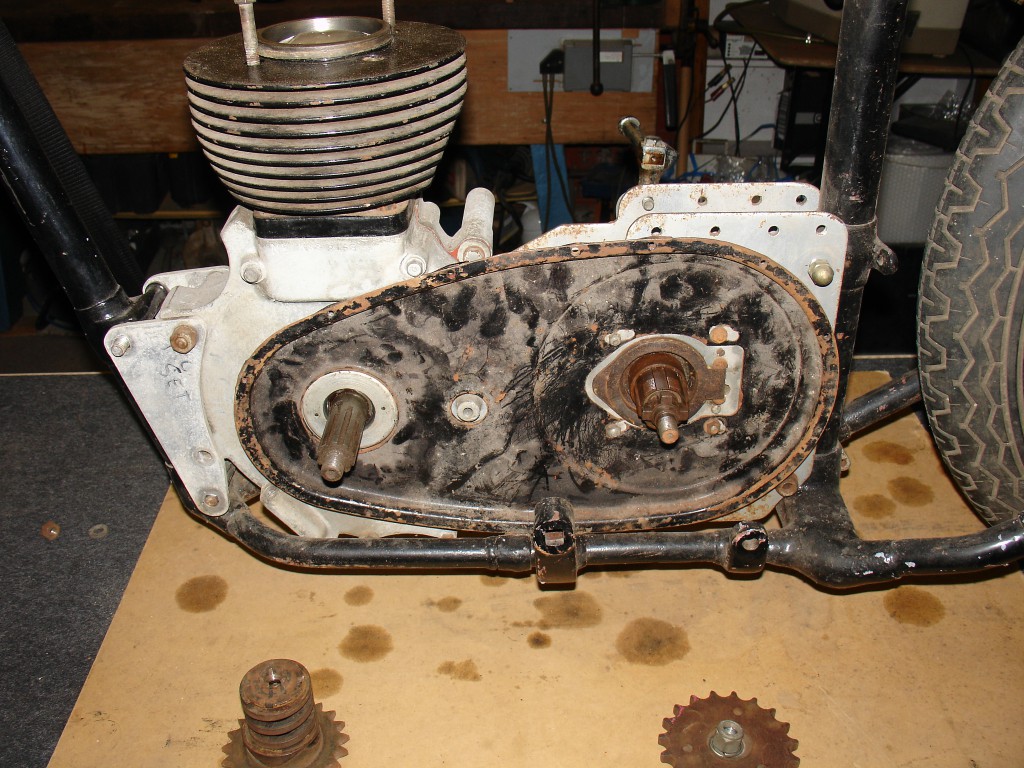
Before I can tackle those, I must first remove the primary chain-case from the other side (four small nuts), the engine-damper and the gearbox-sprocket.
with the cover off, this is what is left, thankfully exposing the the formerly covered heads of the remaining nuts and bolts
This is the one that can’t be removed because of the frame. The one that simply didn’t want to budge was a bit different, so I managed to squirt a bit of WD40 on it, wait a bit and then, using the wheel-brace-handle on my socket-set, just rotated it for a while, until it allowed me to remove it with a few gentle taps from the dead-hammer and a drift.
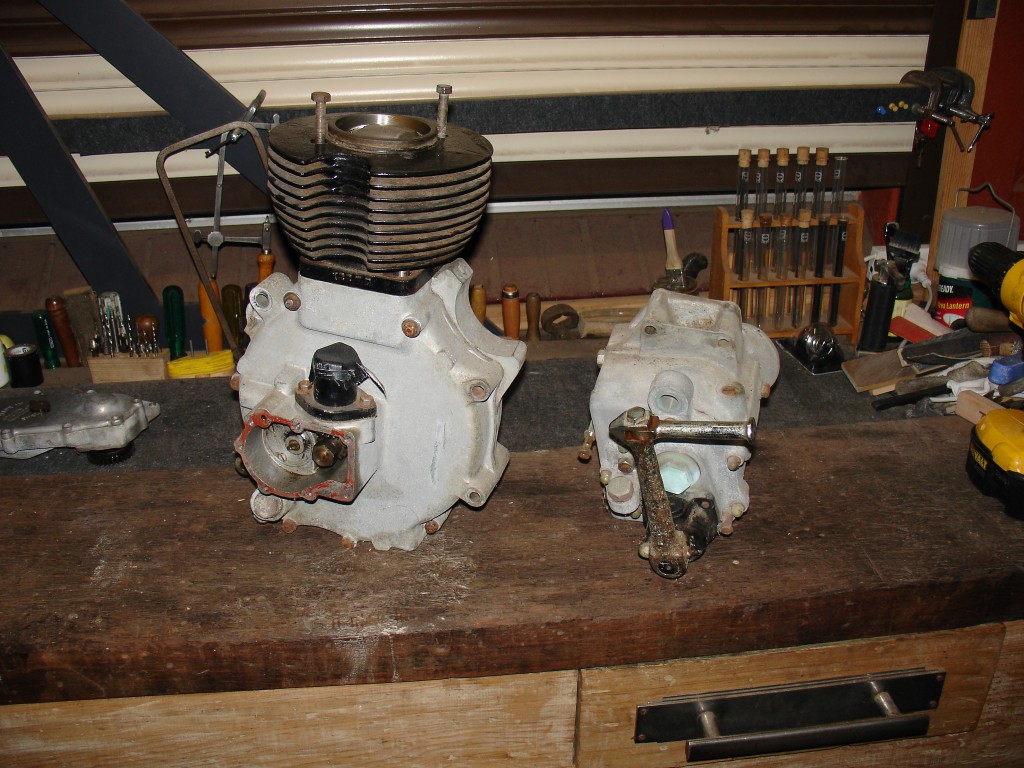
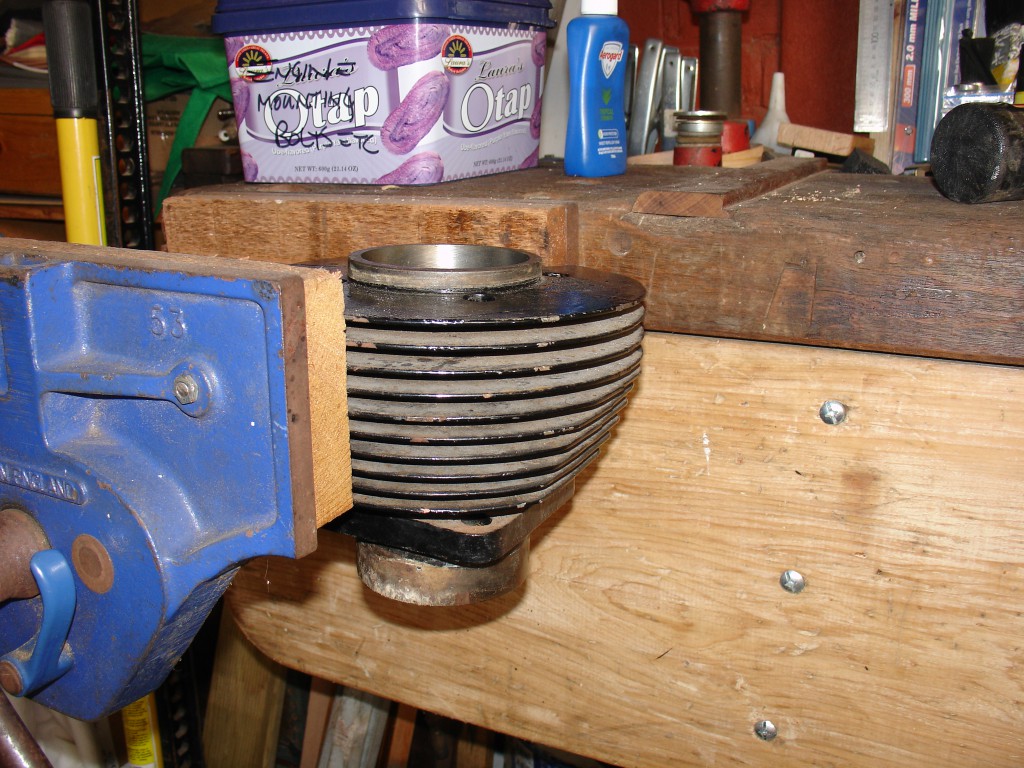
Bits on the bench at last. The gearbox will be tackled later this weekend, first I want to have a closer look at the engine… The barrel was pretty stuck, so how to separate it from the cases without doing any damage??
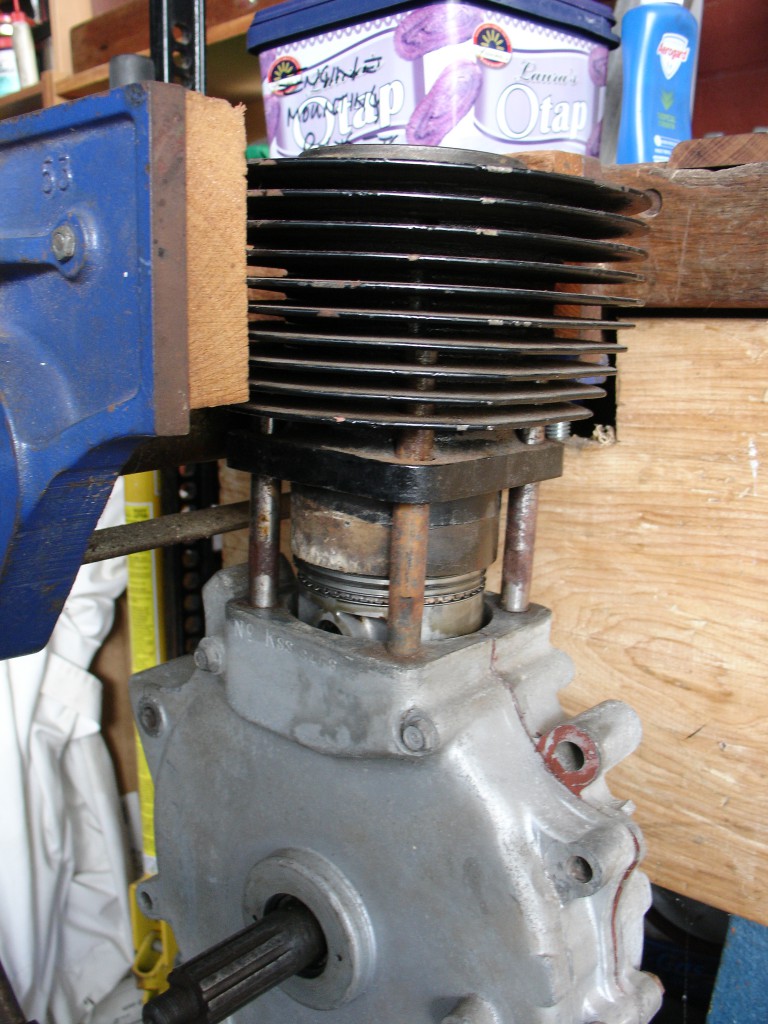
My wood-vice came up trumps here, easy to grip the finning without doing any damage between the wooden jaws and some determined use of the dead-hammer on the crank-case soon got things moving! Once apart (with a knee under the cases, so that they don’t just fall to the ground when they decide to separate from one another!) and the light corrosion that caused the reluctance to part from one another is evident, as well as a base-gasket jammed between both parts.
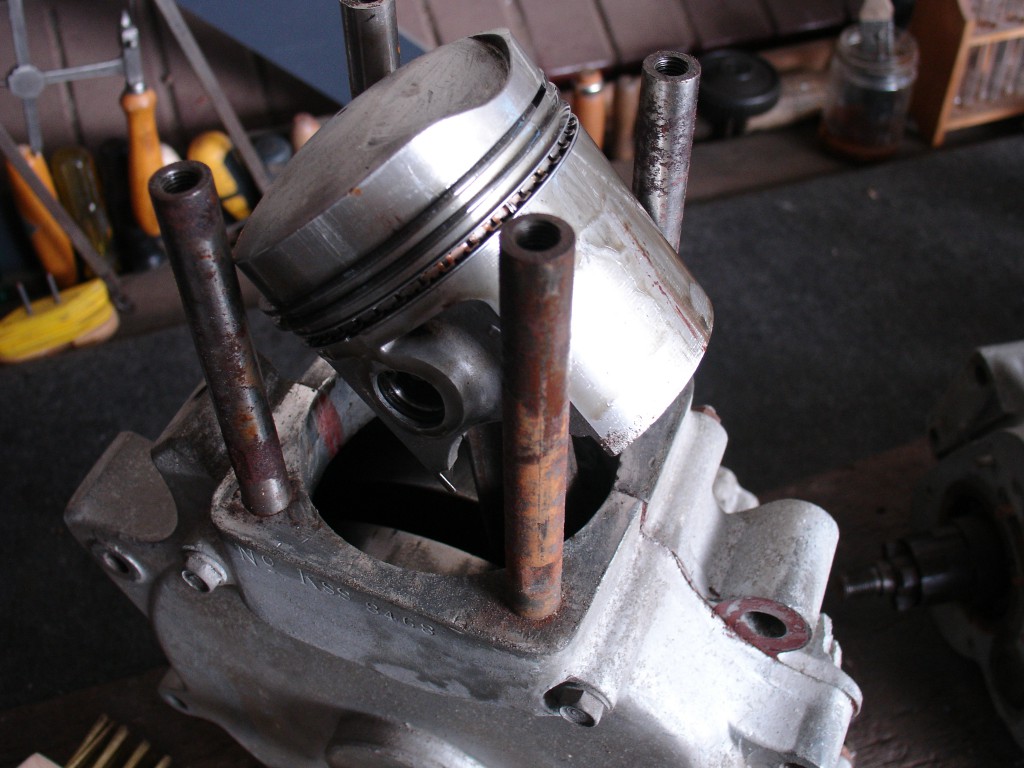
barely discernible play sideways at the con-rod and the same at the small end, helped to cheer me up a bit. The Piston has to be removed and so the gudgeon-pin has to be pushed out. For safety, I always put packers between con-rod and the studs, incase I have to push harder or use a drift, thus:
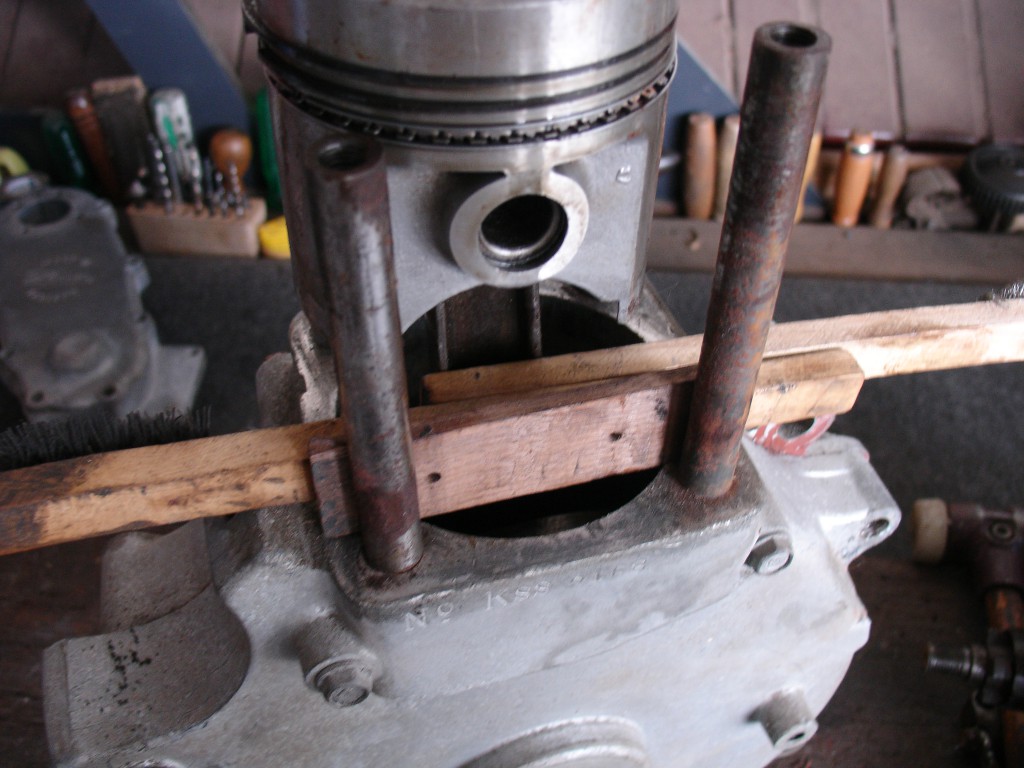
(and push from the other side!) after removing the spring-clip from this side… As it happens, I did have to use a drift, as the pin is lightly rusted in the centre, where it sat (dry?) in the eye of the con-rod
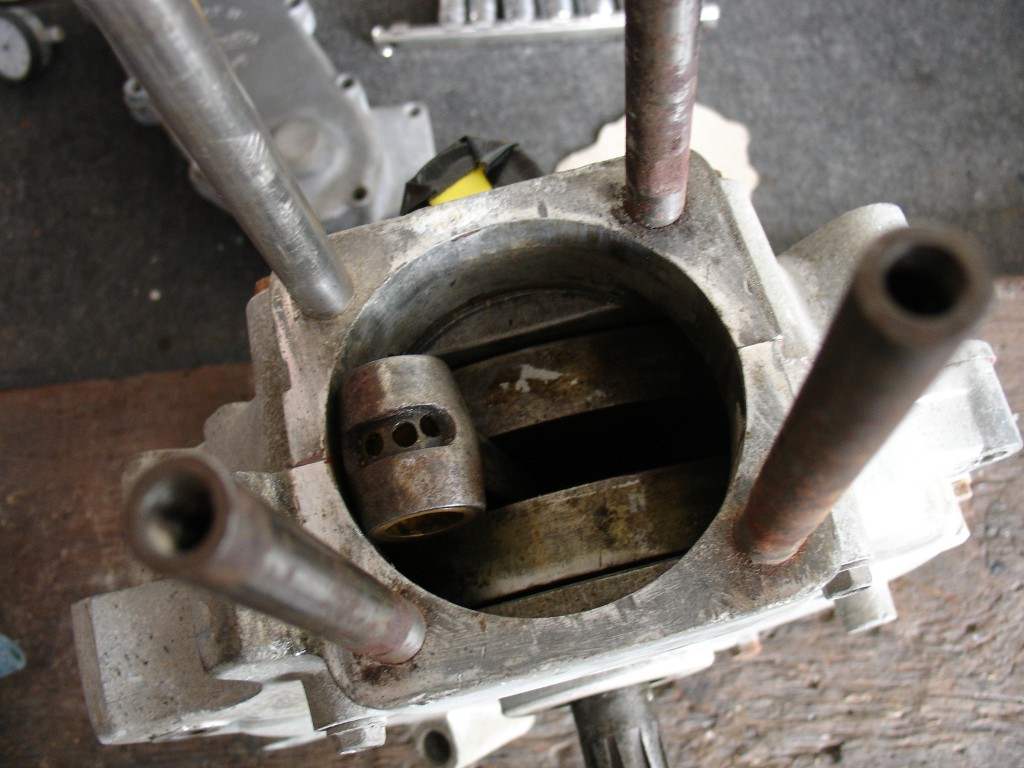
A bit of oil and work it back and forward in the eye produced the tiniest bit of ‘tip’ (not visible, but just discernible)…might do, will probably re-bush just in case… The big-end seems fine, though I shall replace the mains, as there is one spot where they ‘stock’ or ‘catch’ when revolving the crank-shaft, stopping it from revolving completely freely. All I have to do is separate the cases, replacing them is quick and easy. If left all alone in there, it won’t take long and they would be noisy once the rust is all gone and the play will then be quickly apparent. Once I have the cases apart, I can then decide if I have to split the crank (which I’d rather not if all is well)
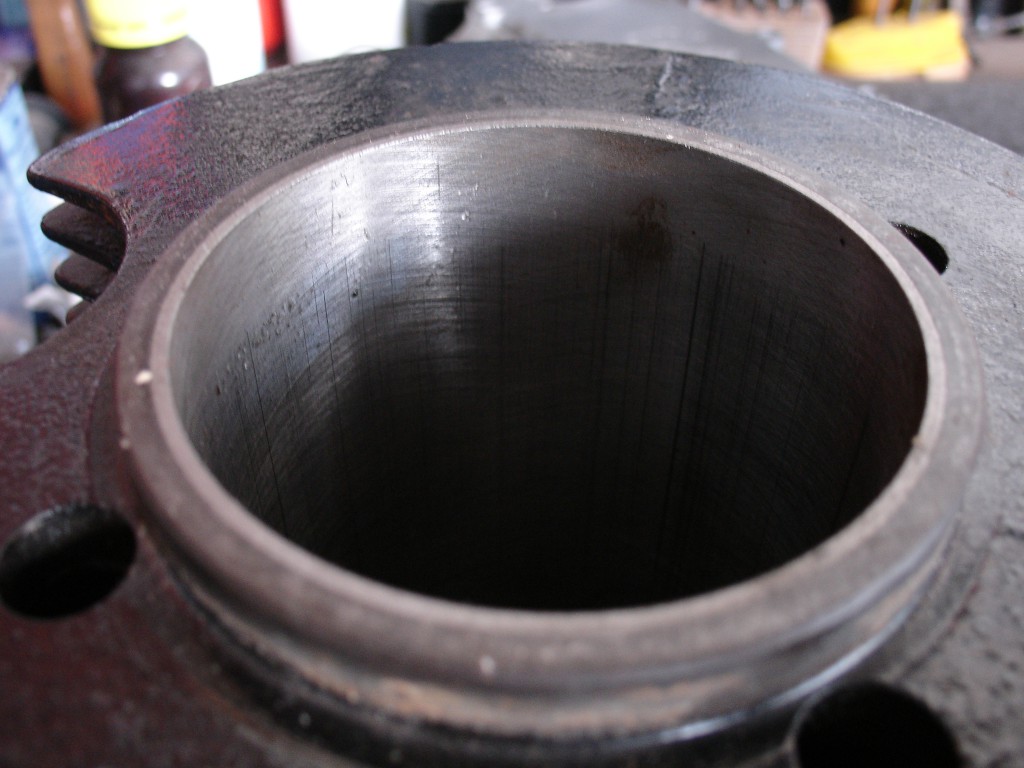
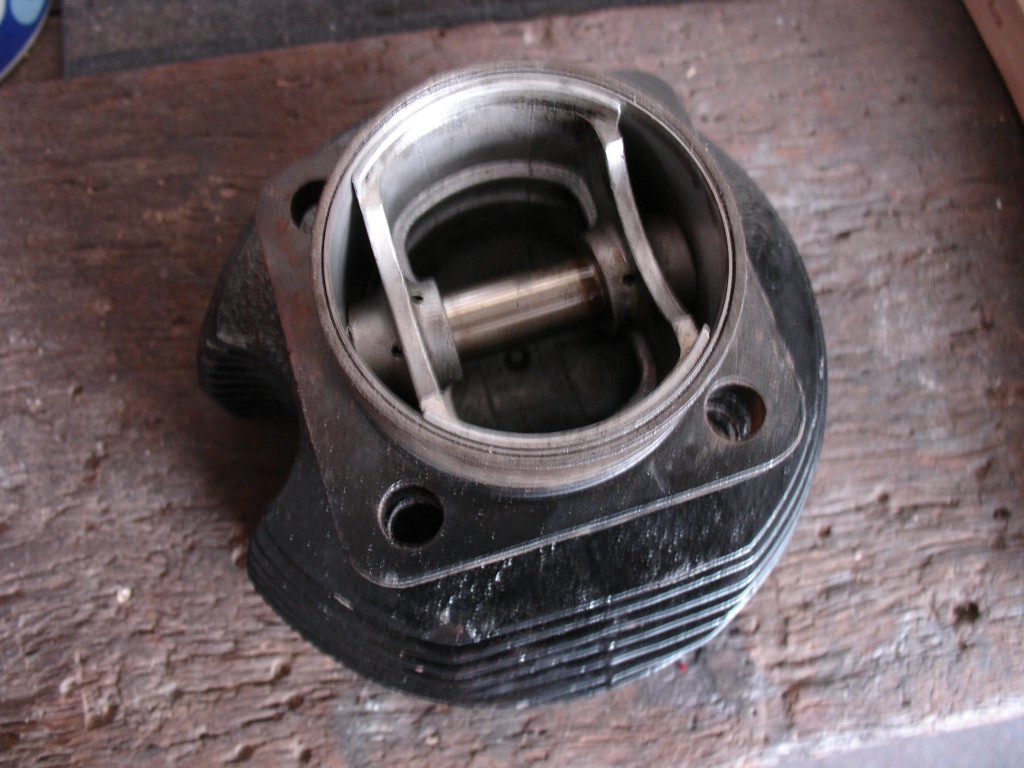
Honing marks are still visible in the top and bottom of the barrel and it is easy to see that this has been re-sleeved. The vertical marks look a lot worse than they really are, I can’t even feel them!
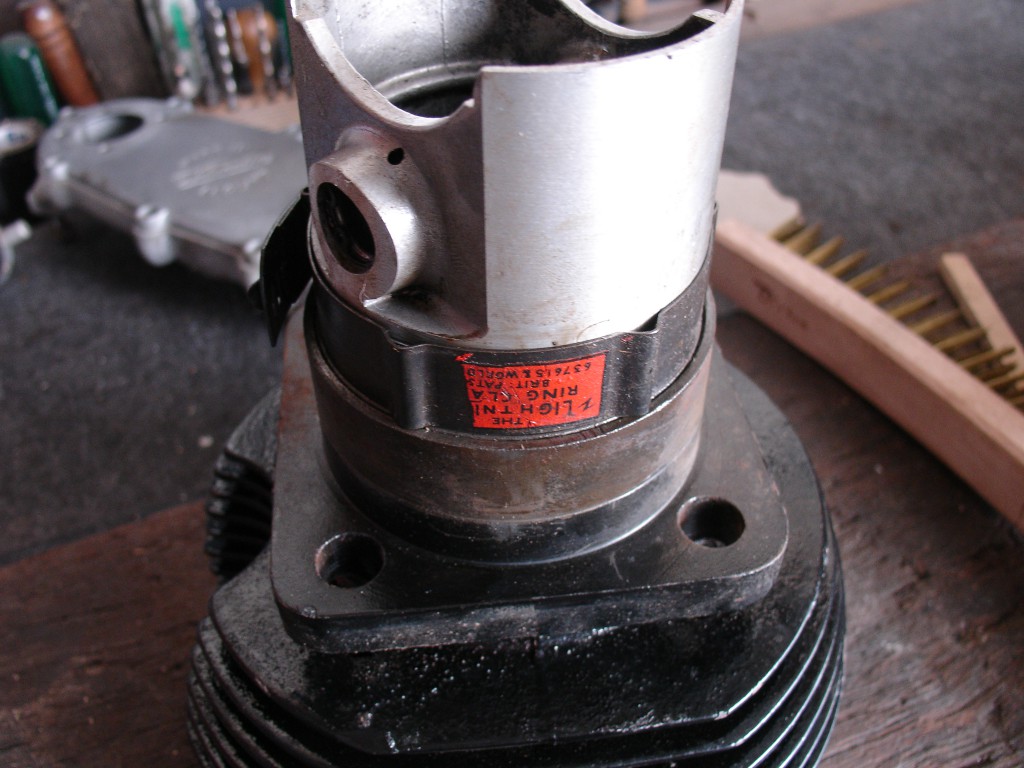
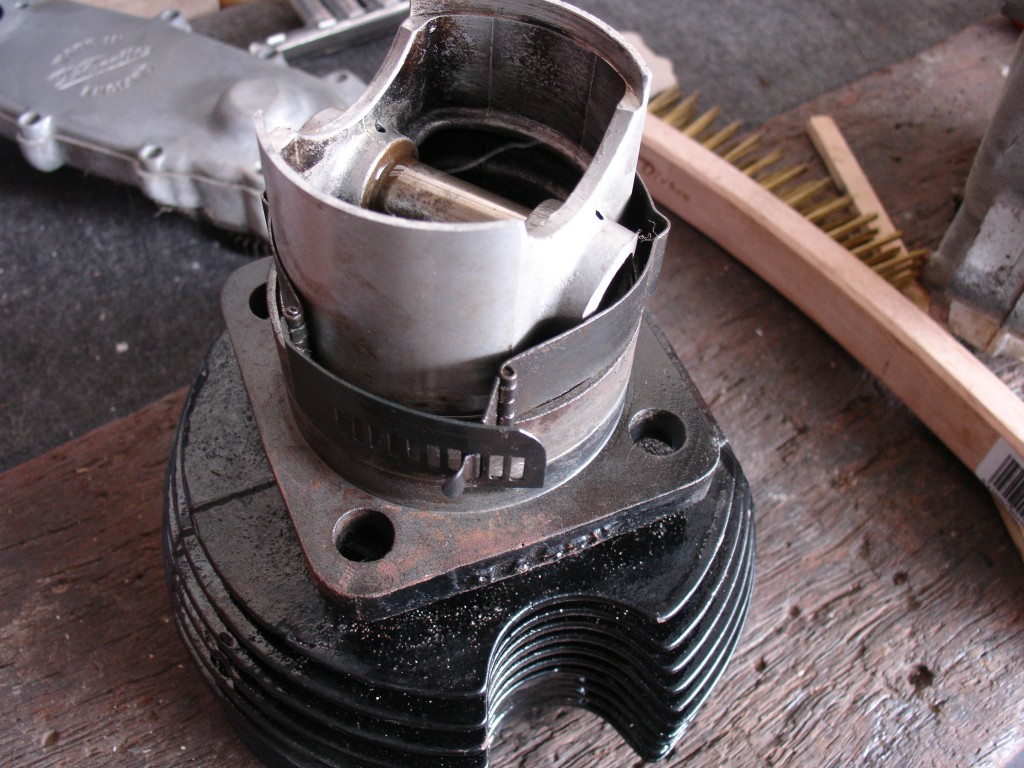
So the piston goes back in the barrel, with the help of my piston-ring-clamps…
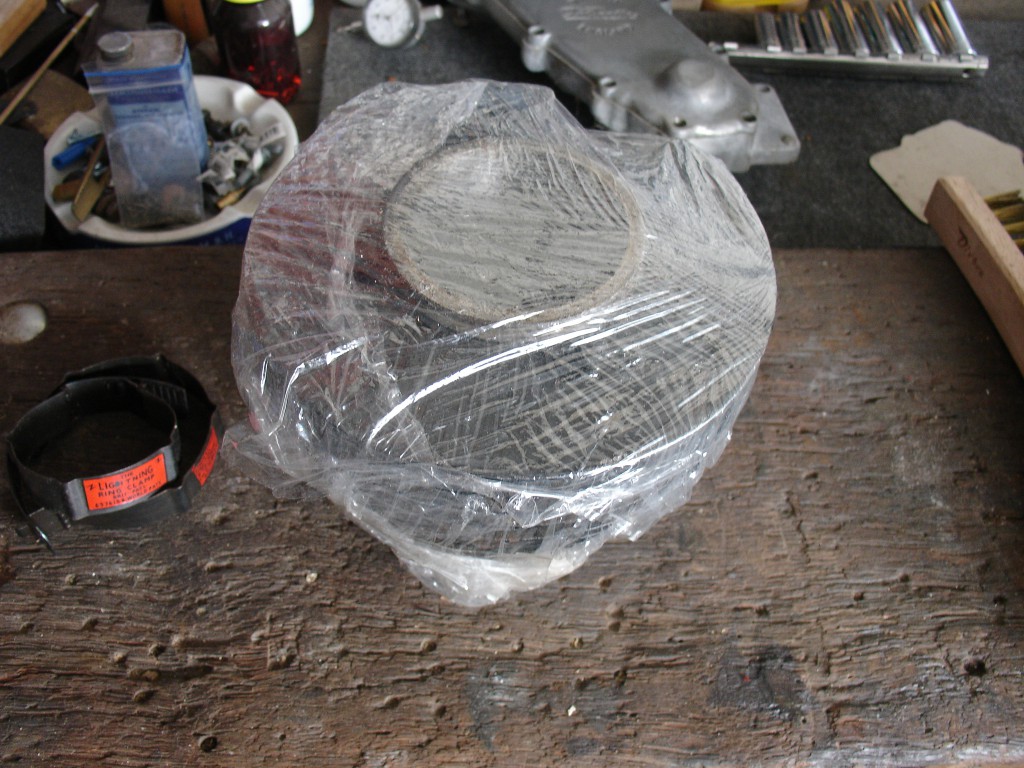
…and gets wrapped up in the customary way until I have time to tackle it later,
along with the bottom-end:
So that’s it for today, folks! I’ll be back again early tomorrow with a tale of two gearboxes and and probably a list of bits that I will need and things that have to be sorted (I have a pretty good idea what’s going to be needed now) Sometime next week the other engine bits should turn up and then I can take stock a bit better in the engine department. Some history and dates and things would be appropriate about now and then I will get down to stripping the frame and forks and doing the prep for the painting, a very important job. Another 35°C day tomorrow, so will be up early again, I feel!
©peter gouws 2012
