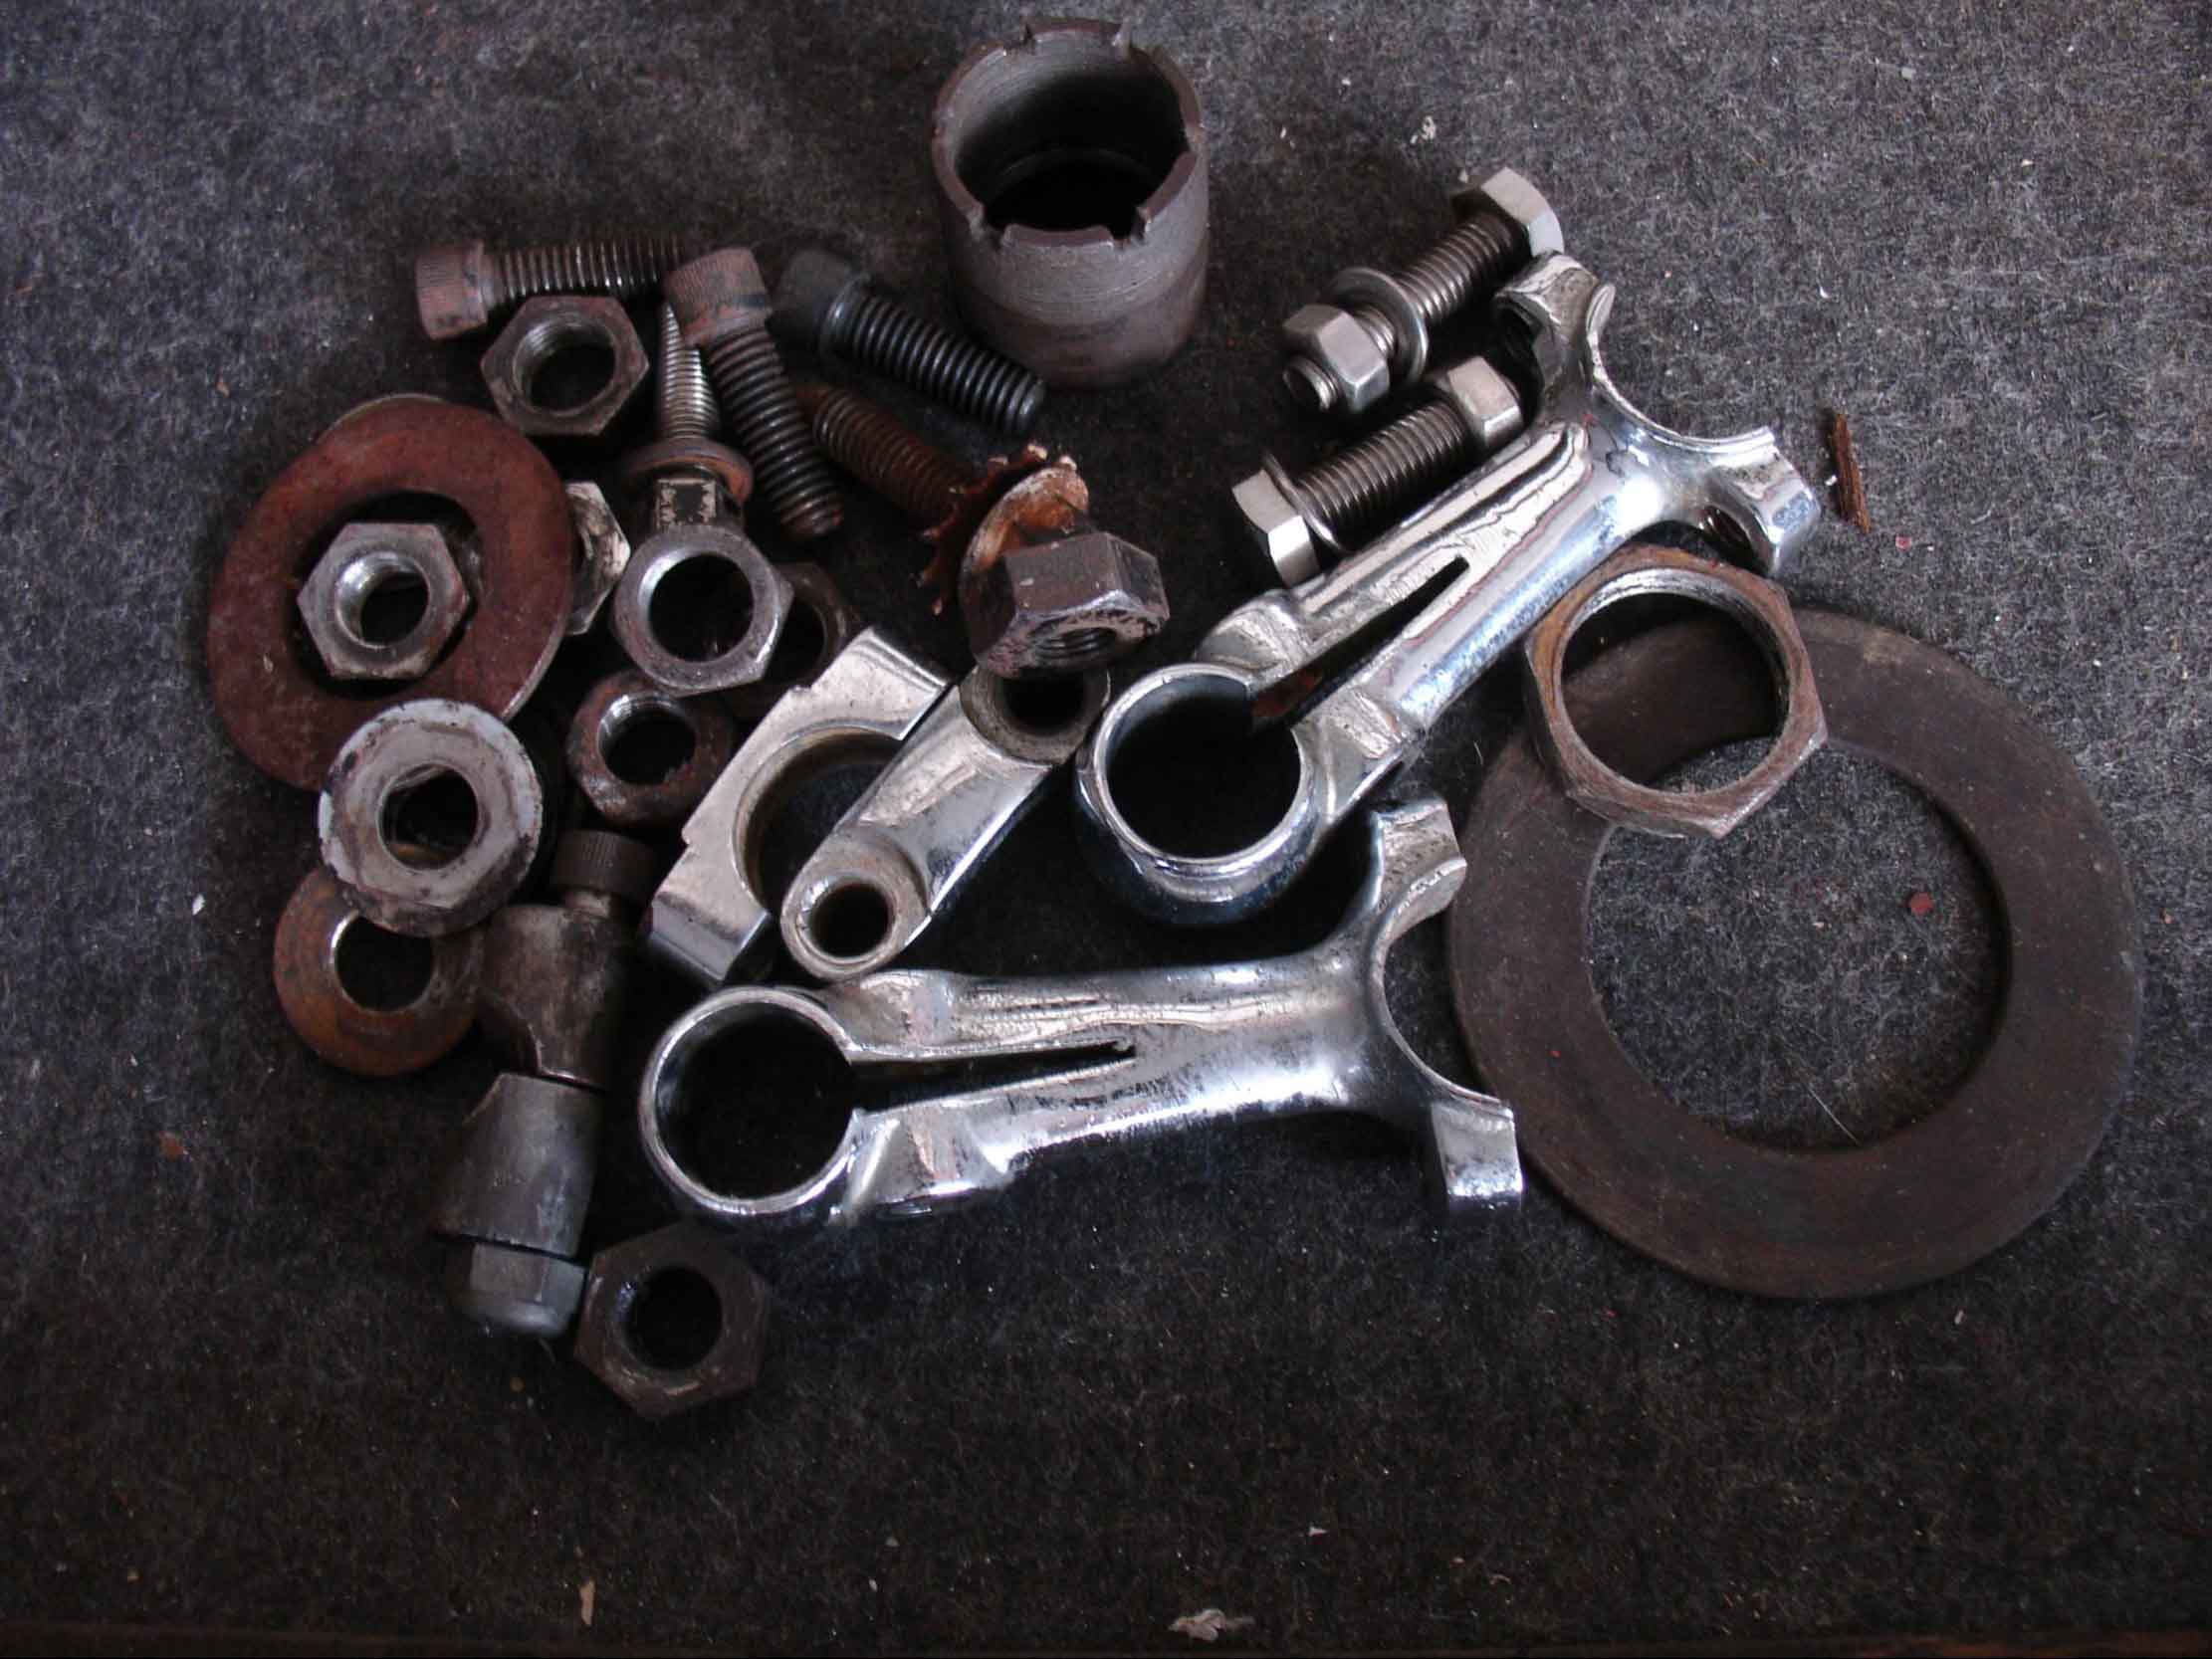
…are the last bits to be dismantled for the moment (I’ll come to the wheels later). Actually, I did the forks yesterday, just didn’t have the light to photograph them anymore. I do prefer natural lighting (i.e. daylight!) to flash or lamplight, unless looking for specific effects. The pile of bits at the tp are all that is left that won’t go to the painter’s.
So, having taken the forks apart, it now remains to ready them for blasting and painting. I’m not gong to make it more complicated than it has to be, so all the bits that are to be blasted, shall be painted! This means that there are no bits that are to be blasted and then have to be masked up later, before they get painted. KISS principle. For masking small bits, I use masking tape (duh), but a good quality, the thickest I can get and generally more than just one layer.
For the ends of the small pipes on the oil-tank, for example, there are three applications over one another. The same goes for the fork-bits, where possible, as with the other cycle parts.
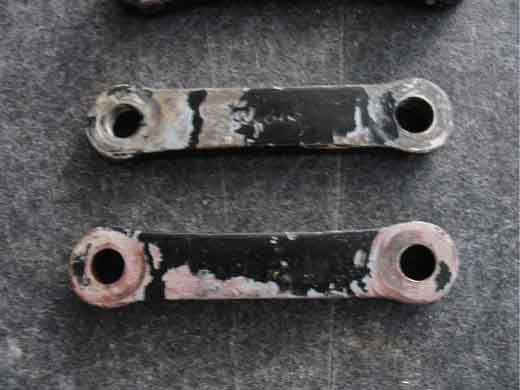
Bottom links masked on their ‘bearing’ surfaces and ready to go.
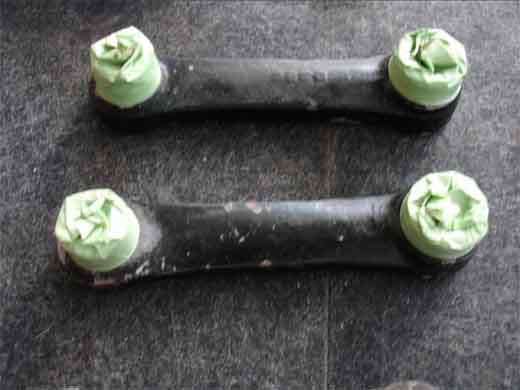
Top links need not be masked, the threads and holes will be re-tapped and reamed to size after painting.
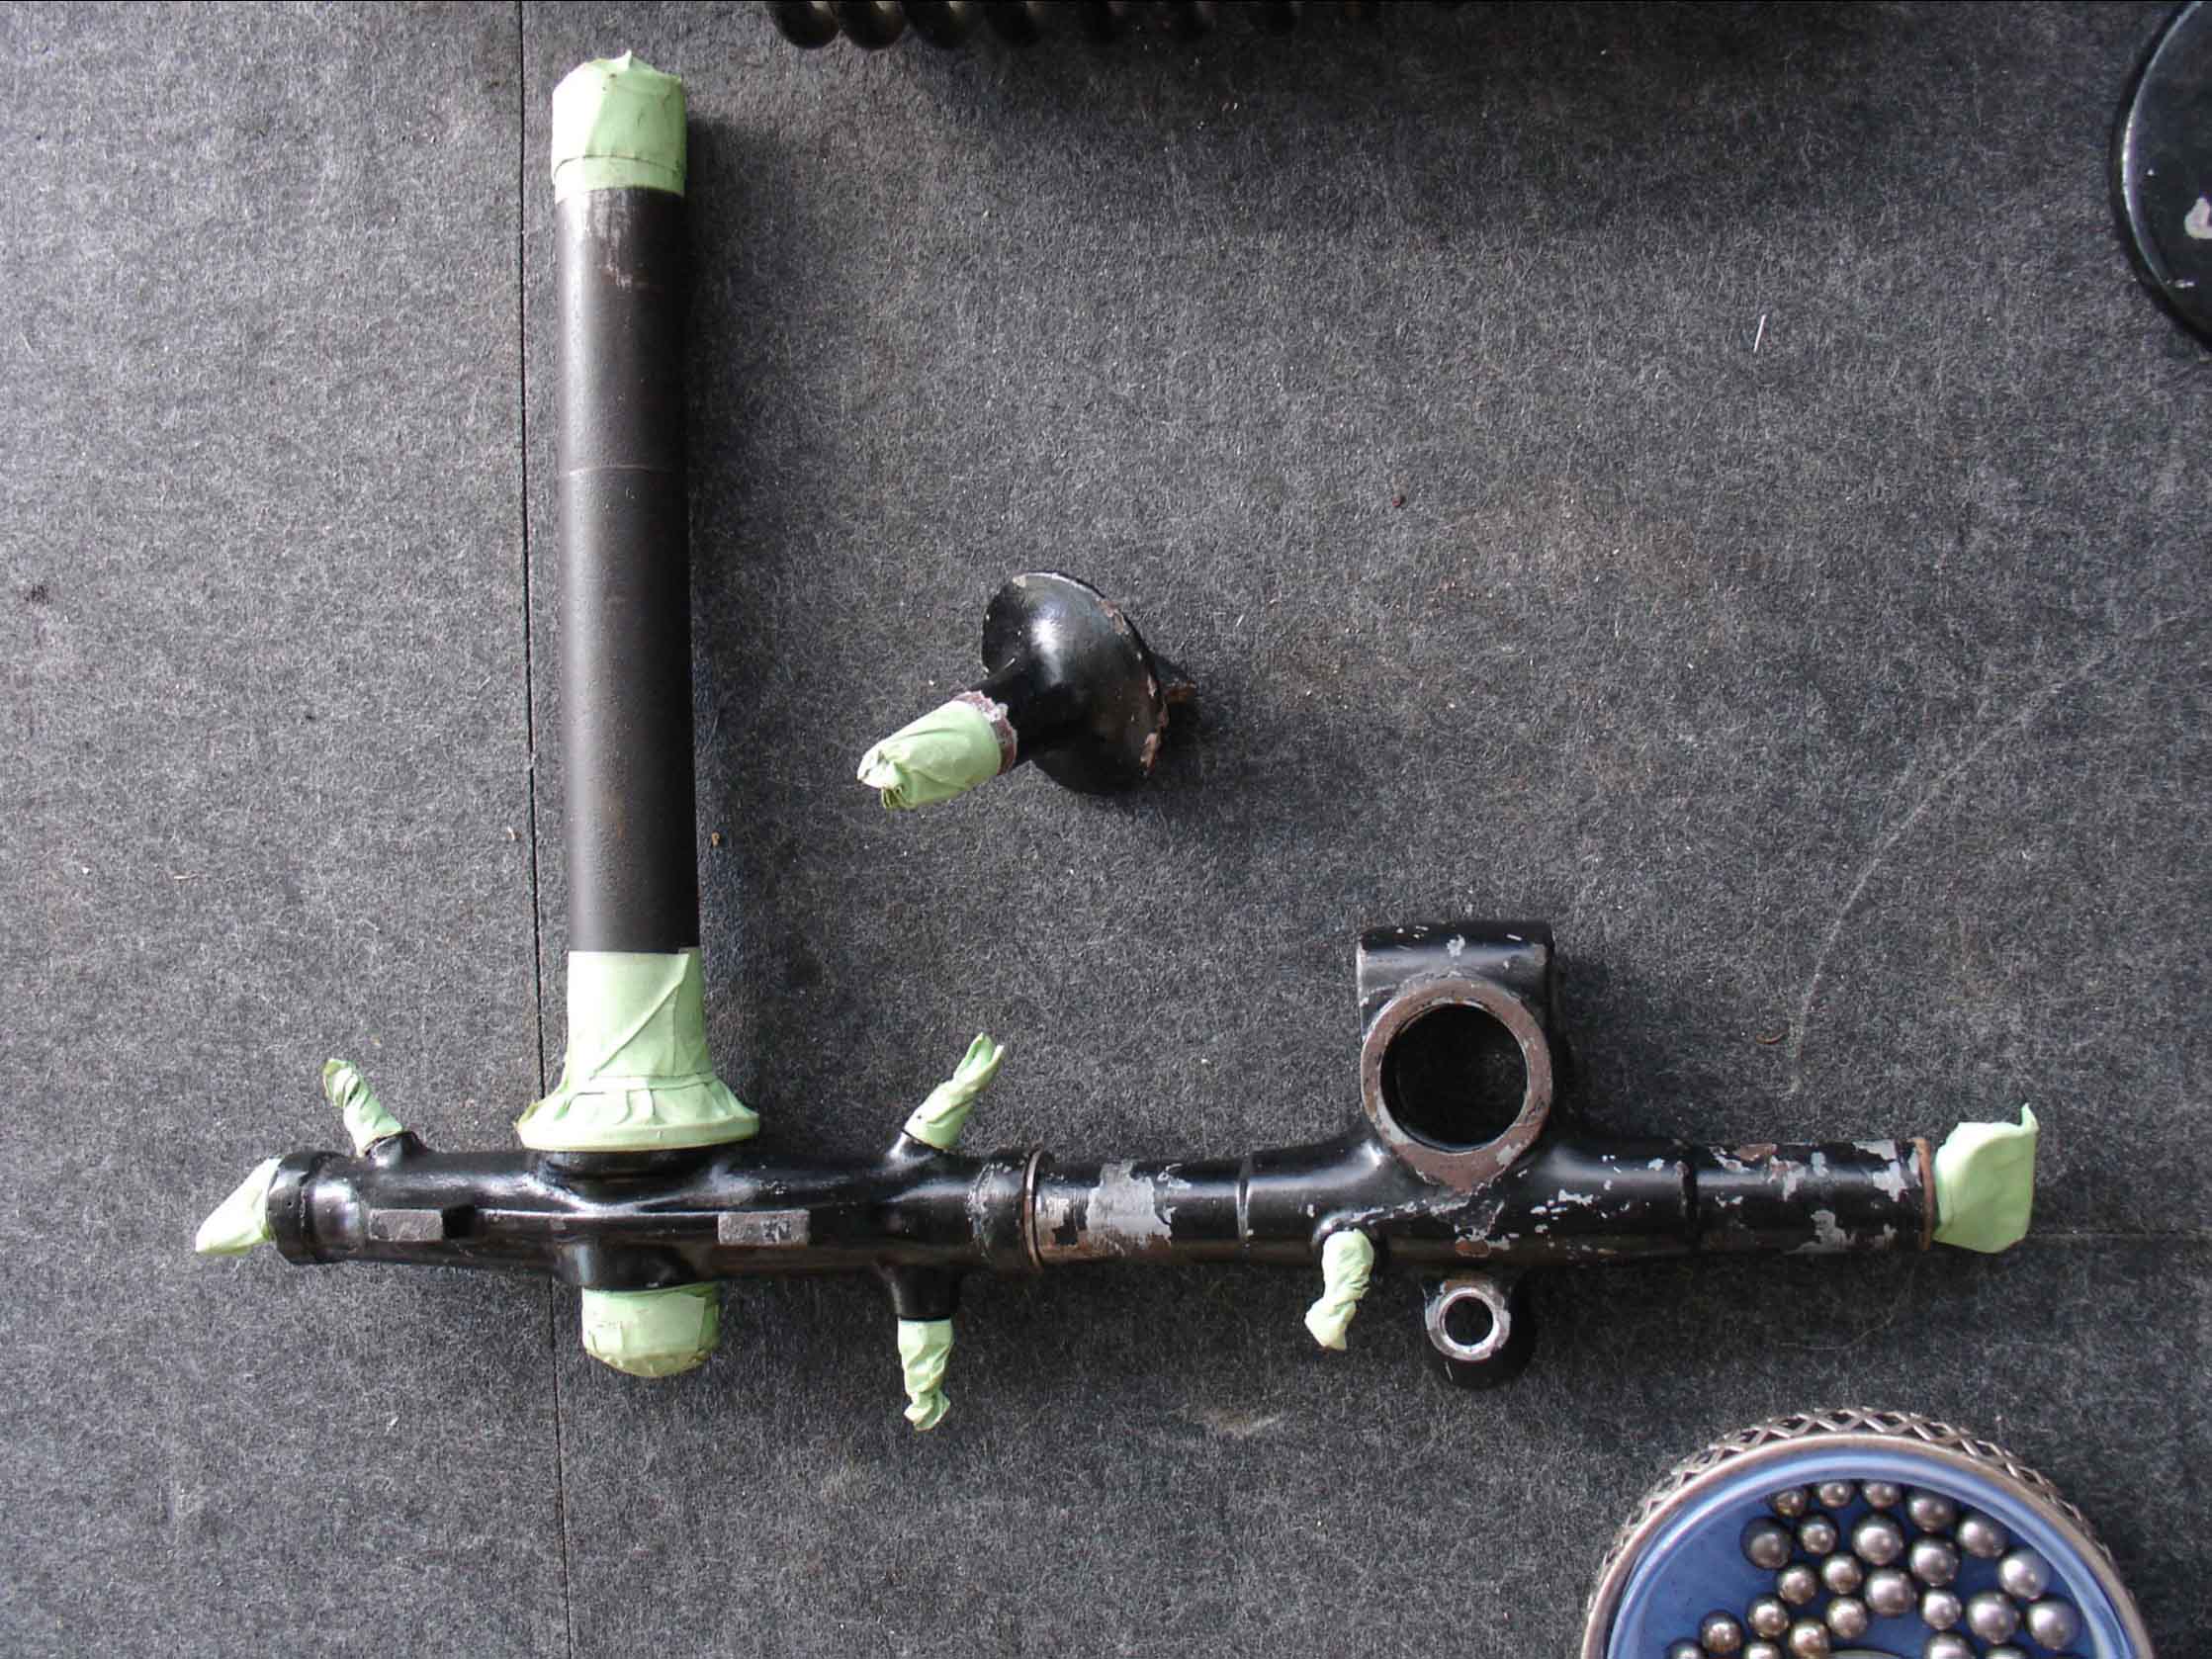
Not sure if this is a false economy, both yokes strung together with one piece of threaded rod and taped in the customary manner. The spring-doo-dad (part# 66.P)I have filed clean and will lap in later and will ‘embellish’ with a spiral groove (to stop it ‘welding’ together on the taper), so the end has also been masked off.
Notice the balls in the butter-dish (ball-bearings, I mean)? They are different sizes! The ones out of the top race are much bigger than the ones for the bottom! The actual ‘cup’ radius is 13/64”, whereas the cup for the rollers has a 5/32” radius, the balls being 0.373 in diameter (so 3/16”R). The lower race is much the same, but running 5/32” rollers (so 0.311”OD)!
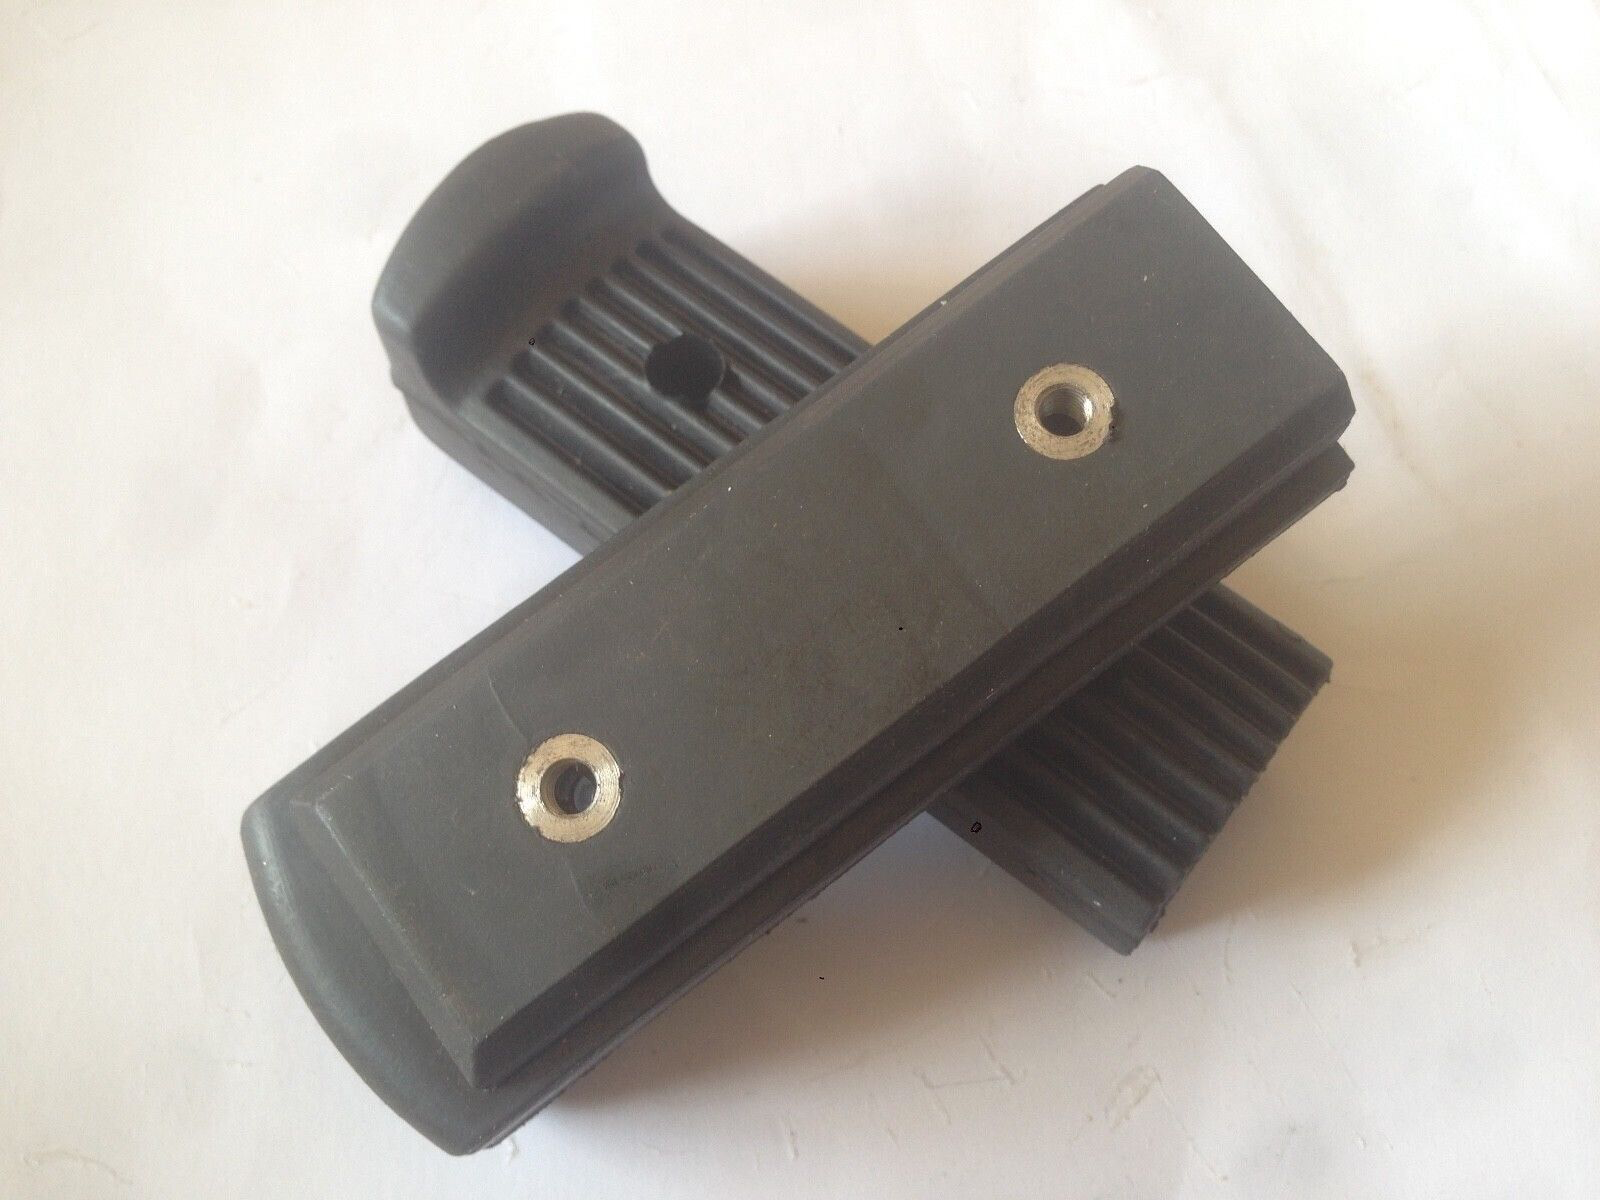
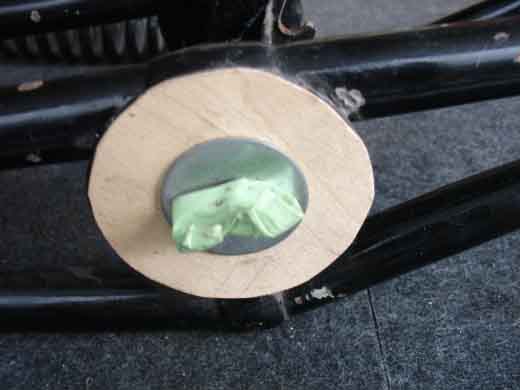
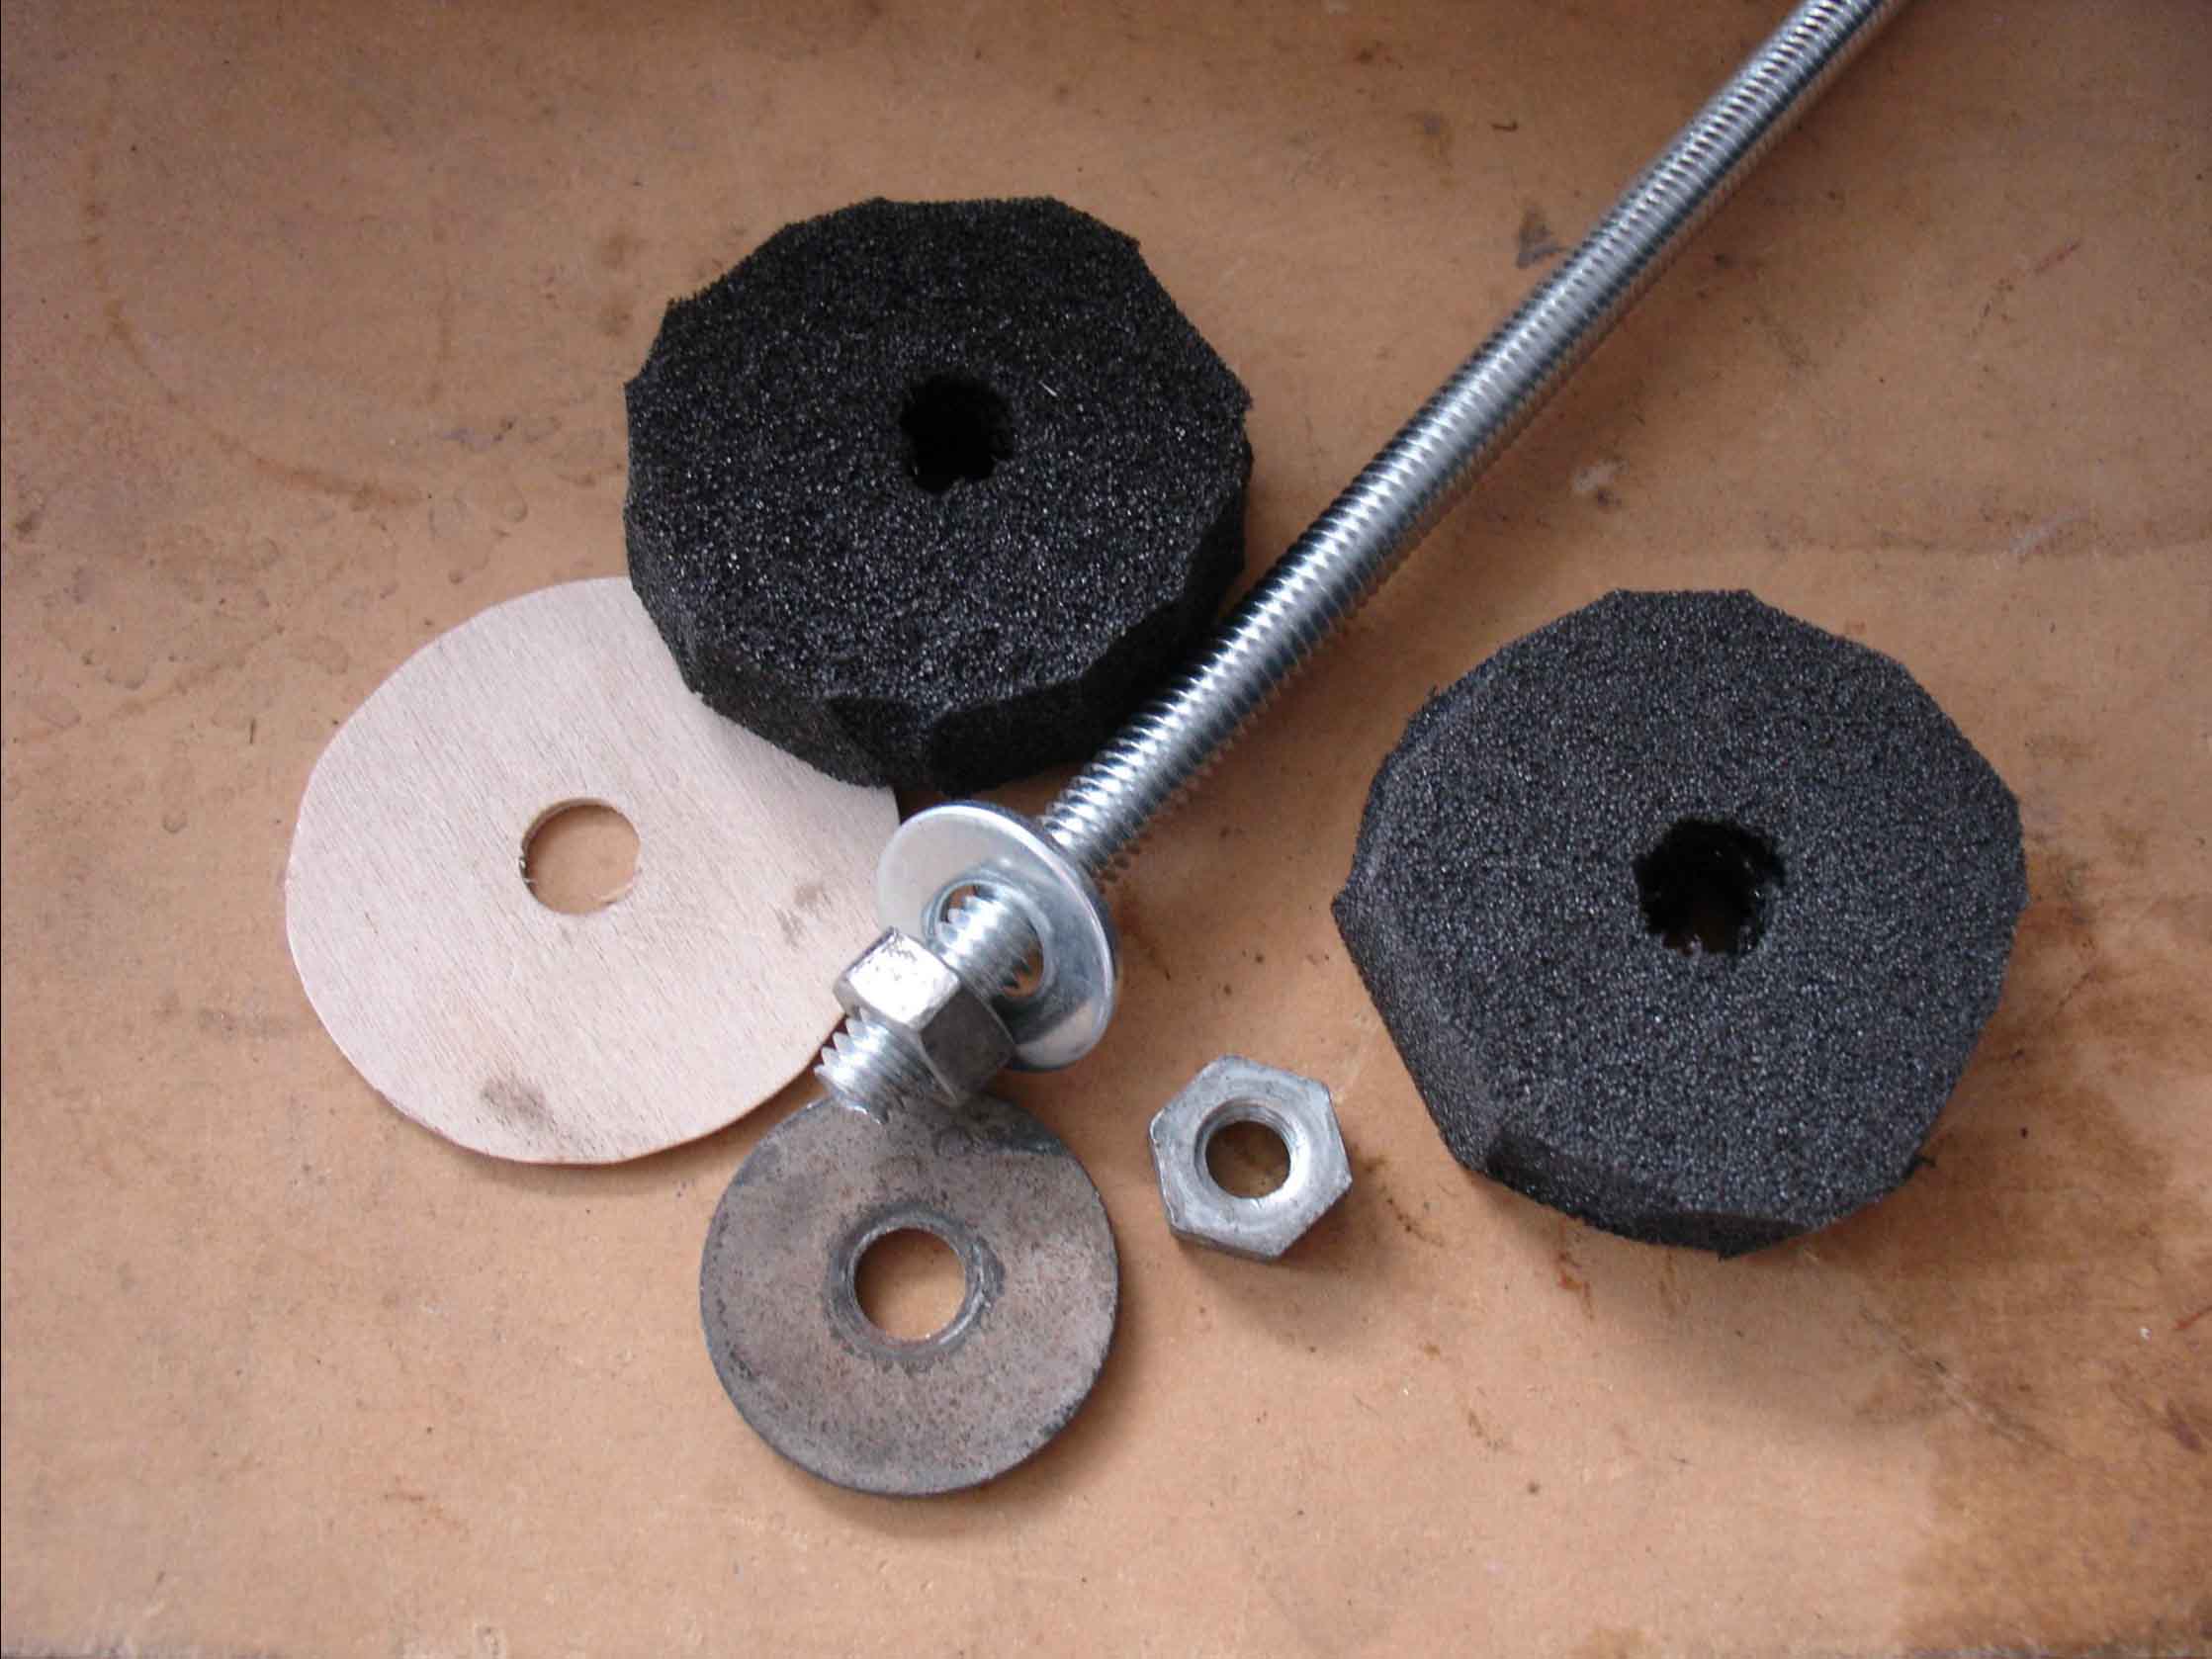
This is how I blocked off the forks themselves, just some aircraft-modelling ply (easily cut with scissors and still very stiff) for the damper-surface and threaded rod top and bottom.

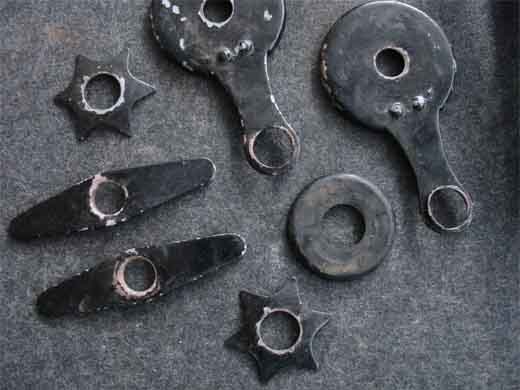
These bits above will also be painted…
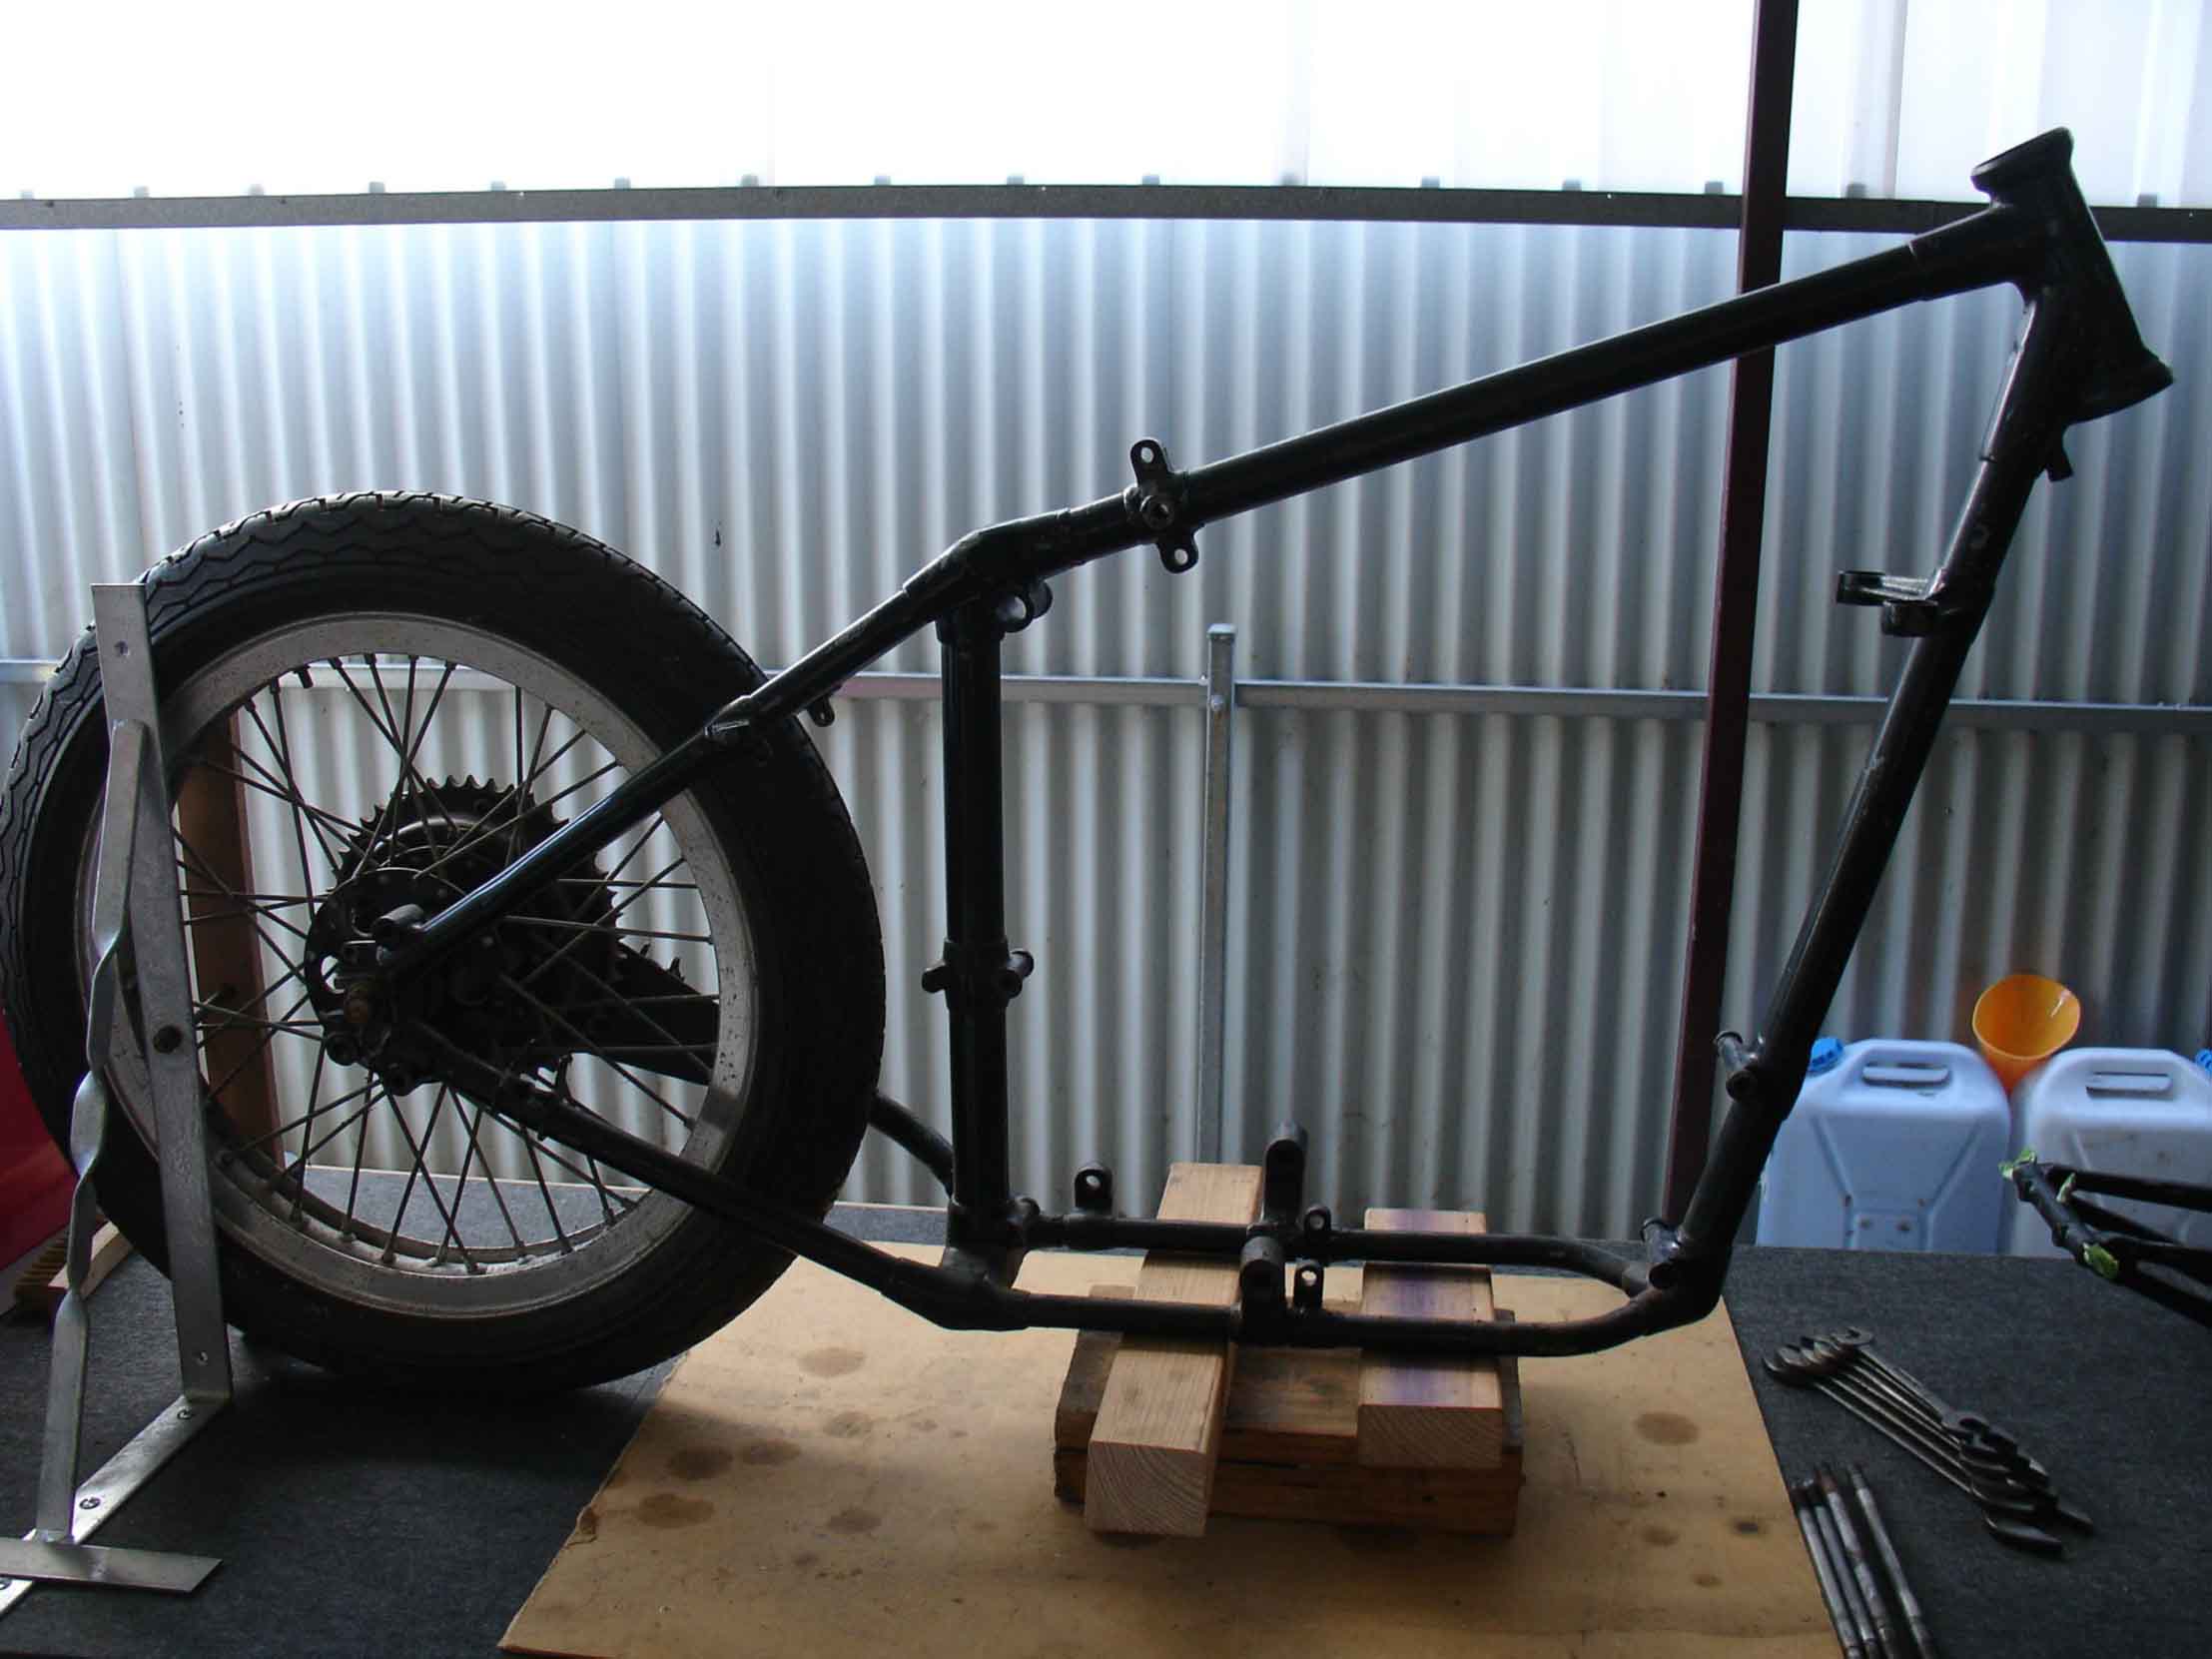
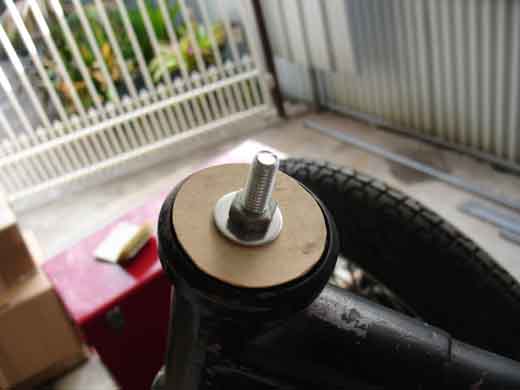
The back wheel has yet to be removed, and the steering-head masked off with high-density foam and ply to protect the bearing surfaces:
That was it! Ready to go!
© peter gouws 2012