
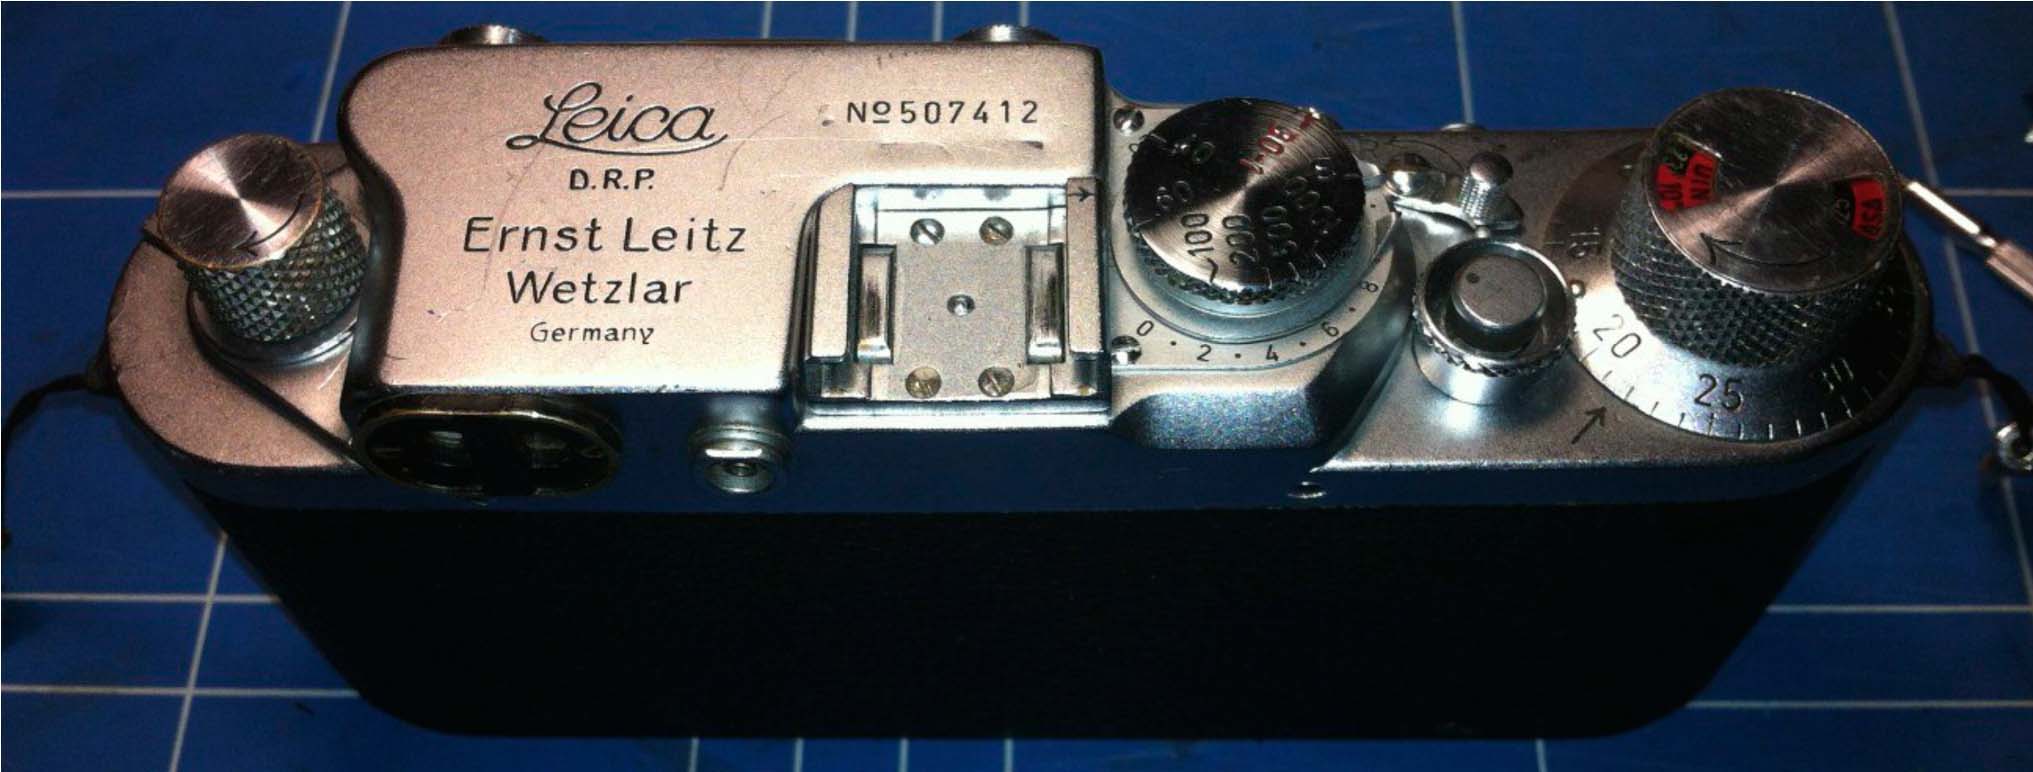
I may have mentioned it before, but if I am going to take a sixty-year-old motorcycle on a tour and take photographs along the way, you can bet that I won’t be using a digital @#%$&** camera! So, I got me (excuse the language) a worthy camera built at around the same period as the bike to take my snaps with. A Leica IIIc, which has been factory-converted to a IIIf (all that means is that it has had a flash-synchronisation fitted!) and with the further addition of a self-timer at the same time.
Fantastic camera, beautifully made and still working fine after all these years (as one would expect from any top-quality product!). First priority is to test the camera for function of the shutter, the accuracy of the shutter-speeds (especially the slow speeds) and focus, whether the flash works etc. and if the lens has any nasty aberrations…
Well, the test film came back and all the outside shots were similar to the above one, covered in ‘spots’. No, it wasn’t raining and the spots were all in similar places…
Check out the correspondence of the pattern! This can mean only one thing: One of the shutter curtains is porous!
The rest was all good: the focus was accurate, the shutter speeds and aperture matched fine (giving a consistent and correct exposure), the pictures are sharp corner-to corner and the flash worked well, too. The handling in general is fine, everything working smoothly, effortlessly and QUIETLY! The Shutter works with a crisp ‘snap’ and there are no rattles, bits loose or other unwanted faults.
‘Just’ the shutter curtain… Changing one of these in a Leica is not a job for the faint-hearted, so I took a closer look, to see if there was another way around this…
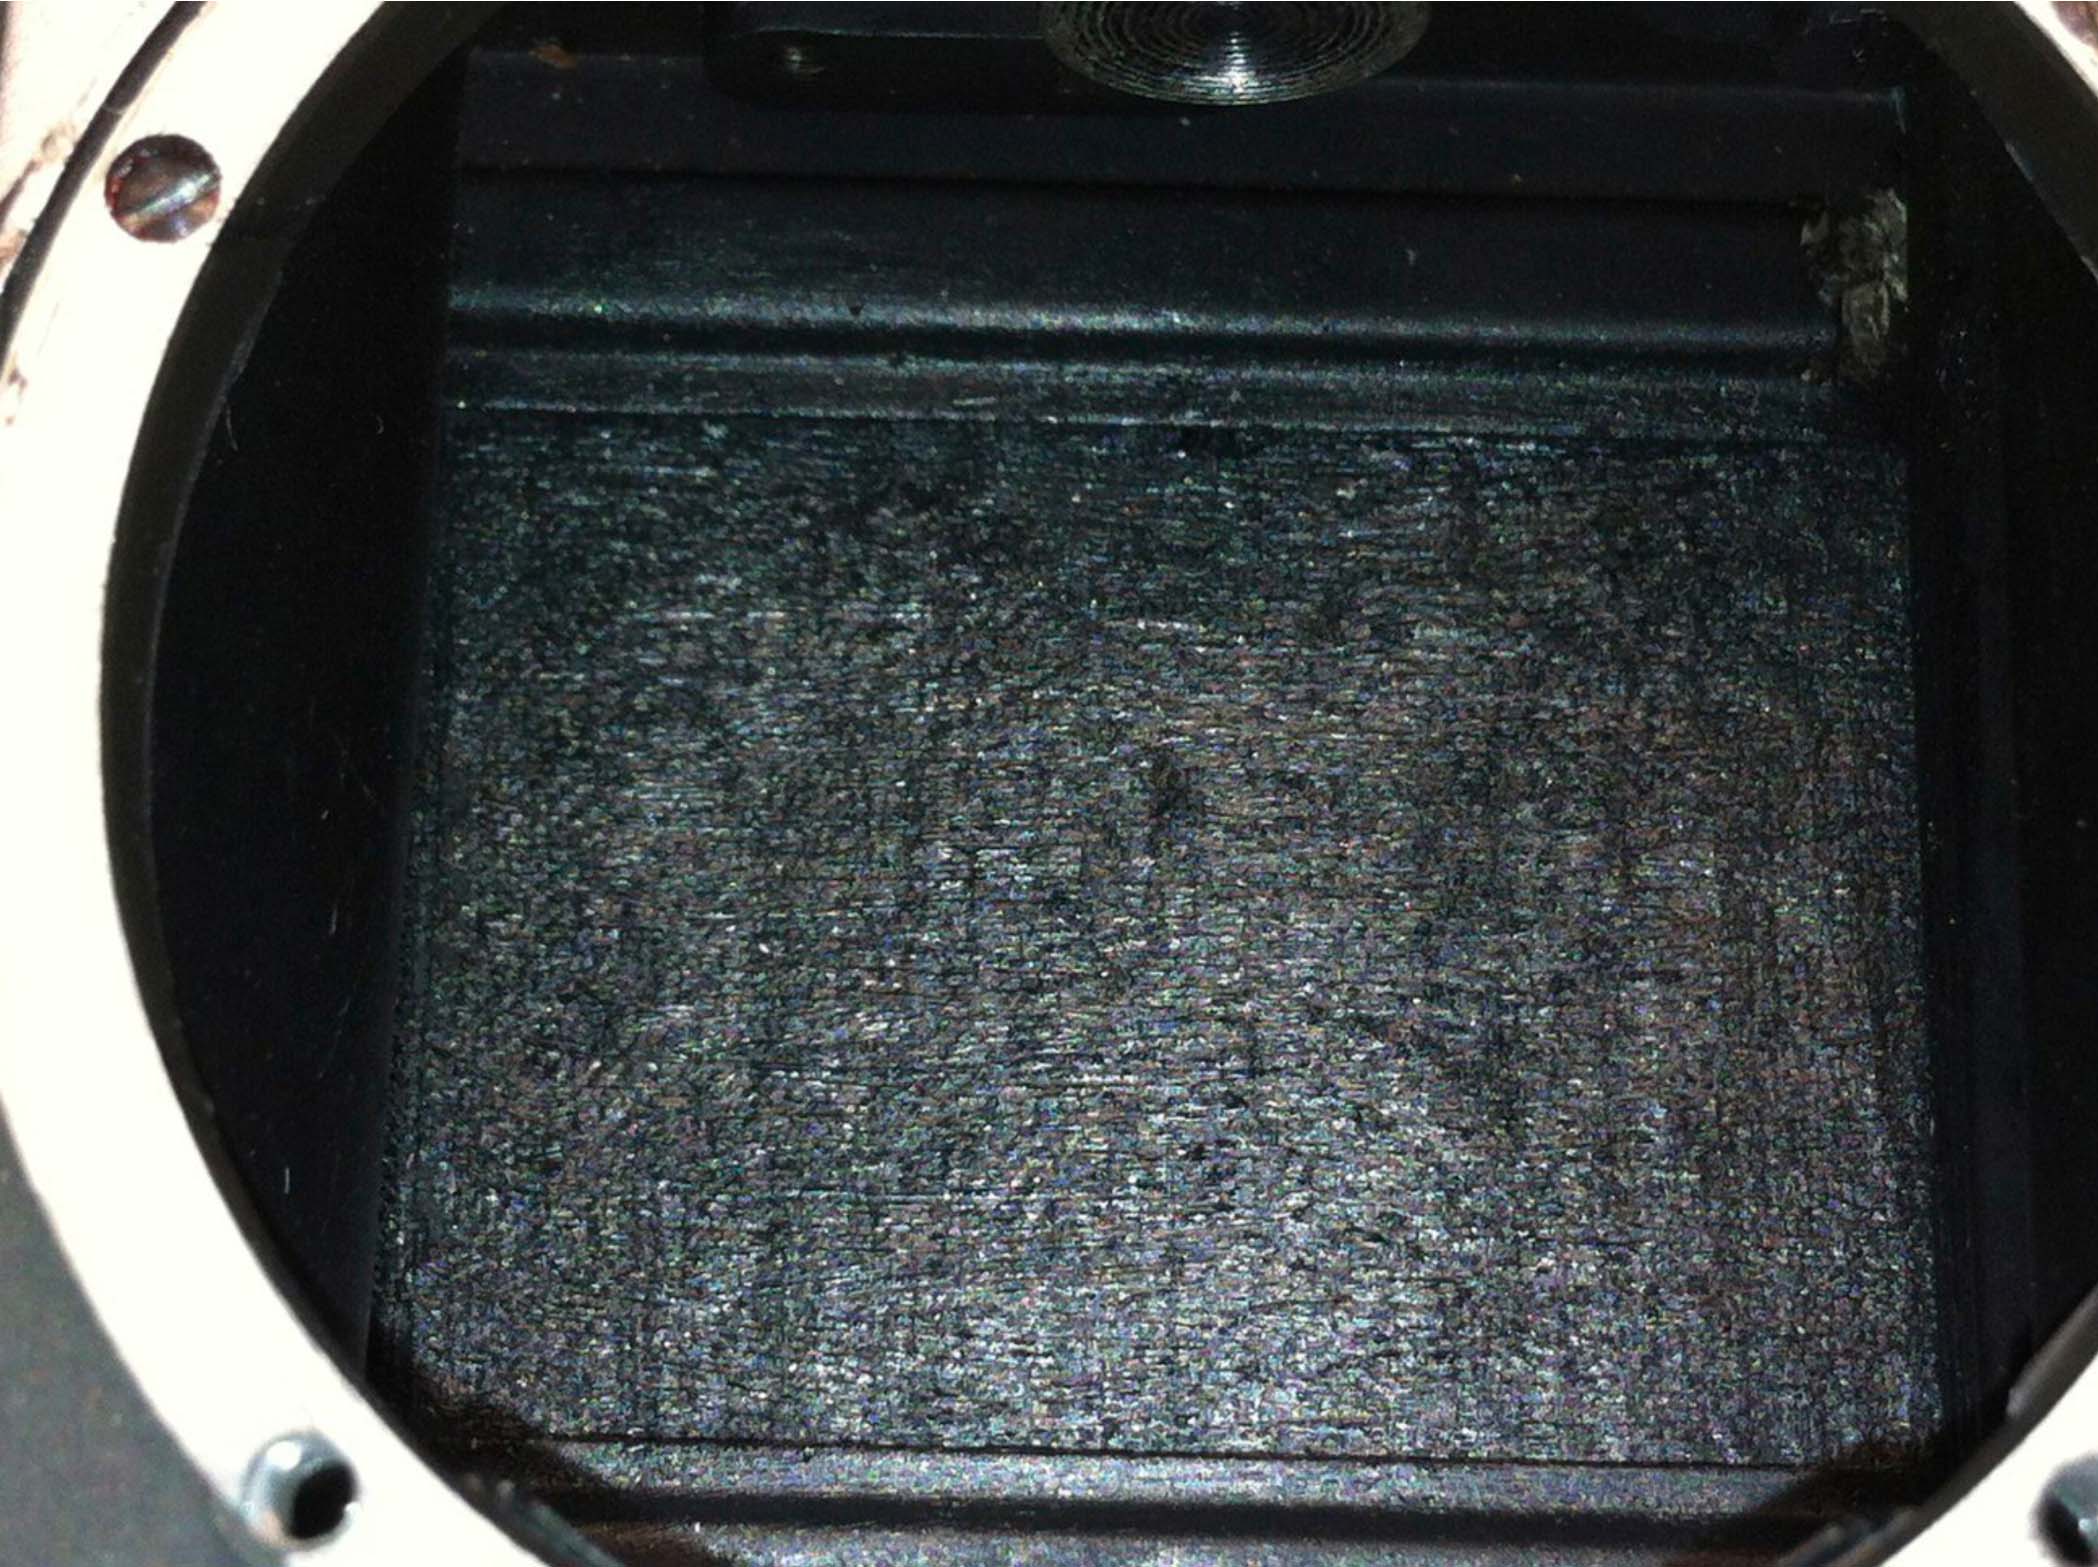
The picture above of some of our orchids in fairly stark sunlight shows that the shutter is more akin to a sieve than a shutter-blind, and closer inspection, while the camera was still in its assembled state confirmed this. The rubberised cloth material used on the second shutter was pretty ’orribly cracked, mostly running vertically (as is to be expected, the cloth bing wrapped around a spool most of its life).
Worse than I would have ‘desired’, but hardly worse than was to be expected, having seen the evidence of the photos!
So, my beloved Leica does have to be disassembled, at least partially, to check out the damage, as not having a back door, I can’t see through the shutter from behind, so to speak.
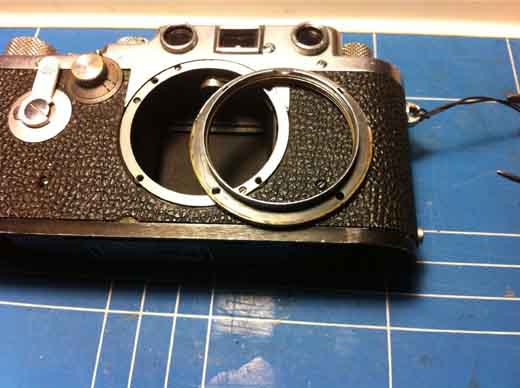
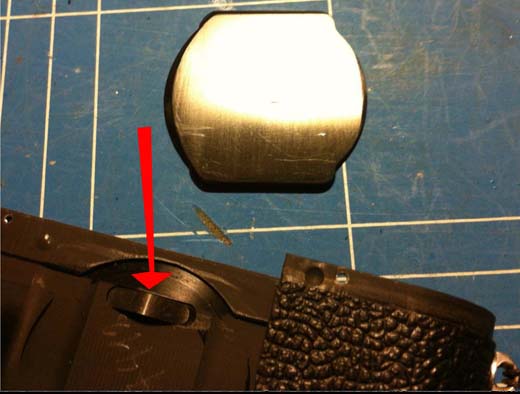
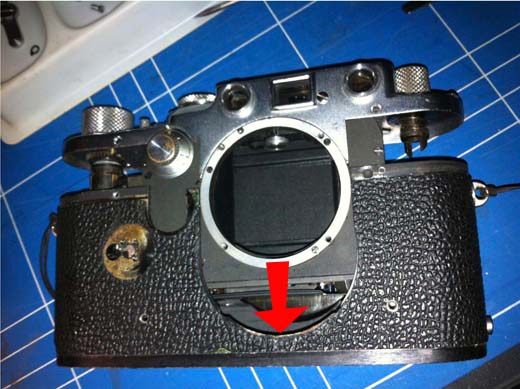
Disassembly of a screw-mount Leica is not difficult, nor dangerous (to the camera): First the Lens-mount has to be removed (4 Screws), noting the top of the mount and marking it if necessary, otherwise the focus will not be correct when re-assembled! Keep all shims etc, too, as these make a real difference to the focus, too! The ‘notch’ in the top of the mount is clearly visible in the shot below, so there is really no reason for getting it wrong!
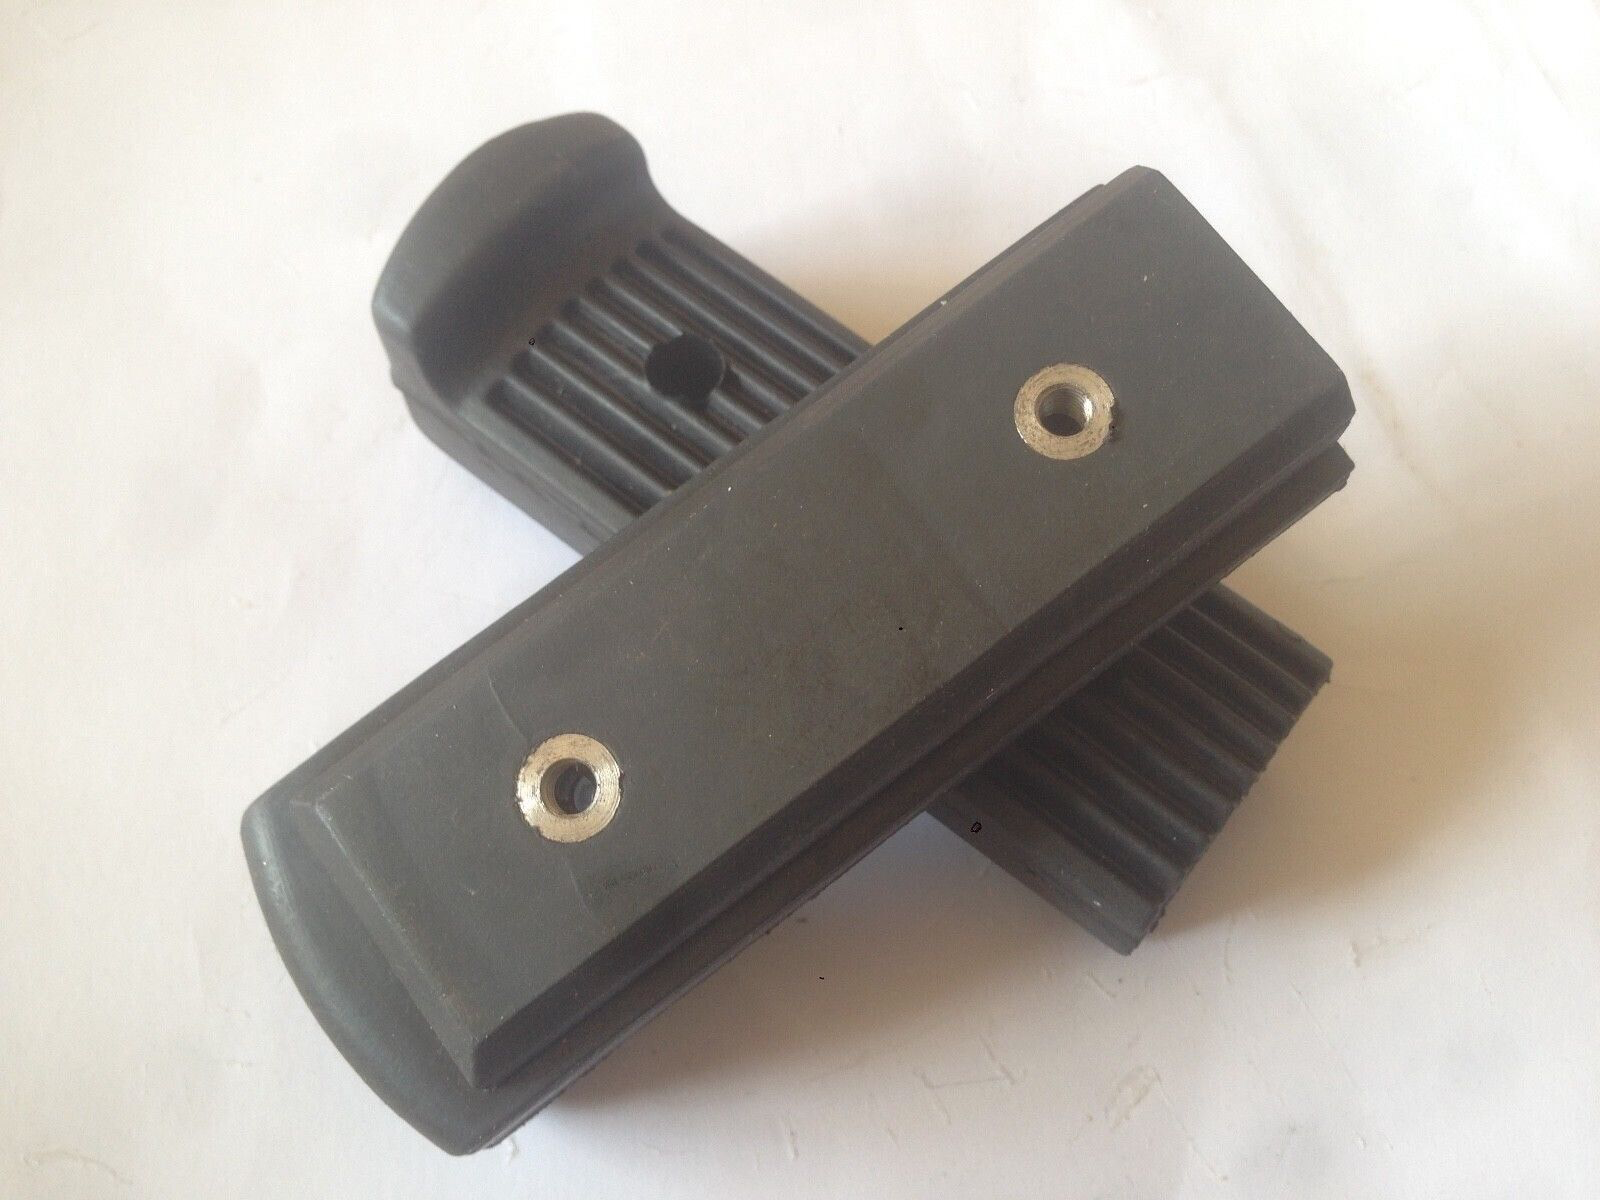
After that, there are only six other screws to remove, two black ones on the front in the ‘leatherette’ (which is actually rubber!) and four chromed ones, two in each face of the top front and back of the camera. If you have a self-timer on the camera (the lever on the left, like this one) then you first have to undo this, before sliding the camera out of the case.
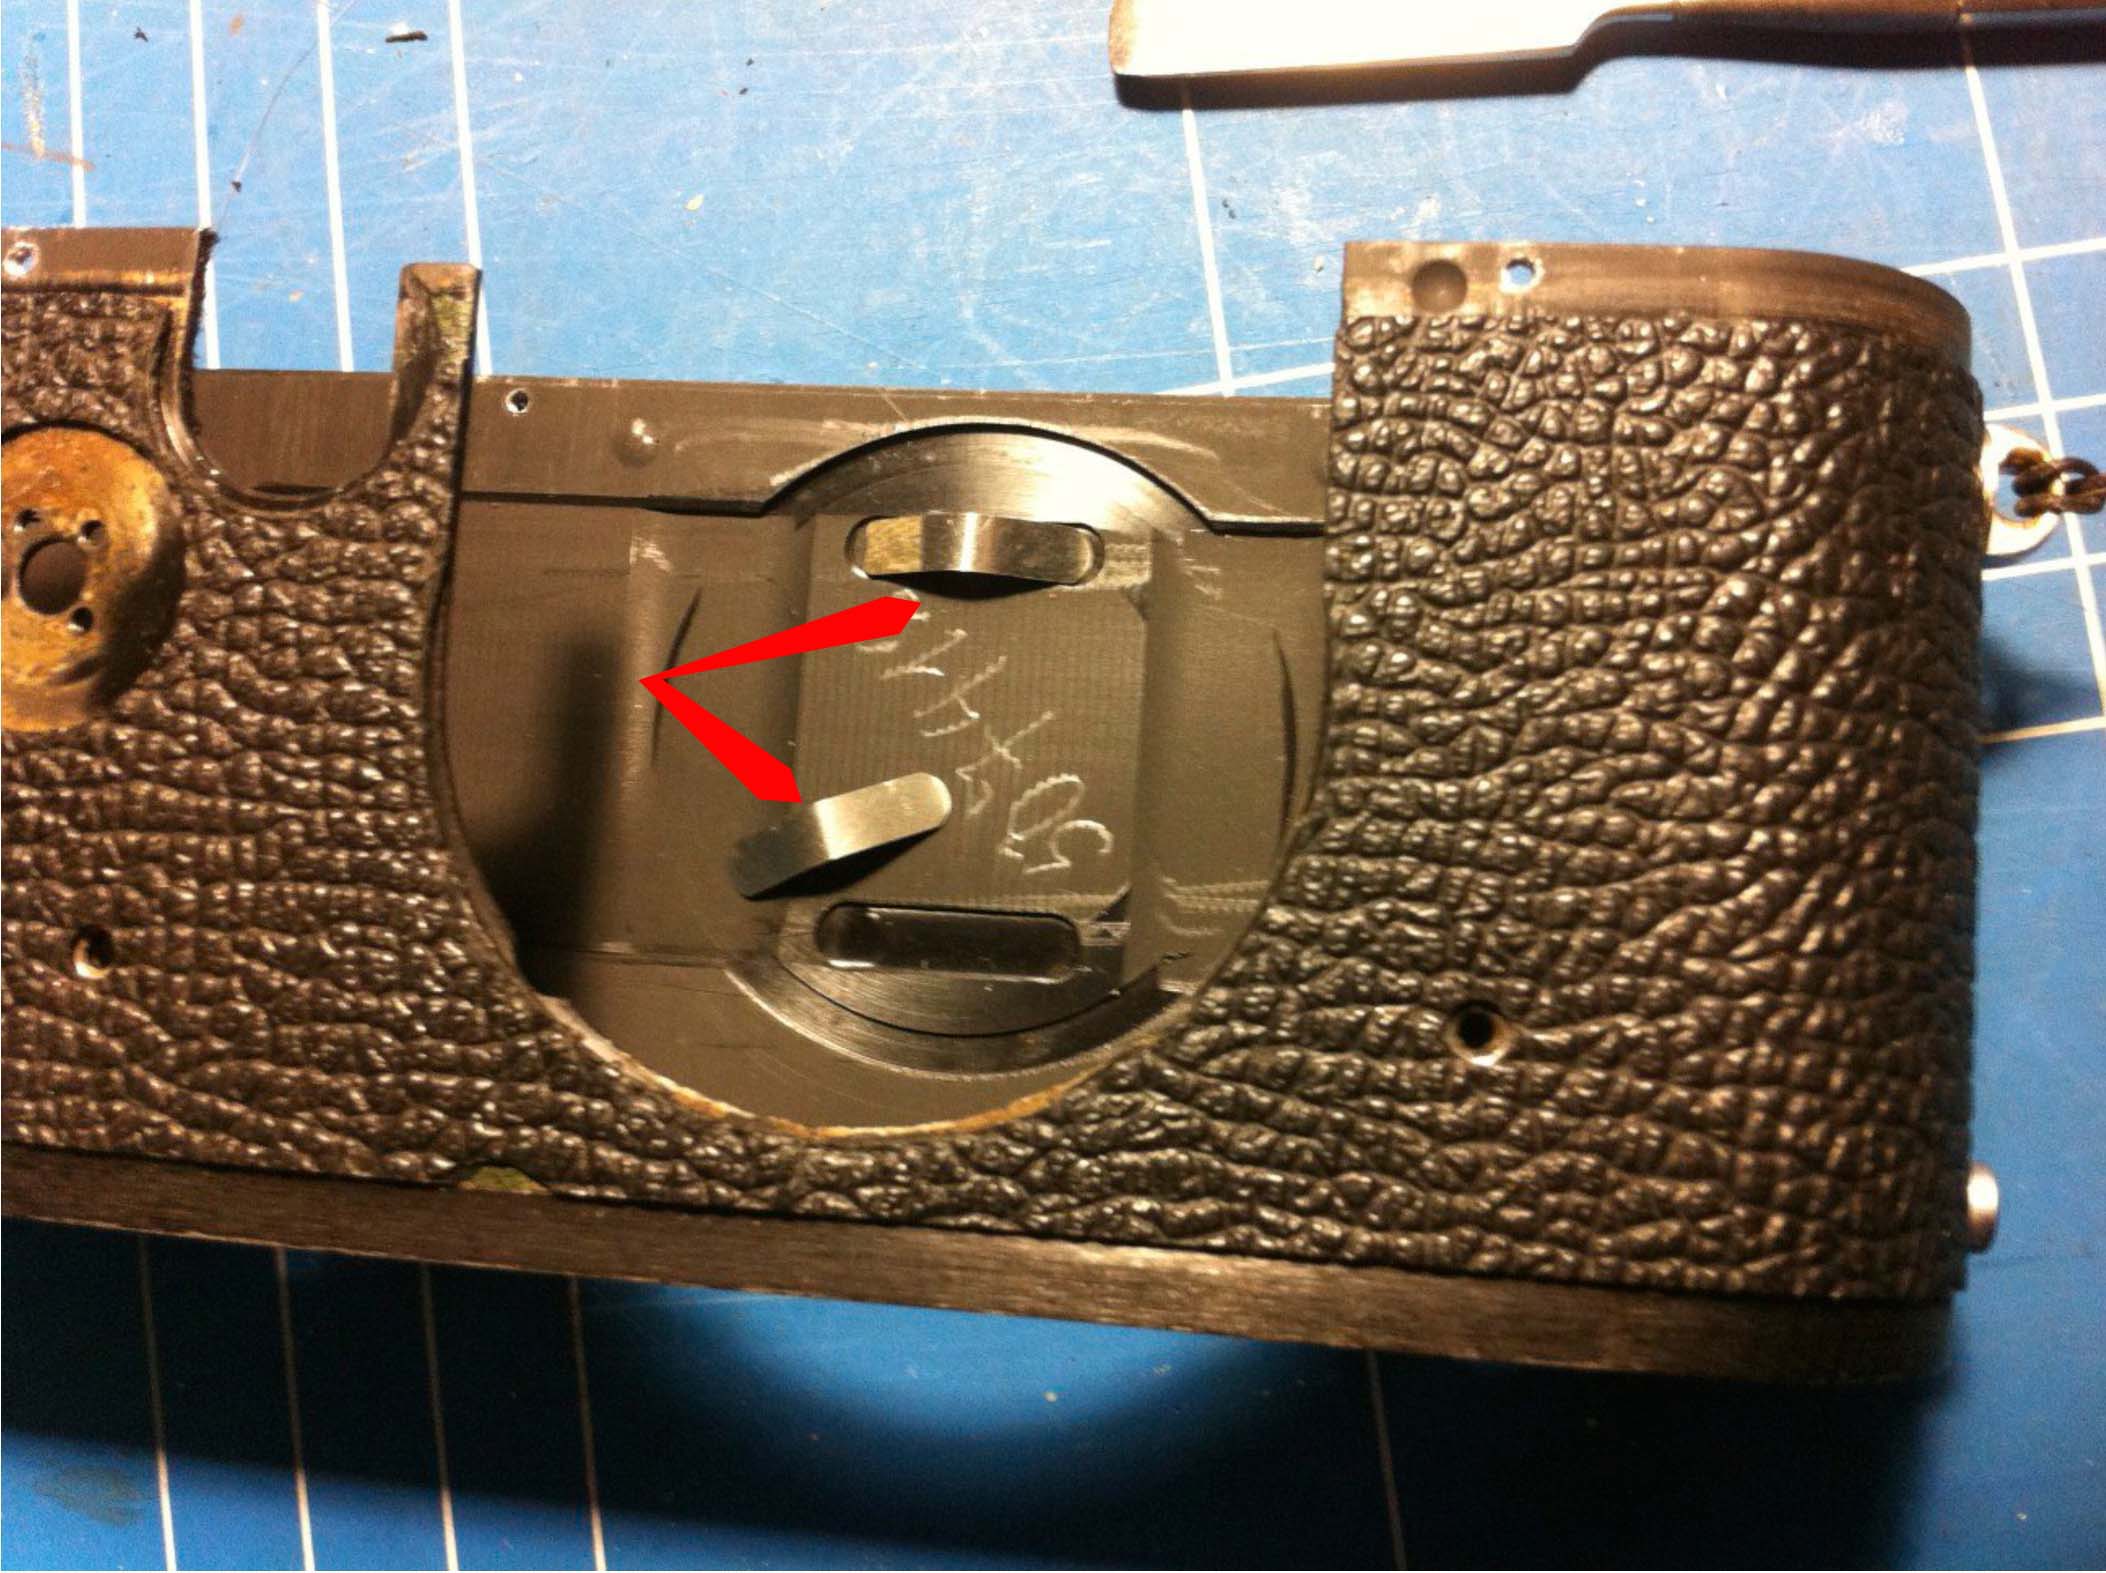
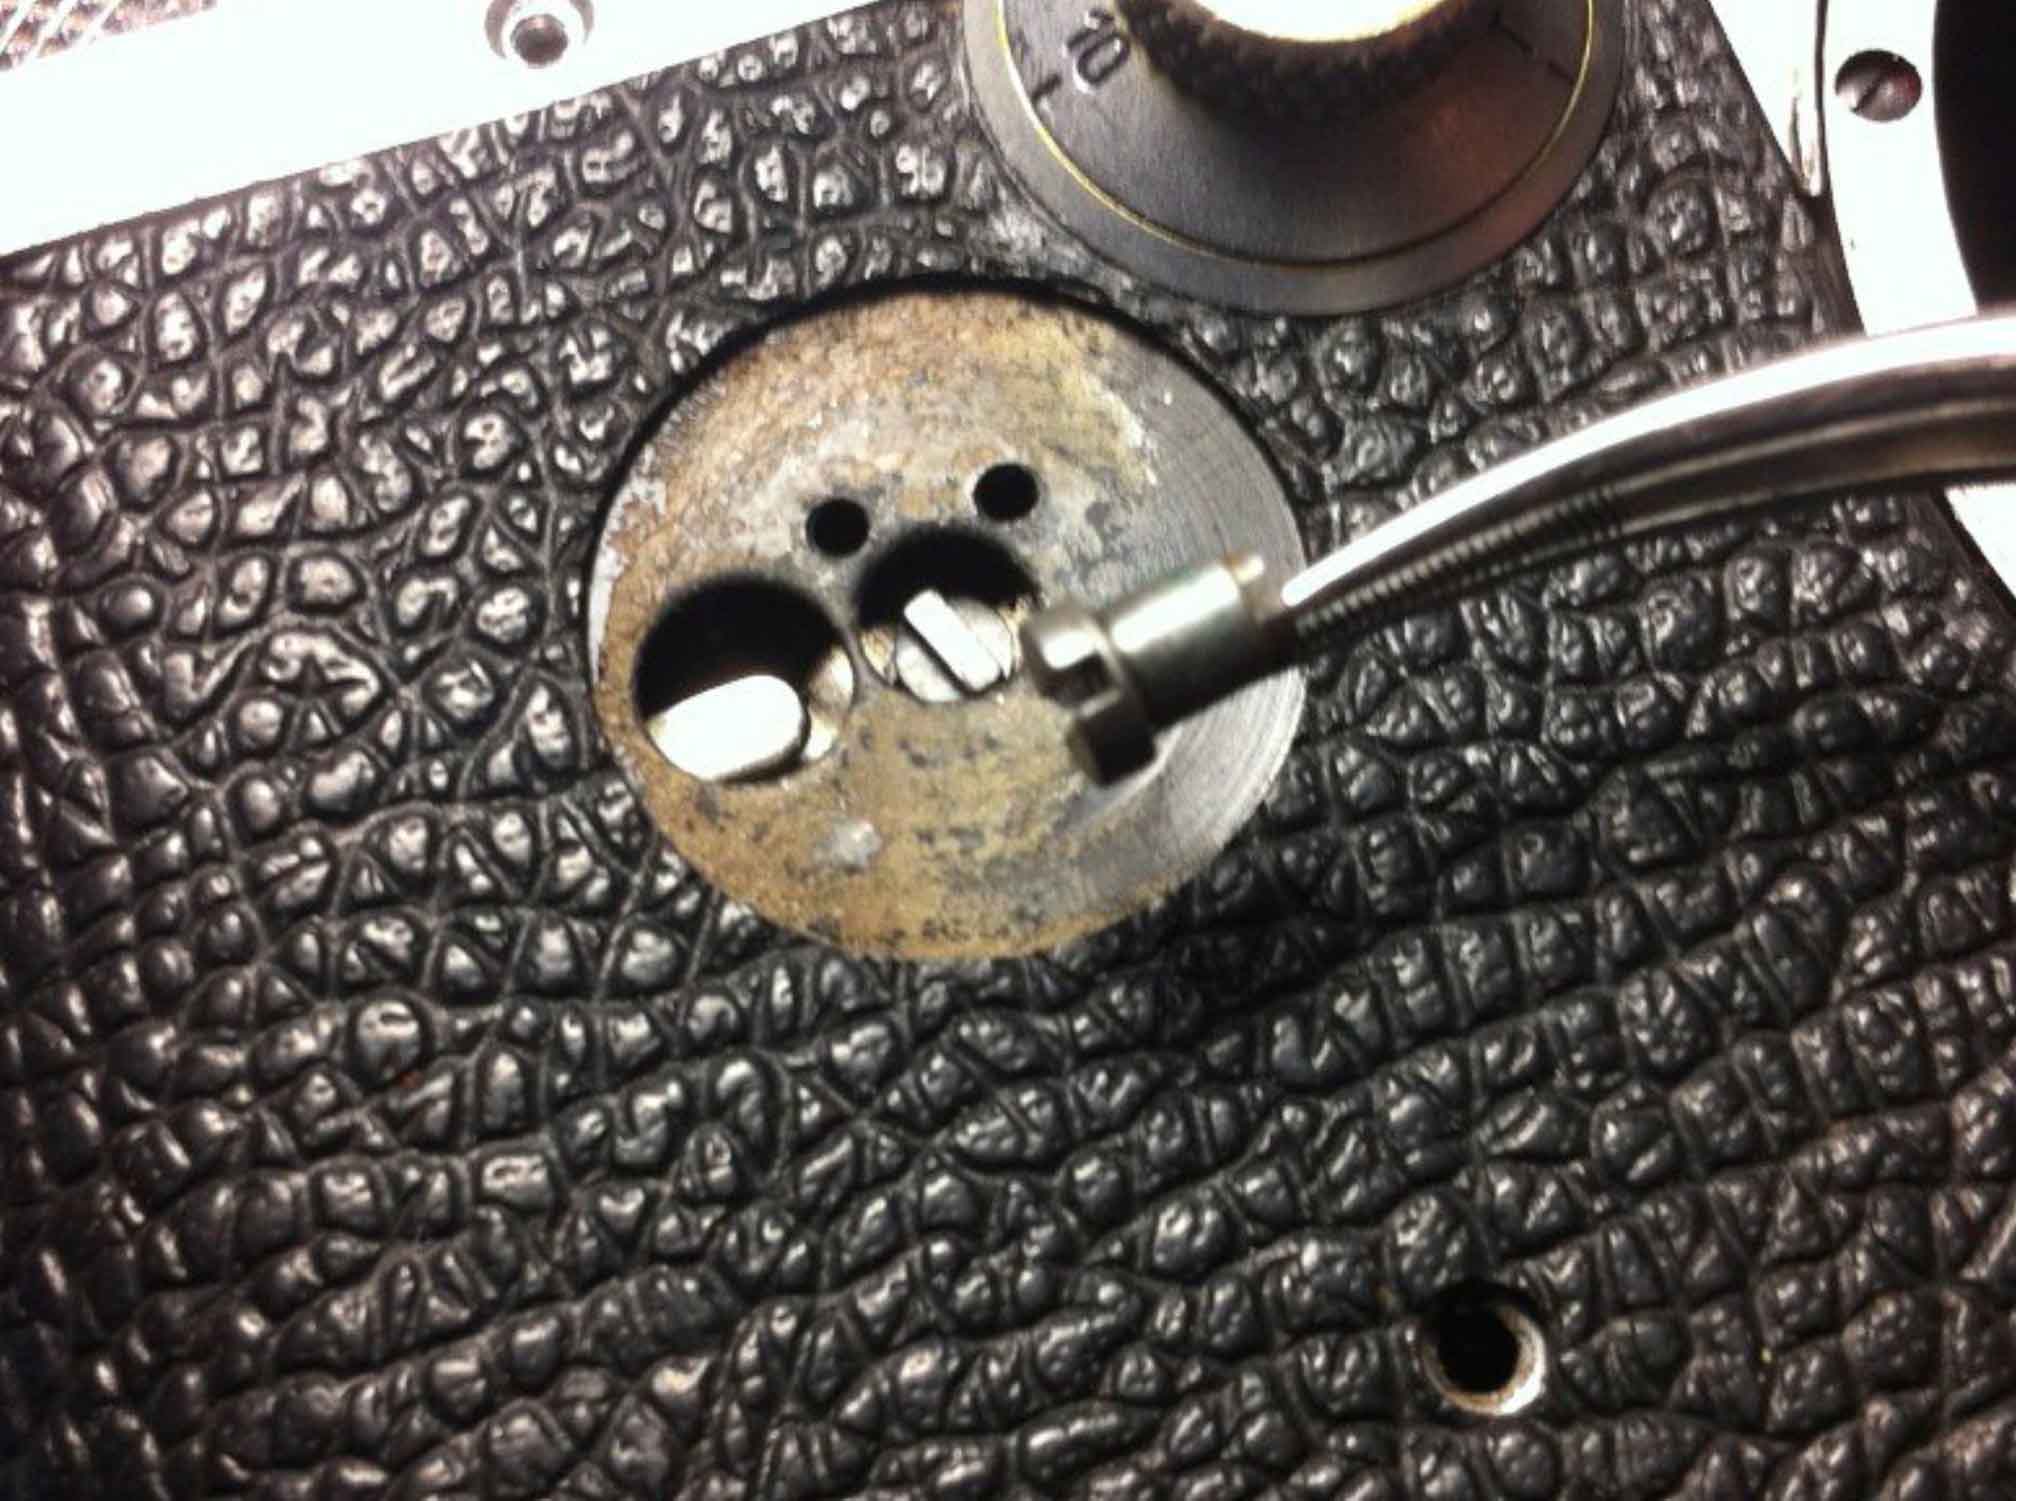
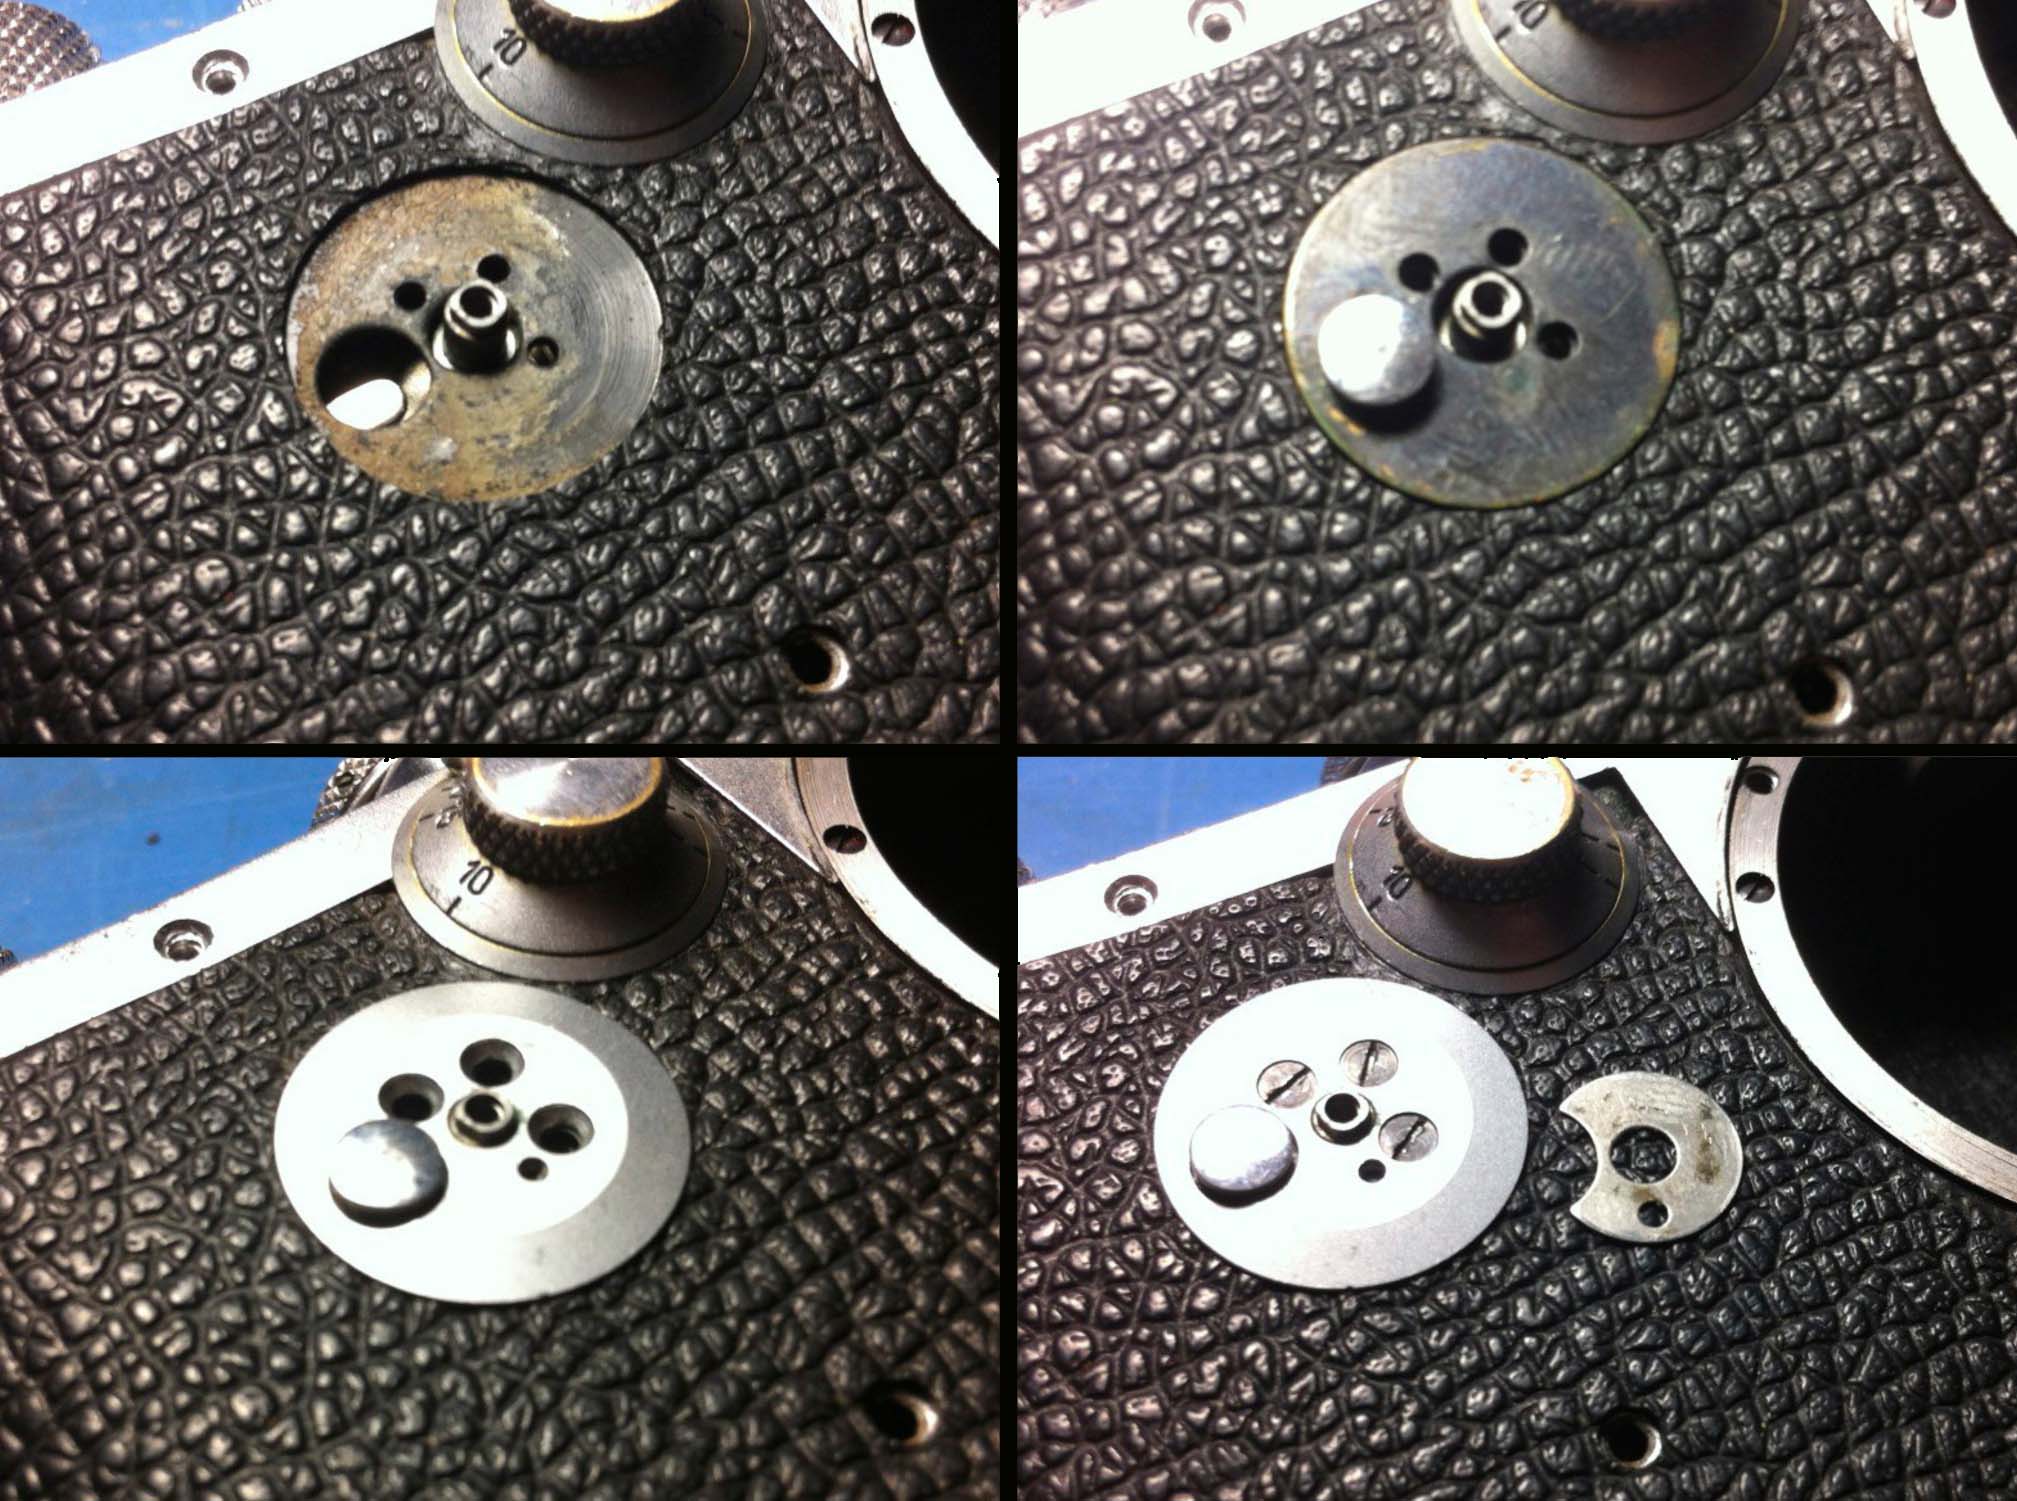
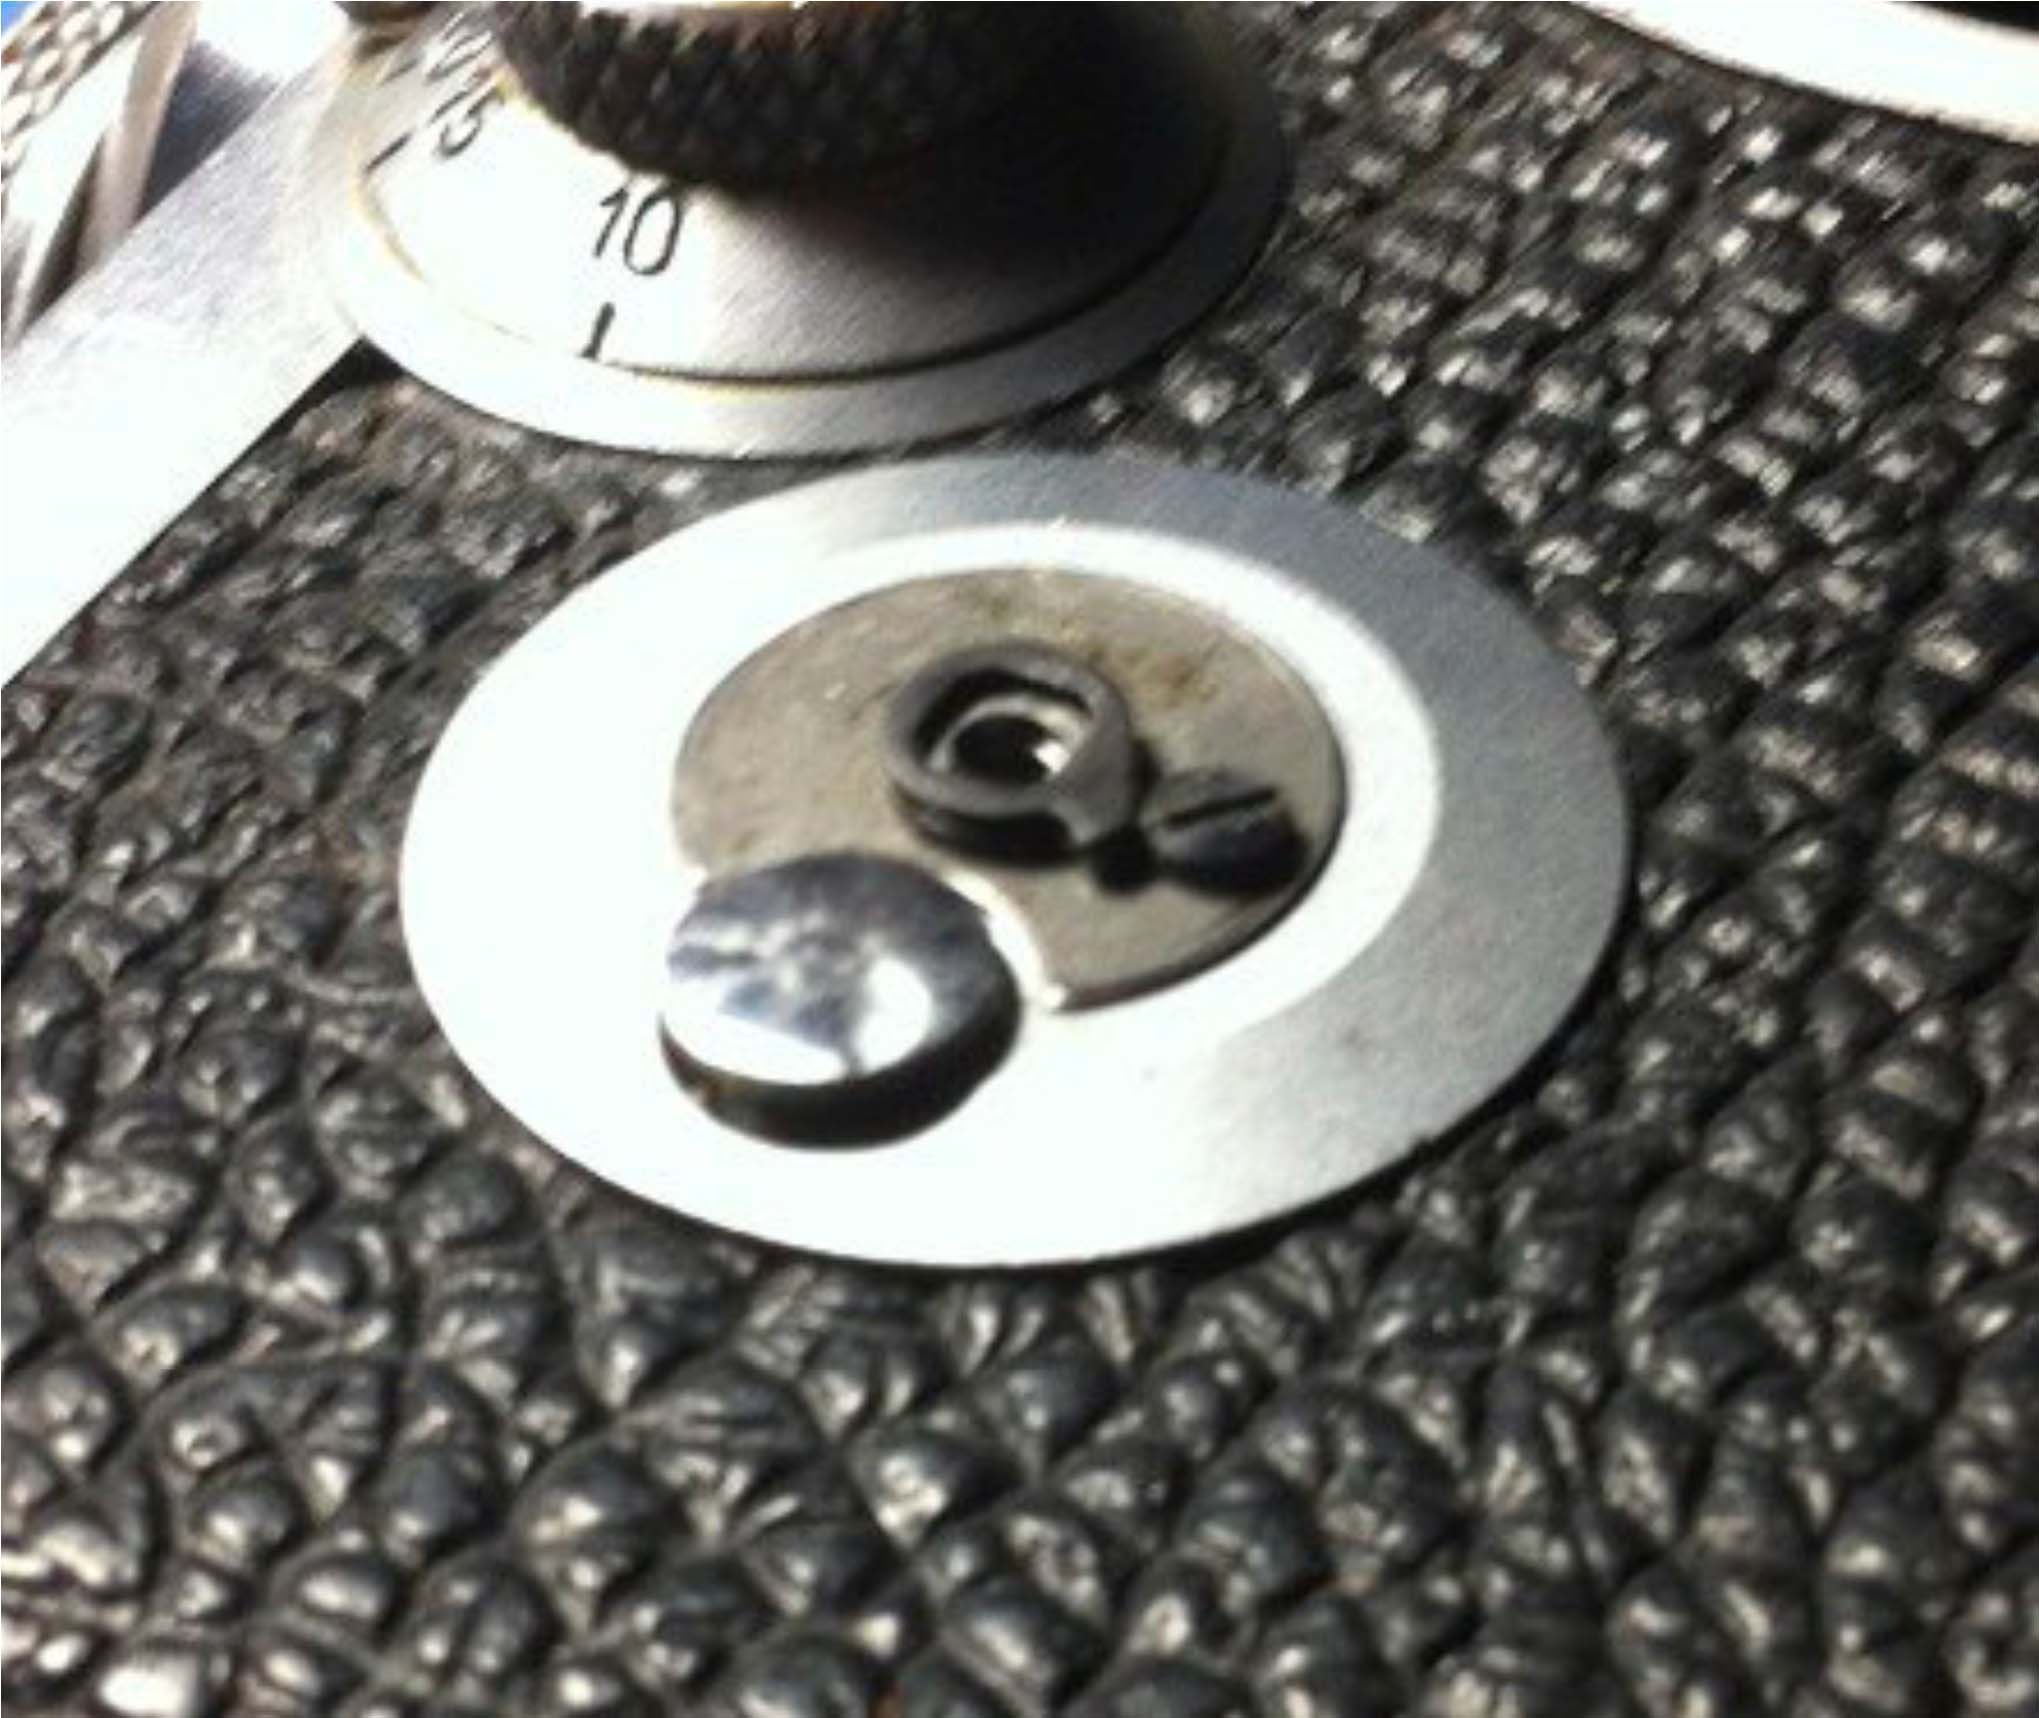
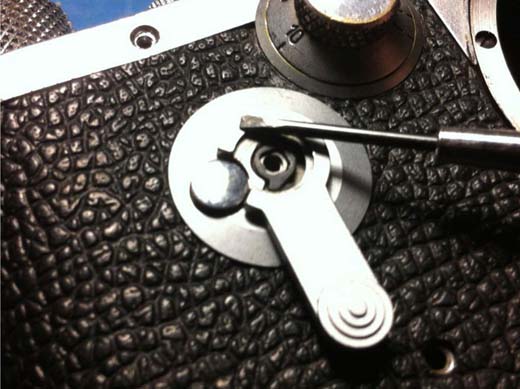
First the self-timer has to be cocked (it’s easier then) and the large screw in the middle has to be removed. Please use an appropriate tool, as the slot is very narrow. This is done up quite tight, so any attempt to undo it with a narrow screwdriver for small screws will screw the screw!
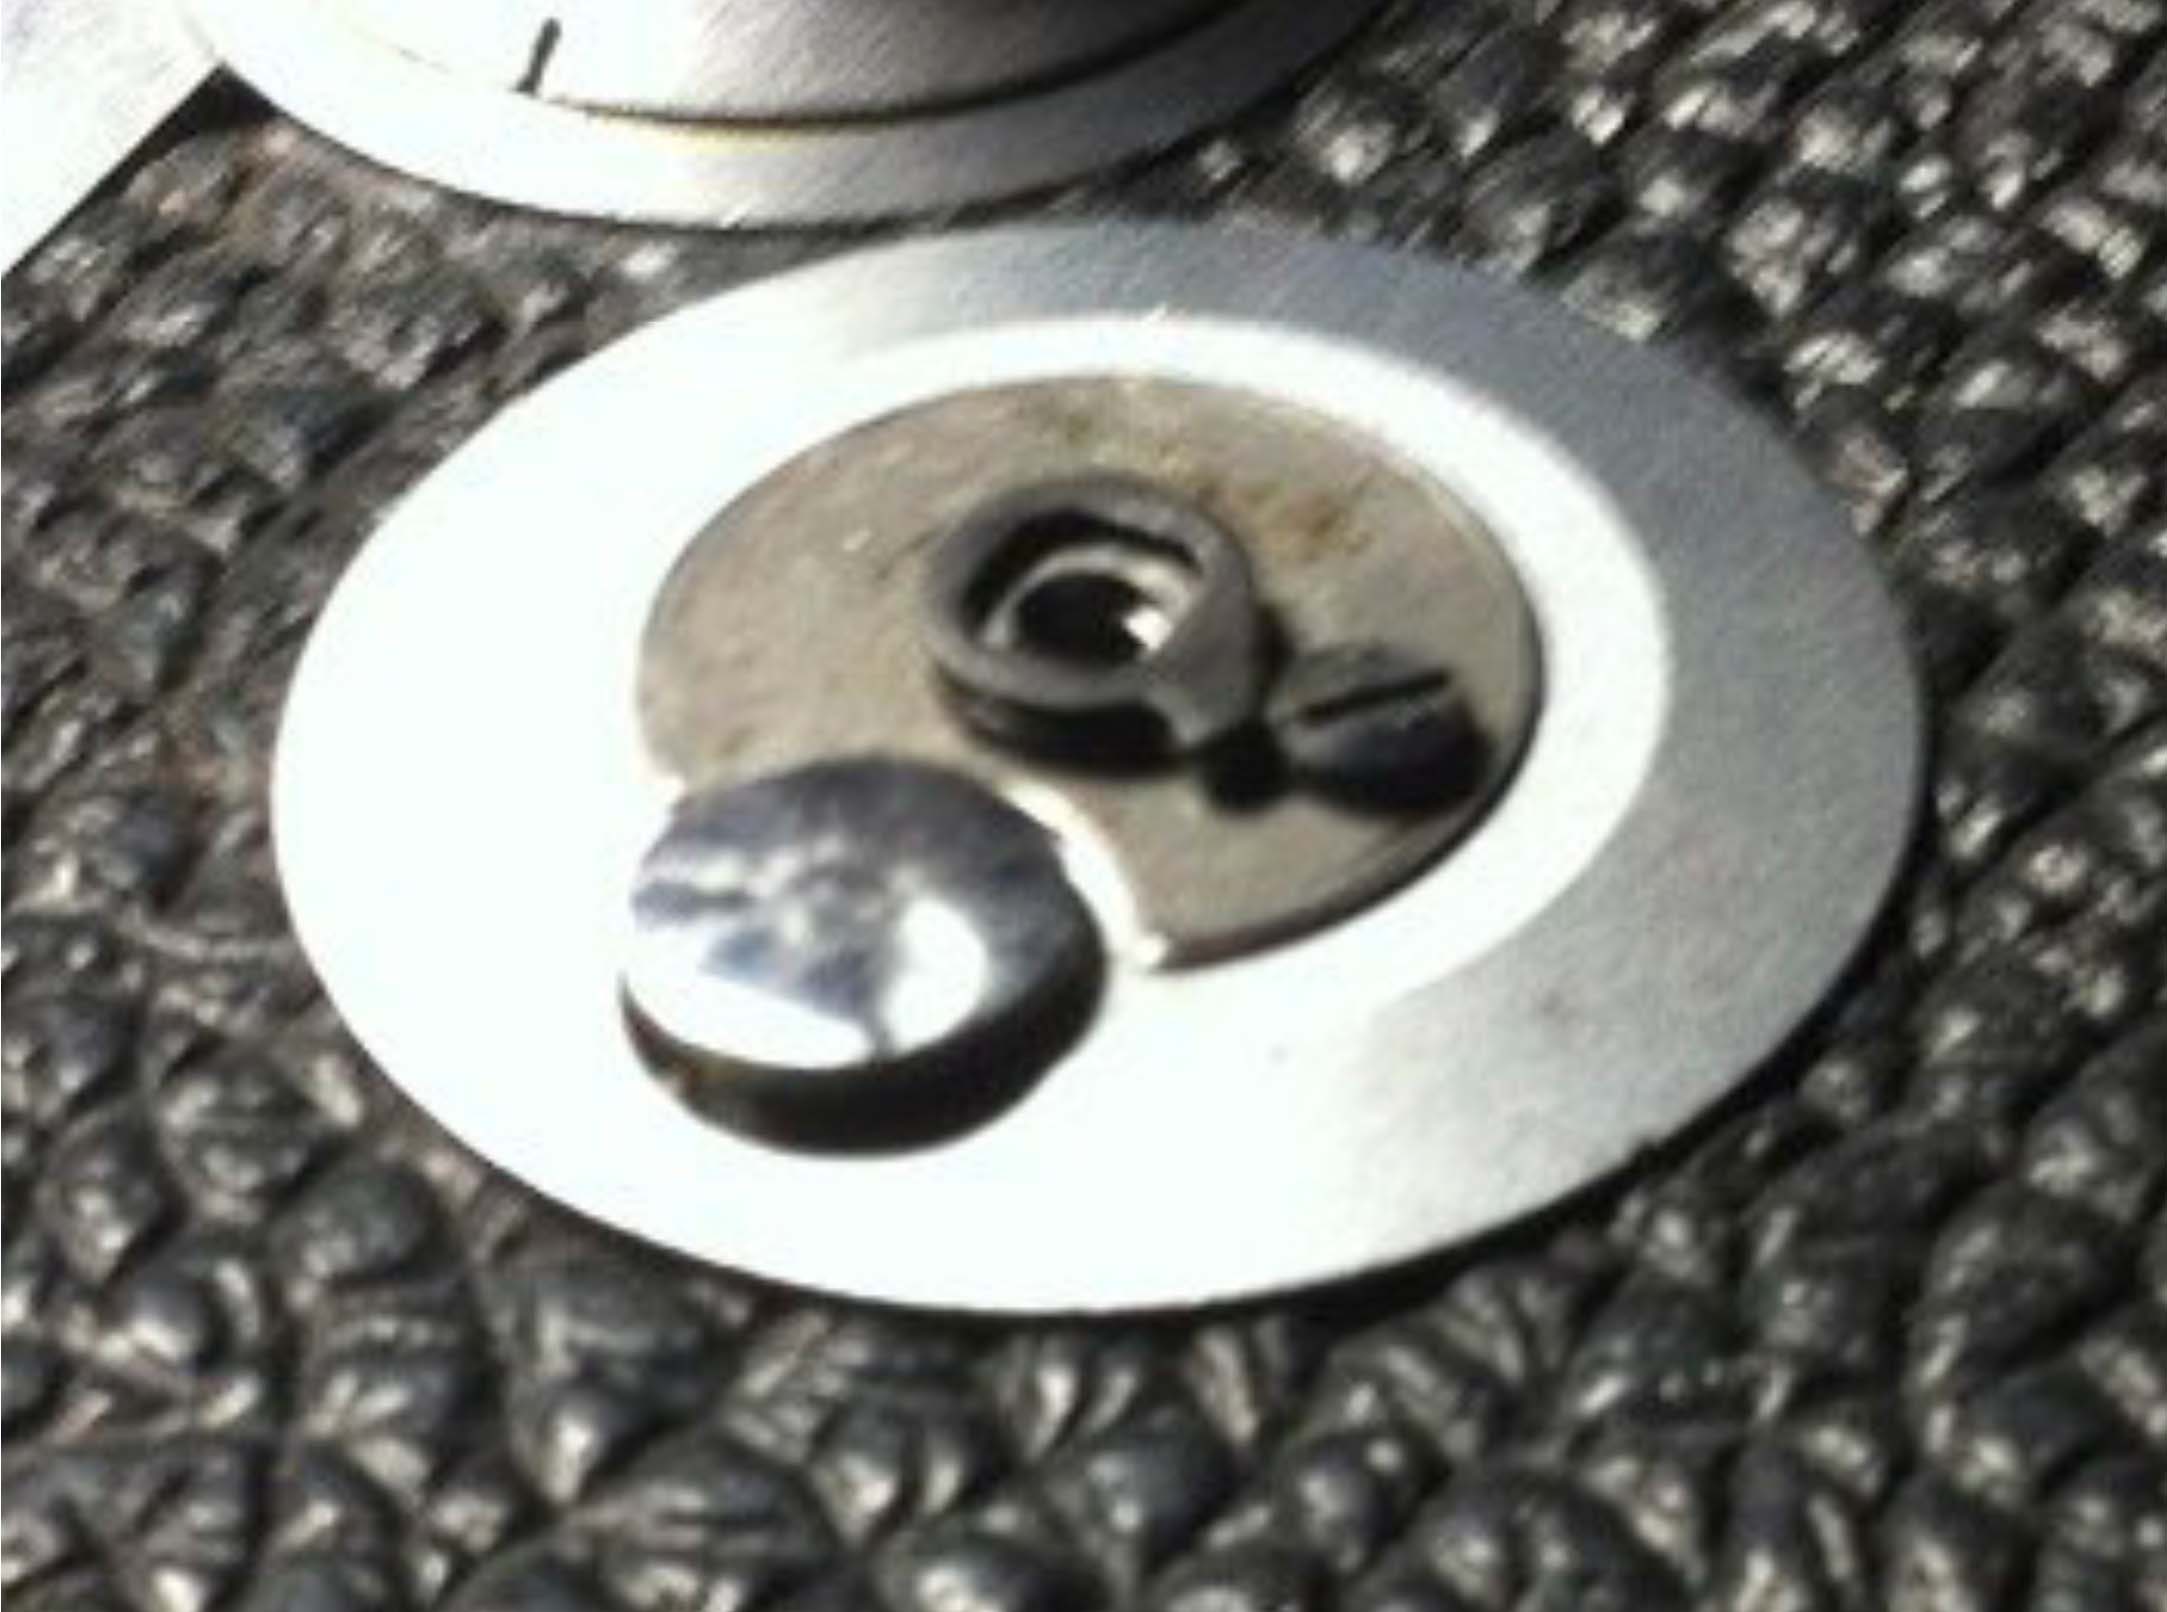
Once off, the lever can be carefully removed and the two cam-thingies (noting their position – see photo!), the screw below and then the plate. Under the plate there are three more screws which have to be removed, freeing the button-plate and the winder shaft underneath, which in turn operates (via an ‘Oldham’ coupling!) the clockwork mechanism (NO BATTERIES!).
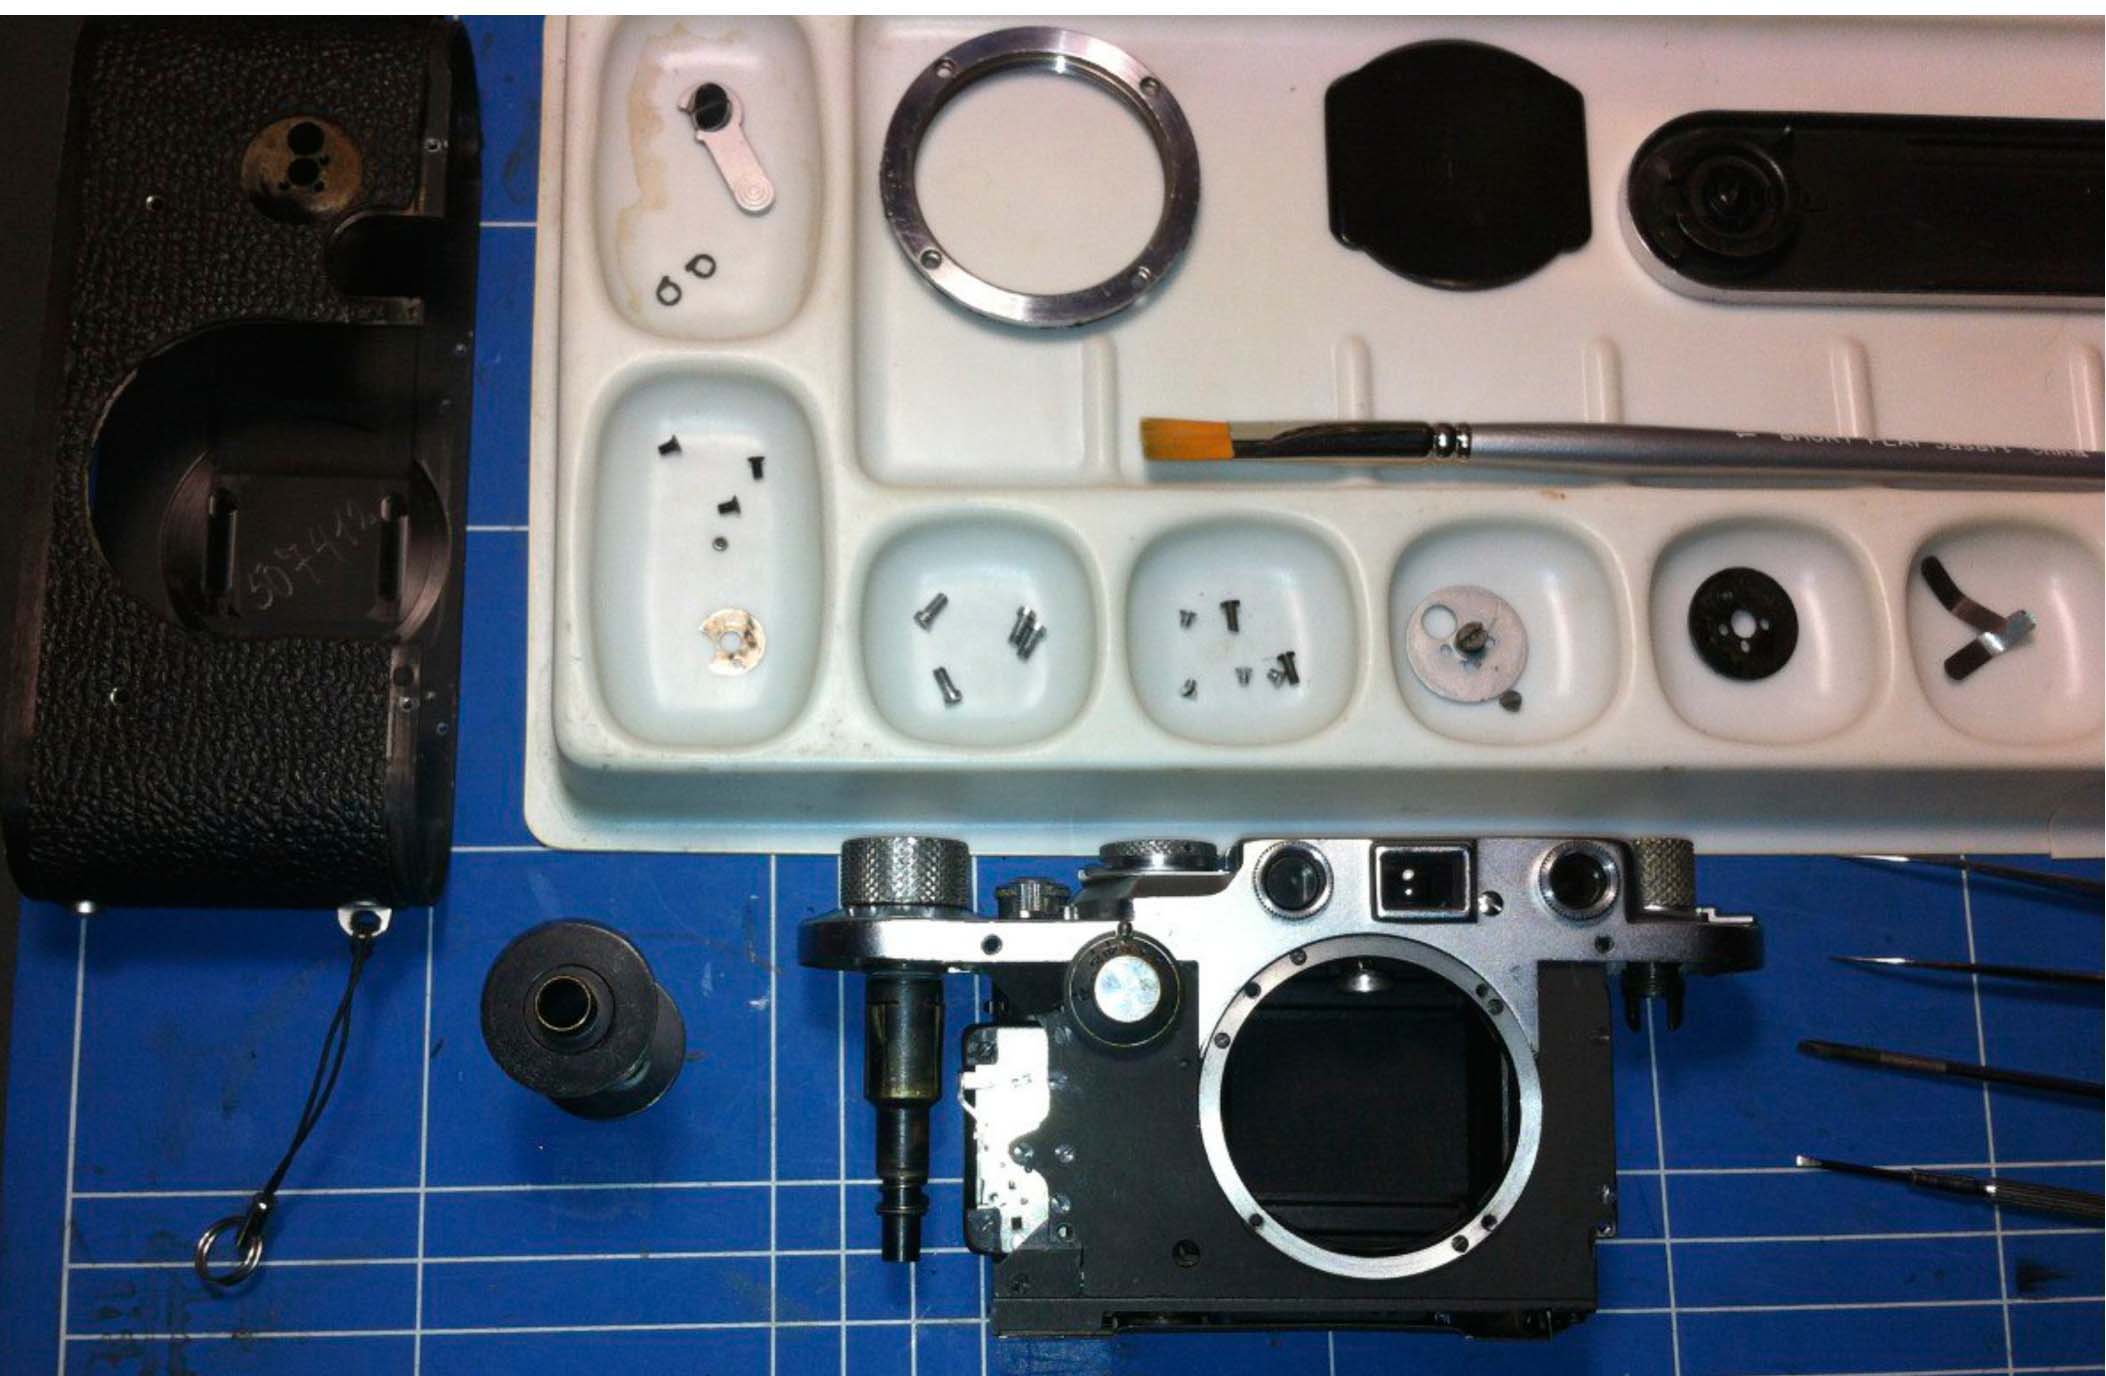
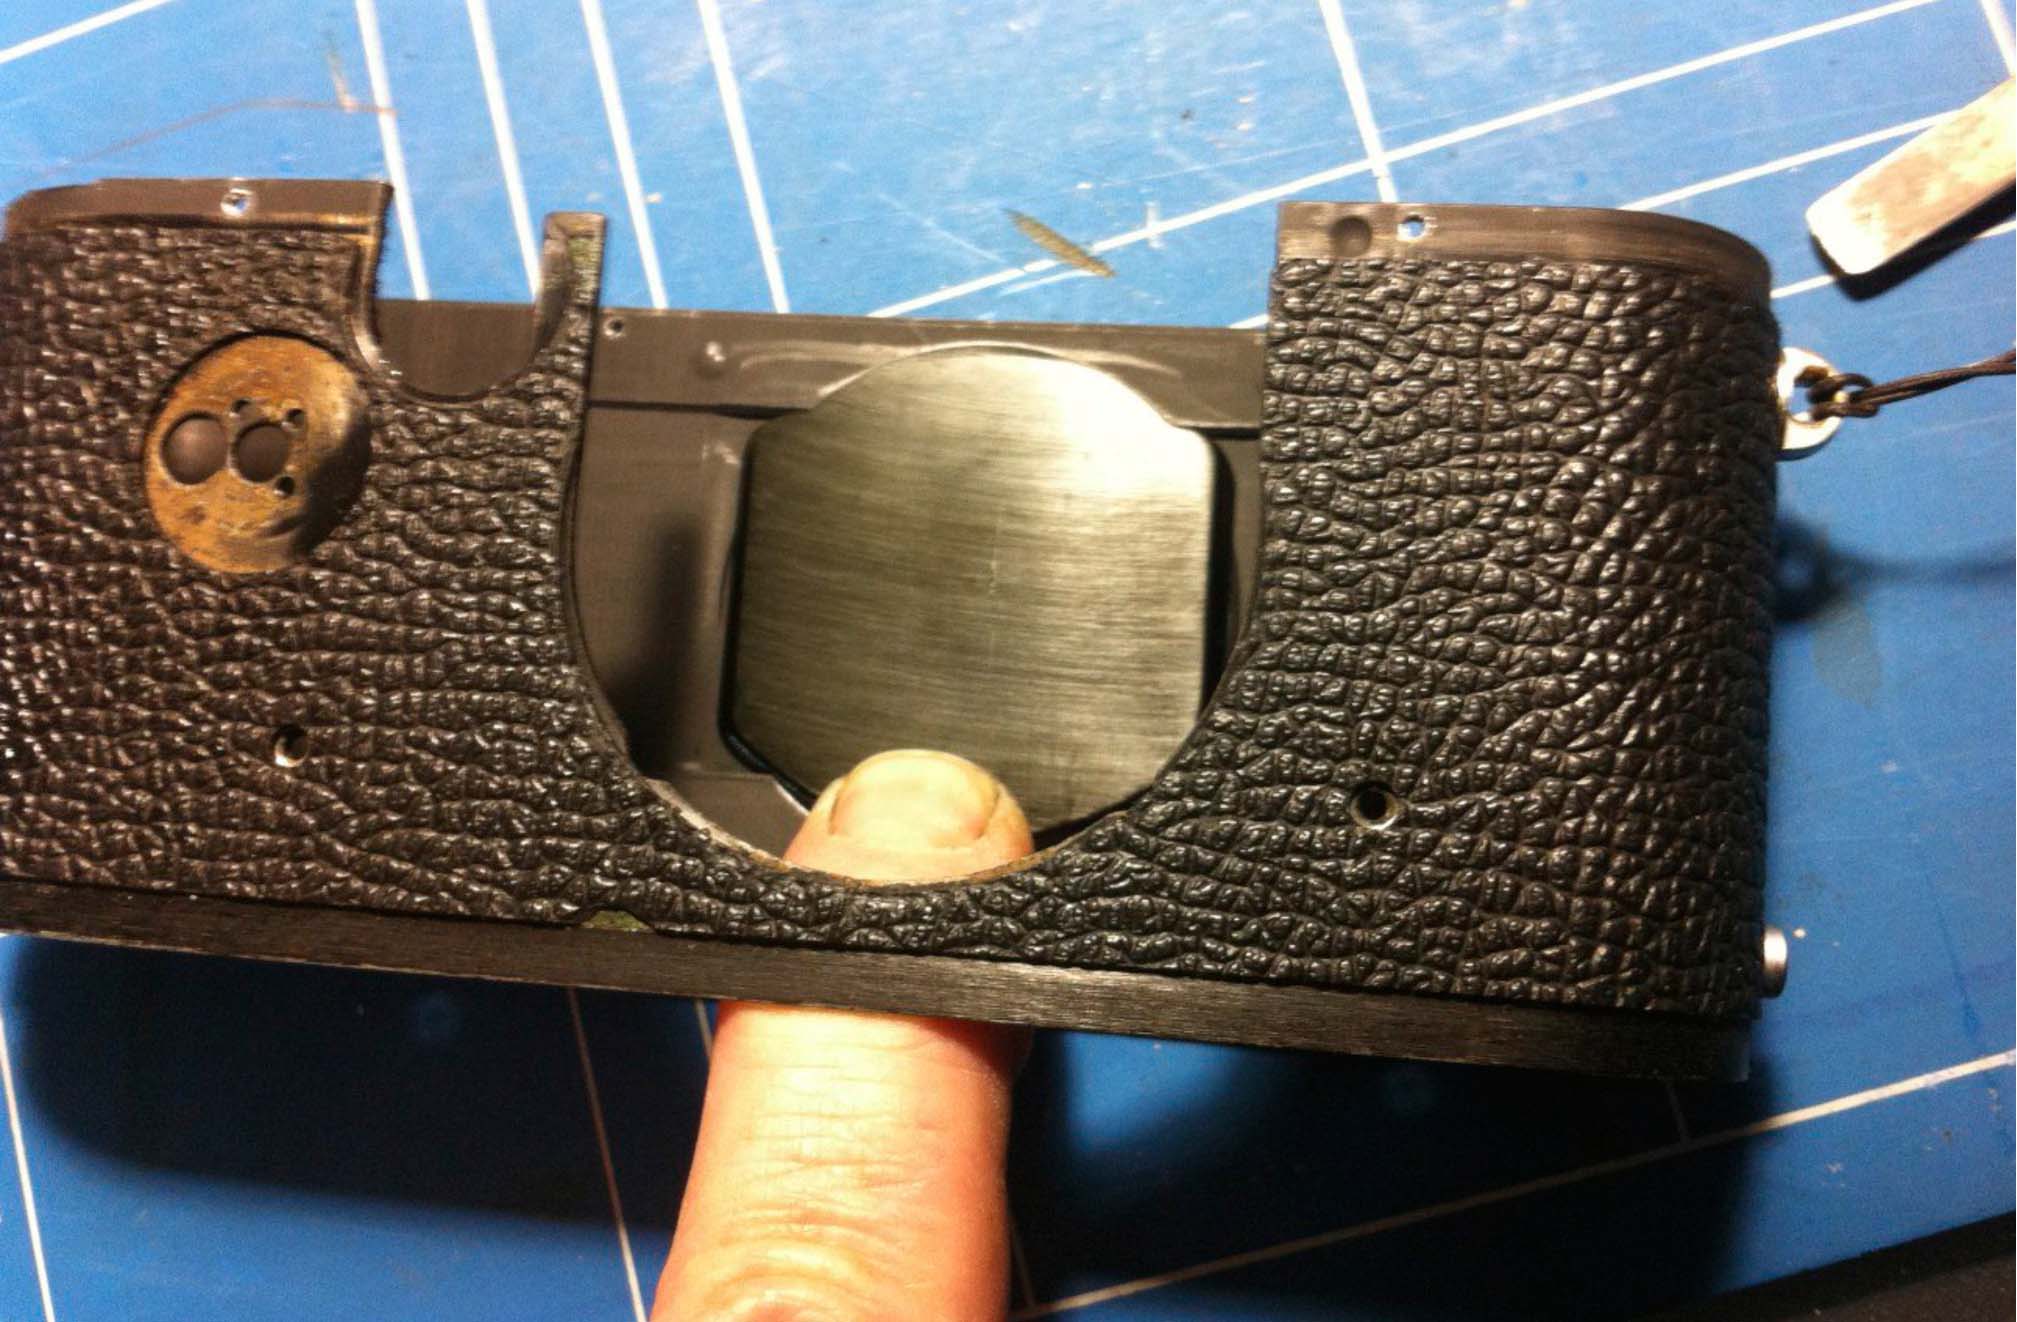
Once that is all out, the whole of the top and the lens-mount can be slid upwards and away from the casing. What you have left should look something like this:
Don’t forget the pressure-plate and springs, which will thus also be ‘freed’ of their retention by the body…
Having looked through both shutters, it was obvious that only the front shutter curtain had been replaced at some time and that the second one was in a ‘sorry’ state, though the silk cloth was still fine, as were the tapes.
Looking on some of the Leica forums, one possible fix is the use of liquid rubber as a filler, there being various makes and types of gunge being recommended. I tried the ‘Shoe-Goo’ mentioned in a number of postings by various repairers for spot-repairs, but must admit to finding this too thick to be of any use. I actually suspect that the tube I bought had probably sat on a shelf for the last ten years, so that might have had something to do with it!
I ended up getting black Silicone RTV liquid gasket, which had the perfect consistency and didn’t dry too quickly!
A short-haired synthetic paintbrush about 5/16ths of an inch wide was used to carefully and quickly spread the silicone thinly over the rubberised side of the cloth of the second shutter, which ended up looking like this:
I am not looking for a proper rebuild-quality fix, this is a running-repair, and will, of course, have an influence on the originality and hence the value, of said camera. I don’t give a hoot, as long as it works!
As it happens, I do have a set of blinds and tapes in case this doesn’t work, but I just wanted to have a go at this, as it is a lot less work and heartache (and requires a lot less skill – or luck) than dismantling any further!
This RTV-repair requires at least 24hrs to cure, so the camera is left in a cocked state until the time is up. I don’t generally leave the camera cocked as the spring-tension suffers over time, but in this case it was necessary, otherwise the shutter material becomes one with the spool, which is rather more difficult to repair and requires a good deal more disassembly than I’m comfortable with…
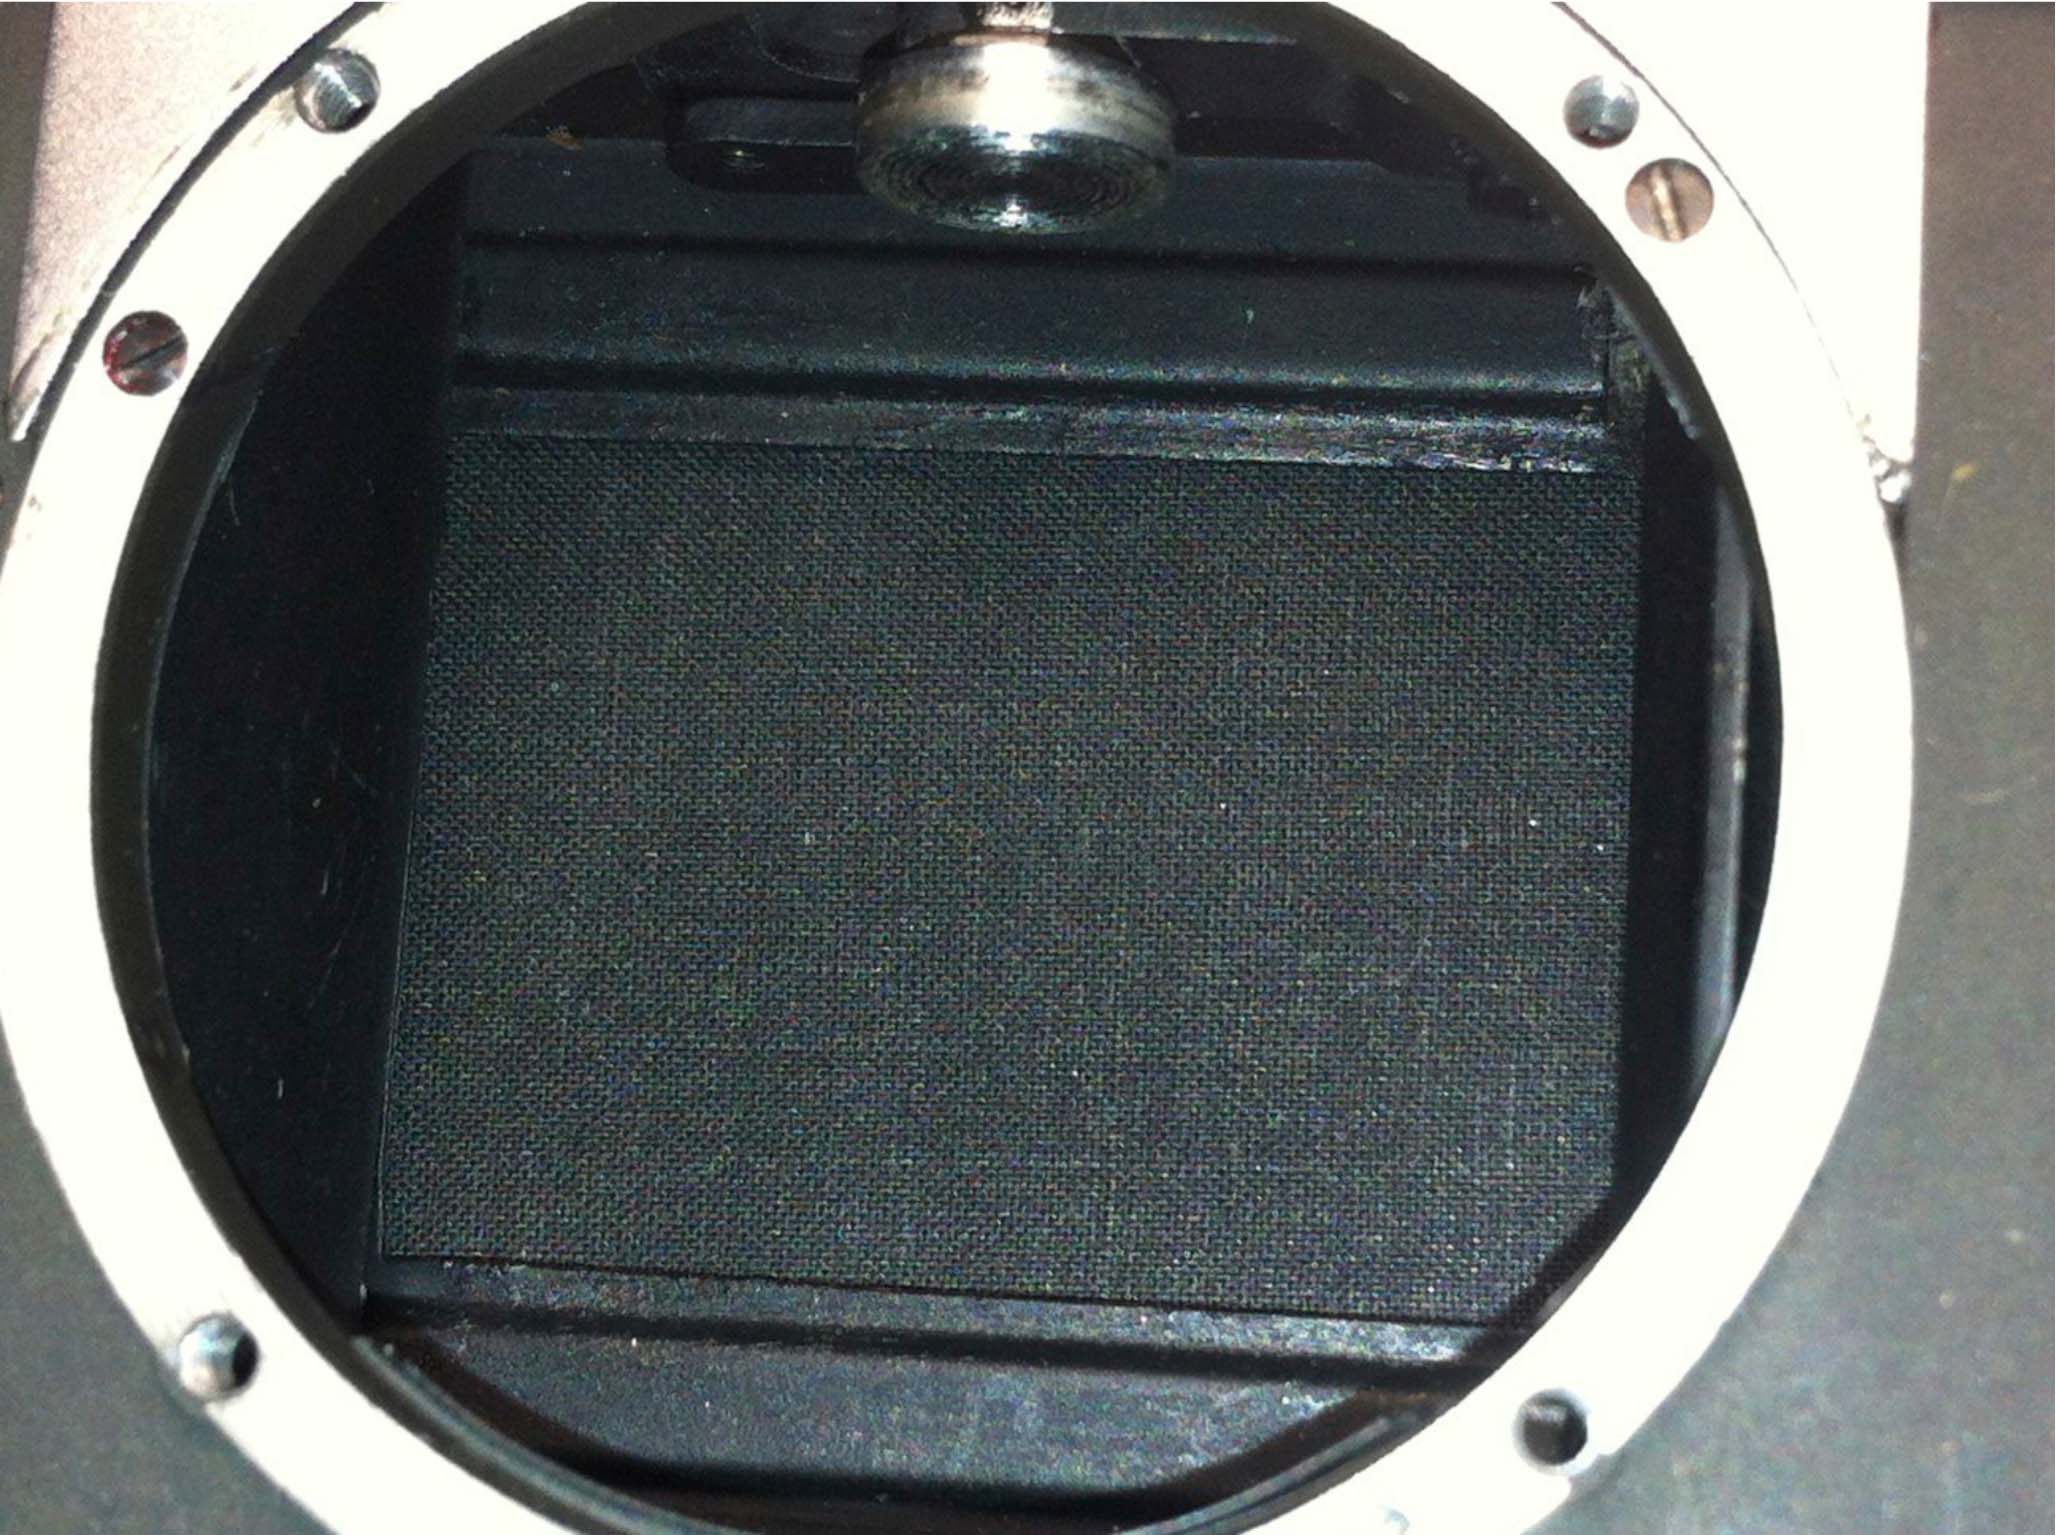
The cloth side of the first curtain for comparison

Once all cured, reassembly can ‘occur’, in reverse order to the disassembly…with a few points along the way to make it easier:
Slide the top back into the case.
The only thing to watch out for here is that the pressure-plate and springs are not forgotten and that the larger chamfer on the plate is on the bottom edge, so that film-loading (through the bottom of the camera, don’t forget!) is facilitated.
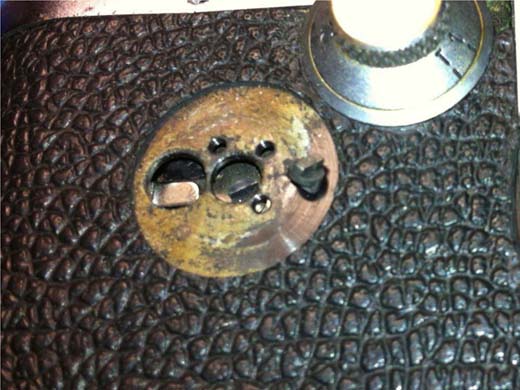
Once together, the assembly per se can begin: Starting with the Oldham coupling, which is greatly assisted by a touch of petroleum jelly (er, ‘Vaseline’) to help the two stay together while the rest of the bits are ‘introduced’ to their respective places! (that brown mess on the self-timer area is old glue, not rust, by the way!)
(Recognise the KSS-Part??)

The shaft can then also be ‘stuck’ on with a touch of Vaseline… followed by the various plates and screws…
Holding the lever in place with something. Notice the position! The self-timer is still ‘cocked! N.B. touching the chrome button will start the timer running (and the coupling rotating!) for as long as it is pressed down, altering the position of the cam…if this happens during assembly by mistake, it is best to wind the whole thing to cock it fully (anti-clockwise) and then press the button to unwind it until the rotation allows assembly of the cams and lever as illustrated. Anything else is impossible to reassemble as all the bits are in motion!

Eventually the self-timer should look like this, and as long as the camera shutter has been cocked as well, the thing can be tested by pressing on the chrome button, letting the lever take over holding it down until it ‘fires’ the shutter and stops rotating.
It is VERY IMPORTANT that the lever is held down flat in position before tightening the large screw, as any play under it, caused by something having been knocked out of place, will mean having to start all over again if you are unlucky, if you can find all the parts! Luckily, things won’t ‘spring’ across the room, they will only fall out, nonetheless, be careful that nothing falls into the camera and gets overseen, causing damage later!!
On a Leica, if there is any play in any of the levers, or something needs forcing into position, either something is broken or fitted incorrectly!
Now all that remains, assuming that all is well, is to replace the six screws holding the body to the case and to replace the lens-ring, not forgetting all spacers and the correct positioning of the ring itself, of course!
This is how the Leica self-timer works on amateur video, holding the camera taking the shot in one hand, while trying to operate the subject of the short clip with the other!!
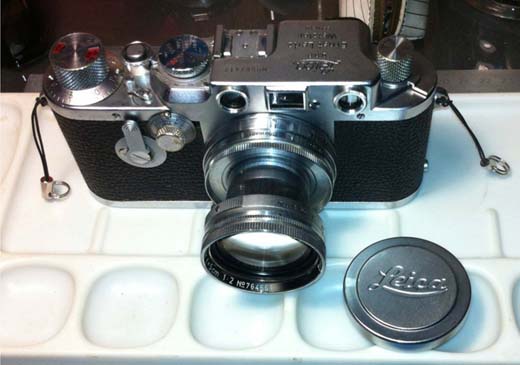
The camera itself from different angles, showing the collapsible 50mm f2 lens in both positions:
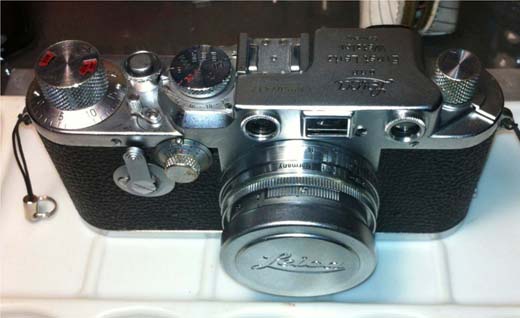

The very simple and functional back of the camera.
One distinct advantage of a camera like this is that most folk just don’t take you seriously as a photographer, and therefore have no qualms about you taking photos, as they think that they probably won’t turn out properly anyway!
Hope that you enjoyed that journey off the beaten track!!
© peter gouws 2102